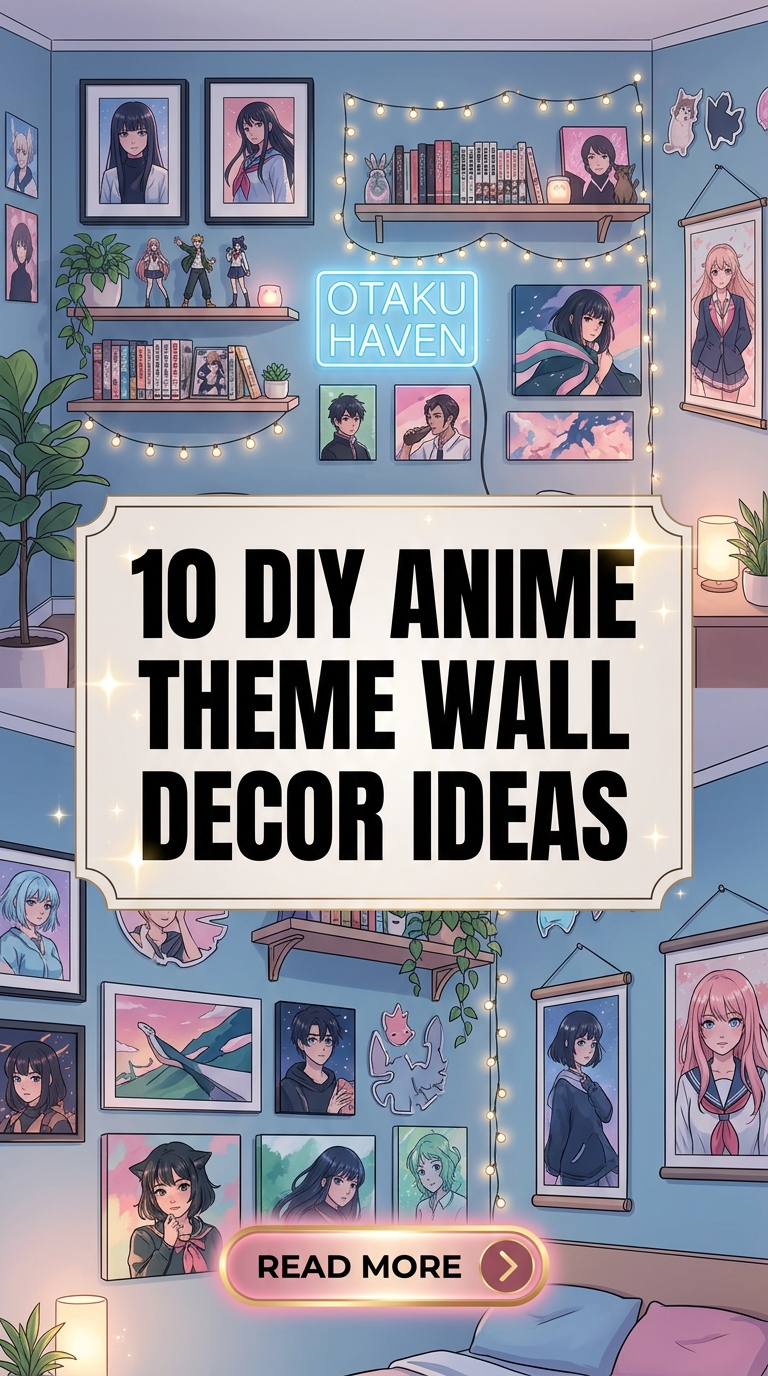
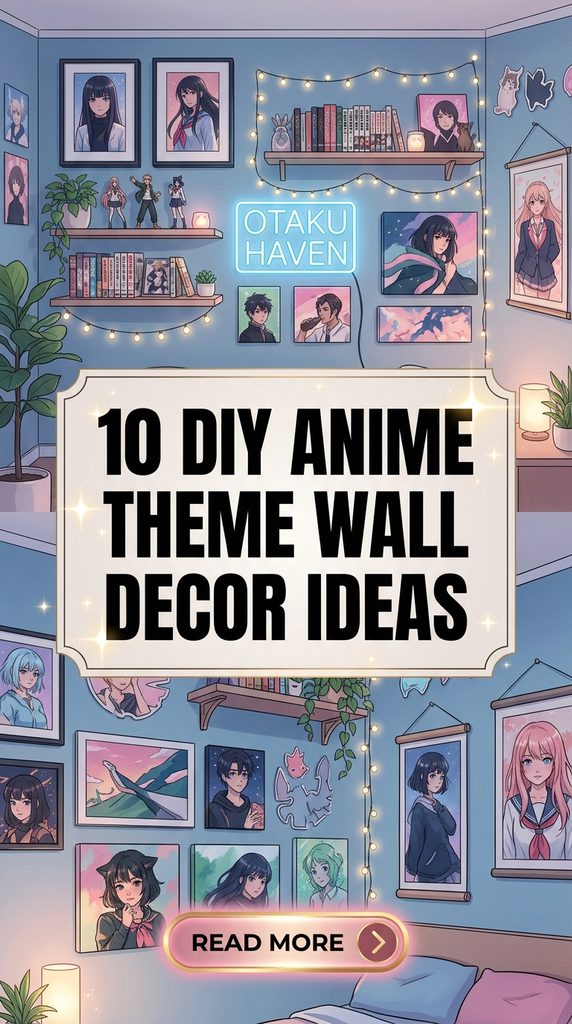
Anime-inspired interior design has evolved far beyond taping mass-produced paper posters to a bedroom wall. Modern otaku aesthetics combine vibrant japanese animation art with clean interior design techniques, turning personal gaming setups, bedrooms, and study nooks into immersive visual spaces.
Creating bespoke anime wall decor allows fans to highlight iconic series elements—such as glowing energy symbols, cybernetic cityscapes, dramatic character silhouettes, and manga panels—while maintaining an organized, elevated room layout. With accessible materials like acrylic sheets, ambient LED channels, paper stock, and wooden frames, you can craft durable, gallery-grade wall installations.
Here is an architectural guide to ten DIY anime theme wall decor ideas, complete with material breakdowns, step-by-step build workflows, spatial mounting guidelines, and lighting protocols.
Spatial Dynamics & Wall Clearance Principles
Before installing neon lighting or multi-panel grids, follow these interior design and ergonomic standards:
1. Desk & Entertainment Center Ergonomics
- Monitor Clearance: When installing lighted displays or acrylic art directly above a PC setup or TV console, maintain 8 to 12 inches of vertical space above the top edge of the monitor screen. This prevents visual clutter in your direct line of sight while gaming or working.
- Eye-Level Focal Placement: Center main art installations at standard eye level—approximately 57 to 60 inches from the floor to the center of the display piece.
2. Cable & Power Management Rules
Anime wall installations frequently feature integrated LED backlighting, EL wire, or lightboxes. Never leave loose power cables hanging down the wall. Route wires inside self-adhesive paintable raceways painted to match your wall color, or run cables behind furniture units for a clean setup.
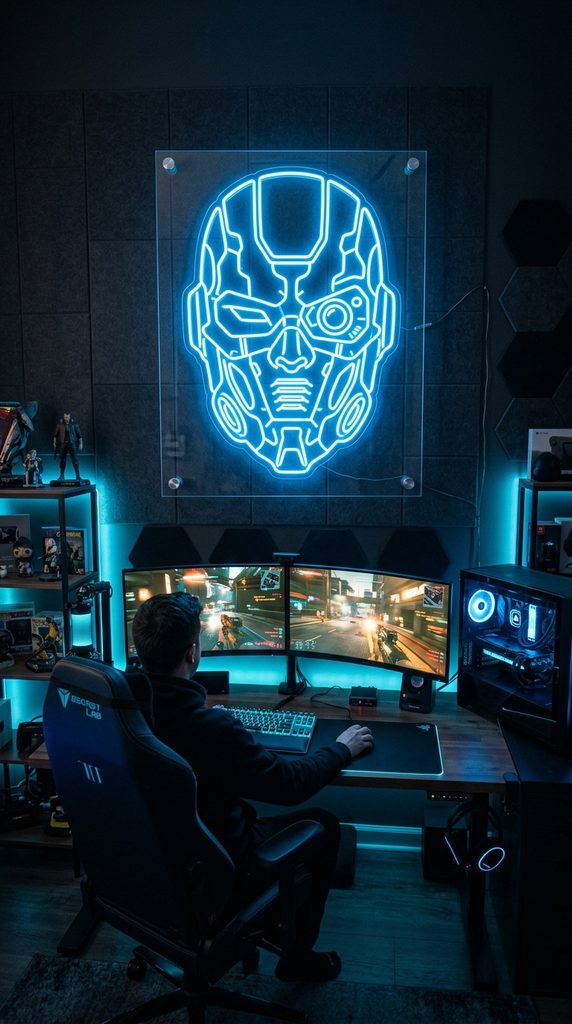
1. Custom Faux Neon LED Acrylic Character Signs
Combining flexible LED neon flex cord with clear acrylic sheets lets you create custom glowing character outlines, logos, or iconic Japanese Kanji text without the high cost and fragile nature of real glass neon.
Materials & Build Breakdown
- Materials Required: A $3\text{mm}$ clear acrylic sheet, $5\text{V}$ or $12\text{V}$ silicone LED neon flex cord, cyanoacrylate gel adhesive, low-voltage power supply, and stainless steel standoff mounts.
- Build Workflow: Print a mirrored outline template of an anime character silhouette or emblem (like a glowing cybernetic mask or guild logo). Place the template under the acrylic sheet, trace the outline with clear gel adhesive, and press the flexible LED neon cord firmly along the glue lines.
- Mounting Protocol: Drill corner pilot holes in the acrylic sheet and mount the sign using $1\text{-inch}$ steel wall standoffs so the acrylic floats off the wall, projecting a soft glow onto the surface behind it.
- Aesthetic Pairing: Complements dark gaming setups, cyber-themed bedrooms, and neon stream backgrounds.
Design Tip: Use warm blue or purple LED neon cords on dark matte gray or navy walls to minimize daytime wire visibility while maximizing nighttime color punch.
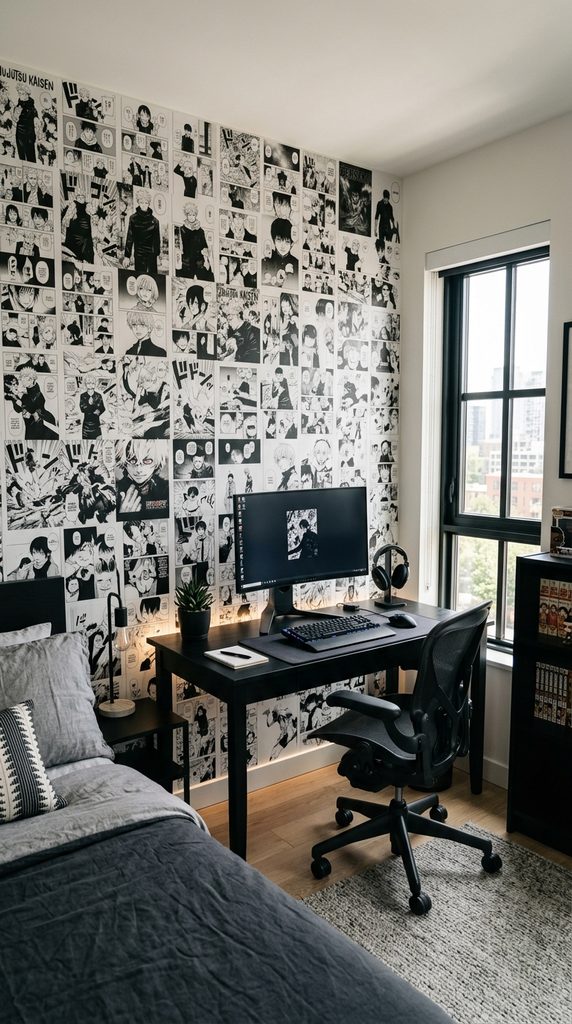
2. Manga Panel Collage Feature Wall with Sealed Matte Finish
Covering an accent wall with high-contrast black-and-white manga pages transforms a plain bedroom wall into a dramatic comic narrative surface.
Materials & Build Breakdown
- Materials Required: Manga books or printed high-resolution manga panel sheets, water-based Mod Podge (matte finish), wide foam brushes, painter’s tape, and a clear matte acrylic sealant spray.
- Build Workflow: Clean the wall surface thoroughly. Apply a thin layer of Mod Podge directly onto the back of each panel paper, smoothing it onto the wall with a squeegee to eliminate air bubbles. Overlap panel edges by $1/4\text{ inch}$ to ensure complete wall coverage.
- Protective Coating: Once the entire layout dries, apply two coats of clear matte acrylic spray sealant. This prevents paper yellowing, protects against ambient dust, and stops edges from peeling over time.
- Spatial Strategy: Keep the surrounding furniture minimal—such as a simple black desk or natural timber bed frame—to let the monochromatic wall act as the focal point.
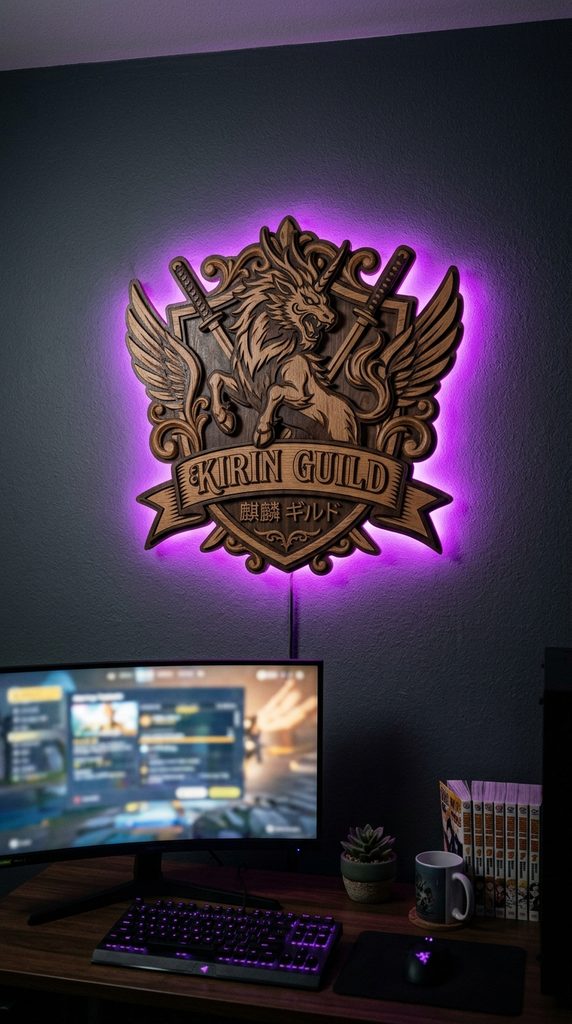
3. Backlit Floating Wooden Crest & Emblem Cutouts
Carving iconic anime symbols—such as guild emblems, clan crests, or alchemy circles—out of layered timber creates a tactile 3D relief structure with subtle backlighting.
Materials & Build Breakdown
- Materials Required: $1/4\text{-inch}$ birch plywood, a scroll saw or jigsaw, wood stain or matte black paint, standoffs, and an addressable RGB LED strip.
- Build Workflow: Trace your chosen emblem outline onto birch plywood. Cut out the shape using a scroll saw and sand edges smooth. Paint or stain the front surface. Attach a $1.5\text{-inch}$ wooden spacer block to the back center of the cutout.
- Lighting Integration: Mount an RGB LED light strip around the back perimeter of the cutout, pointing inward toward the center block. Mount the emblem on the wall so light spreads outward in a soft halo ring.
4. Multi-Layered Papercut Lightbox Display Boxes
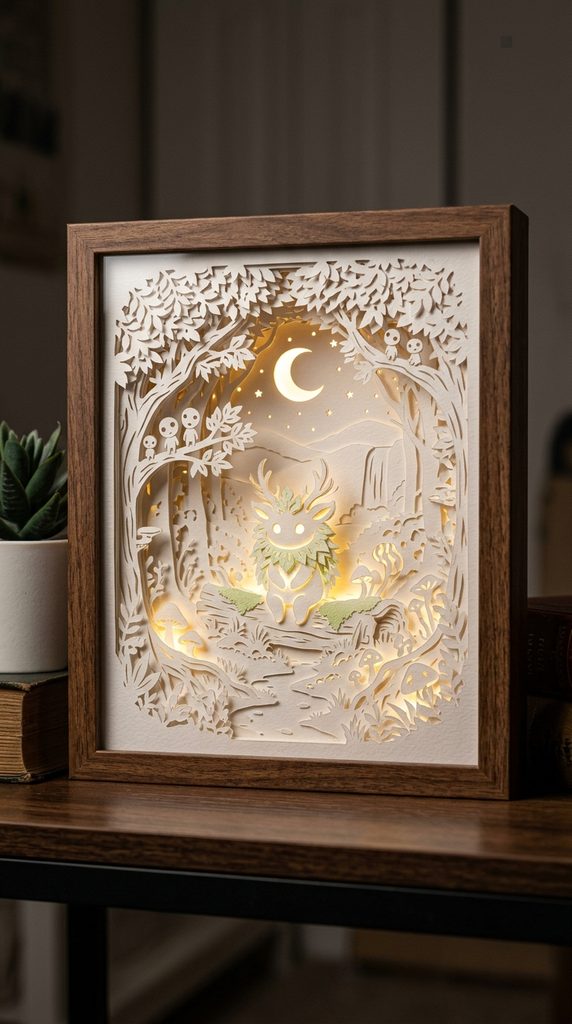
Layering intricate cardstock cutouts inside deep shadow box frames creates stunning 3D depth, depicting famous anime landscapes, spirit forests, or mech battlefields.
Materials & Build Breakdown
- Materials Required: Heavy $200+\text{ GSM}$ white cardstock, precision craft knives, foam tape spacers, a deep shadow box frame ($2\text{ to }3\text{ inches}$ deep), and $5\text{V}$ USB-powered mini LED wire lights.
- Build Workflow: Cut out five to seven progressive depth layers representing foreground trees, middleground characters, and background mountains or moons. Stack the paper layers inside the shadow box using double-sided foam tape between each layer to maintain uniform spacing.
- Illumination Setup: Position LED strip lights around the inner back perimeter of the frame behind the last paper layer. When powered on, light filters through the paper cutouts, creating a soft glowing landscape.
5. Floating Acrylic Floating Frame Character Wall
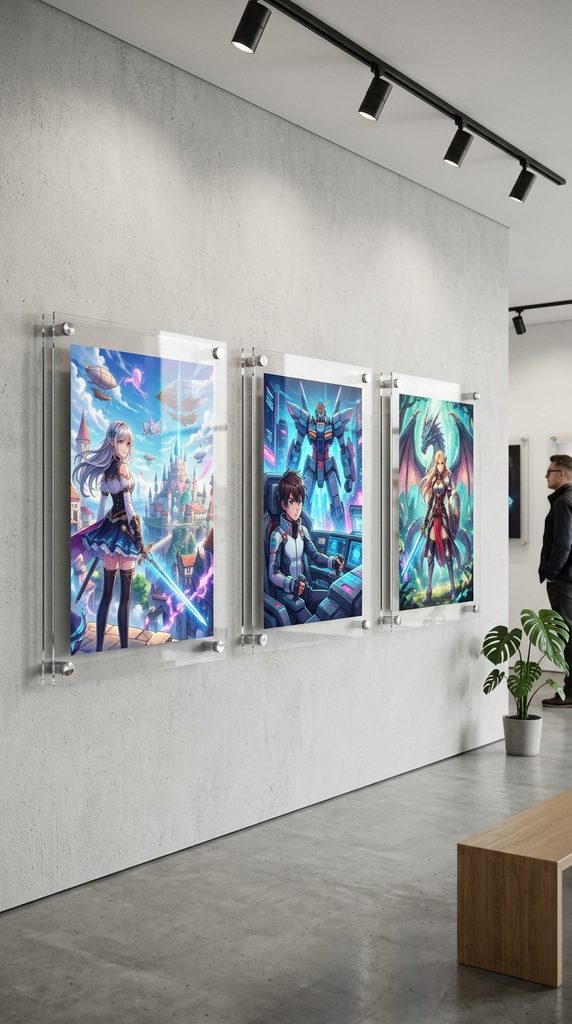
Using clear double-pane acrylic floating frames creates the illusion that character art prints or original animation cell drawings are levitating in front of the wall.
Materials & Build Breakdown
- Materials Required: Frameless double-glazed acrylic panels, brass or chrome standoff wall screws, and high-gloss anime character concept art prints.
- Build Workflow: Sandwich your art print between two clear acrylic sheets. Anchor the assembly onto the wall using standoffs that hold the frame $1\text{ to }1.5\text{ inches}$ off the wall.
- Visual Impression: Ambient room lighting creates a natural drop shadow behind the floating artwork, giving your favorite characters a dynamic, gallery-style presence.
6. Hand-Painted Japanese Kanji & Silhouette Canvas Triptych
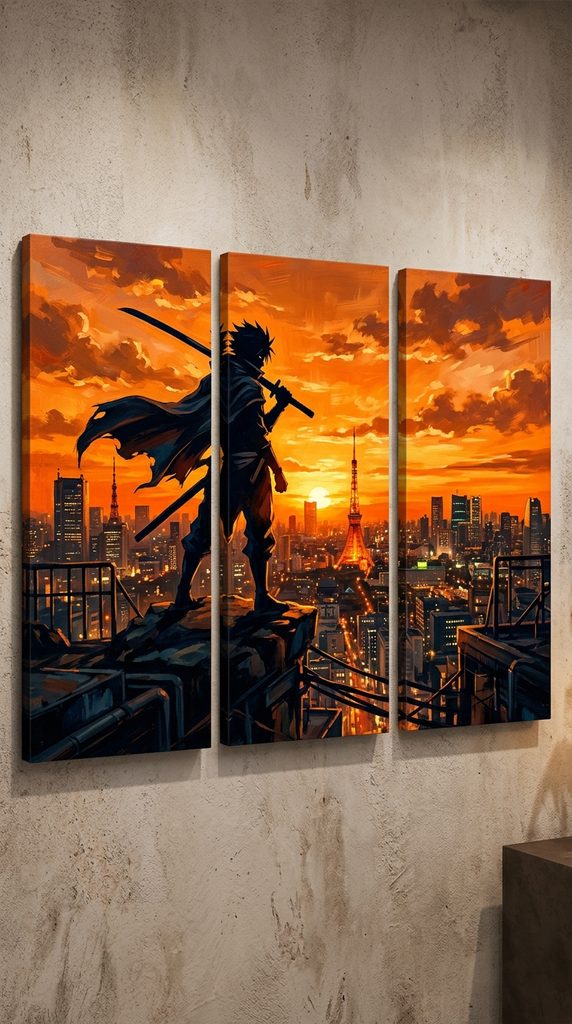
Splitting a single dramatic anime scene across three matching canvas panels creates a high-energy gallery centerpiece without looking like a simple poster.
Materials & Build Breakdown
- Materials Required: Three stretched cotton canvas frames ($12\times24\text{ inches}$ each), acrylic paints, painter’s tape, a laser level, and picture hanging hardware.
- Build Workflow: Lay three canvases side by side with a 2-inch gap between them. Sketch a continuous silhouette scene across all three panels (such as a character standing on a roof looking out over a city at sunset). Paint the background in vibrant gradient colors and paint the foreground figures in sharp solid black.
- Hanging Precision: Mount the three panels using a laser level, ensuring the 2-inch gap stays completely uniform across all three pieces.
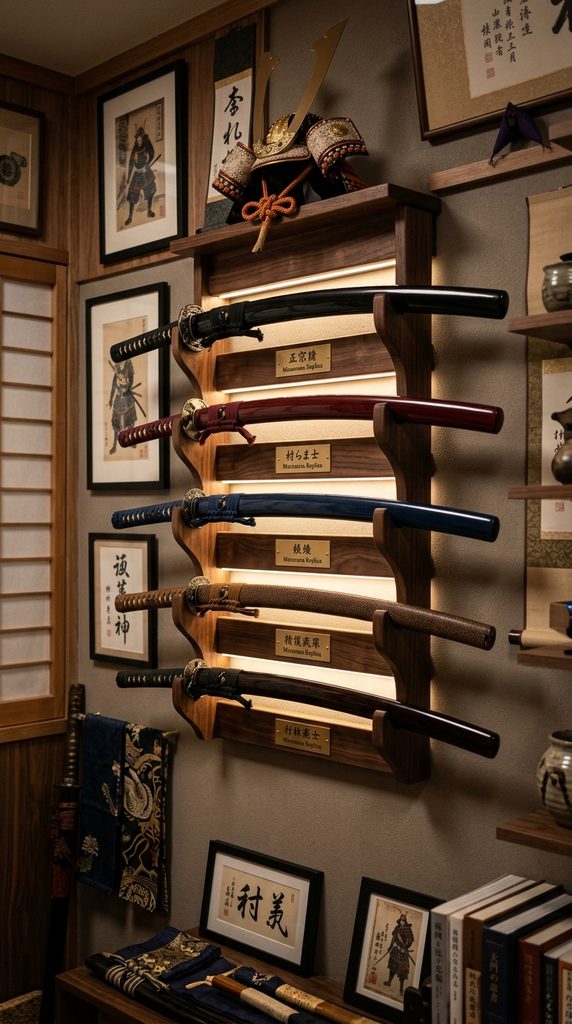
7. Floating Katana Wall Rack Display with LED Edge Lighting
Displaying replica anime swords (such as samurai katanas or fantasy blades) on custom wall racks brings authentic tactile metal and wood textures to an otaku bedroom or study.
Materials & Build Breakdown
- Materials Required: Solid hardwood mounting blocks (oak or walnut), felt-lined sword hooks, heavy-duty wall anchor bolts, and a warm white micro LED strip.
- Build Workflow: Craft or assemble a multi-tier wooden wall rack. Line the inner hook grooves with soft felt to protect the sword sheath finish. Install wall anchors directly into wooden studs to support the weight of the display.
- Safety & Security: Never mount sword displays directly above headboards, seating, or doorway walkways. Secure blades into sheath locks or use decorative dull display blades for safety.
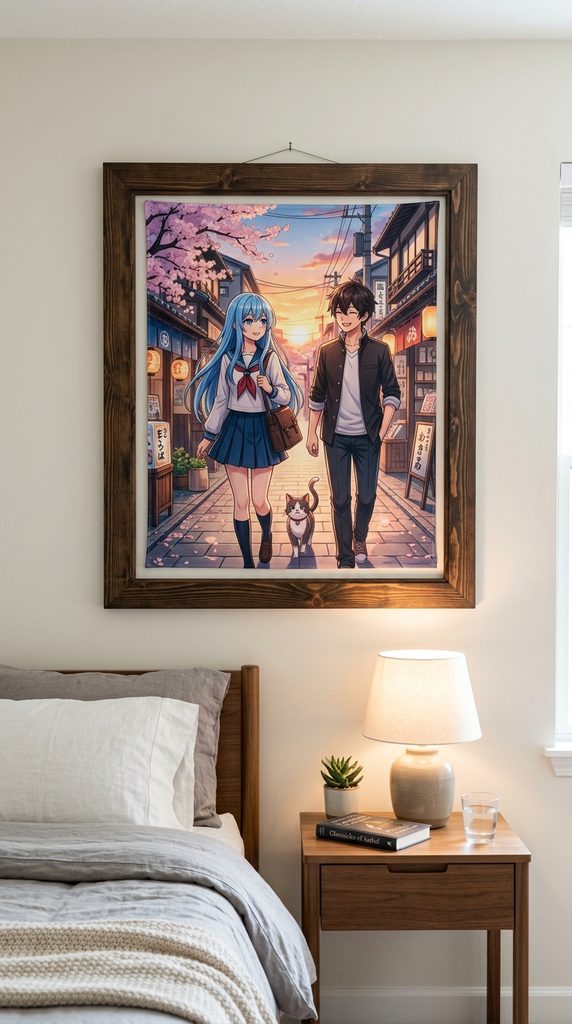
8. Framed Fabric Wall Tapestries with Architectural Trim
Framing fabric anime tapestries inside custom wooden molding turns loose cloth banners into flat, polished wall art pieces.
Materials & Build Breakdown
- Materials Required: High-resolution fabric anime tapestry, $1\times2\text{-inch}$ pine moulding strips, a staple gun, iron-on interfacing, and wood stain.
- Build Workflow: Iron the fabric tapestry flat using low heat to eliminate fold lines. Stretch the fabric over a custom wooden stretcher frame and staple it securely along the back edges. Build a secondary outer wooden box frame to enclose the stretched tapestry.
- Aesthetic Upgrade: Eliminates sagging corners and cloth ripples, creating a crisp, framed fabric panel that enhances room acoustics by absorbing sound reflections.
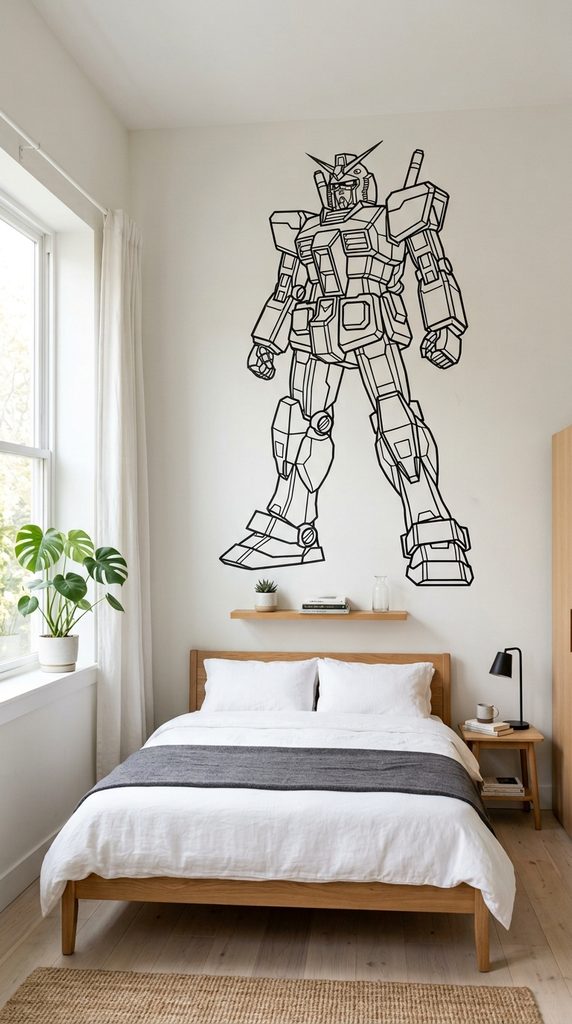
9. Geometric Washi Tape Character Contour Murals
Using Japanese decorative washi tape allows you to create large geometric character outlines or mech designs directly on rental walls without damaging paint.
Materials & Build Breakdown
- Materials Required: Matte black or metallic washi tape ($15\text{mm}$ to $30\text{mm}$ width), a craft knife, a pencil, and a grid projector or tracing paper stencil.
- Build Workflow: Project or draft a geometric line-art template of an anime character or mechanical suit onto the wall. Apply long, straight strips of washi tape over the lines, trimming overlapping joints cleanly with a craft knife.
- Rental-Friendly Advantage: Washi tape peels off cleanly without leaving sticky residue or stripping wall paint, making this an ideal DIY project for dorms and rental apartments.
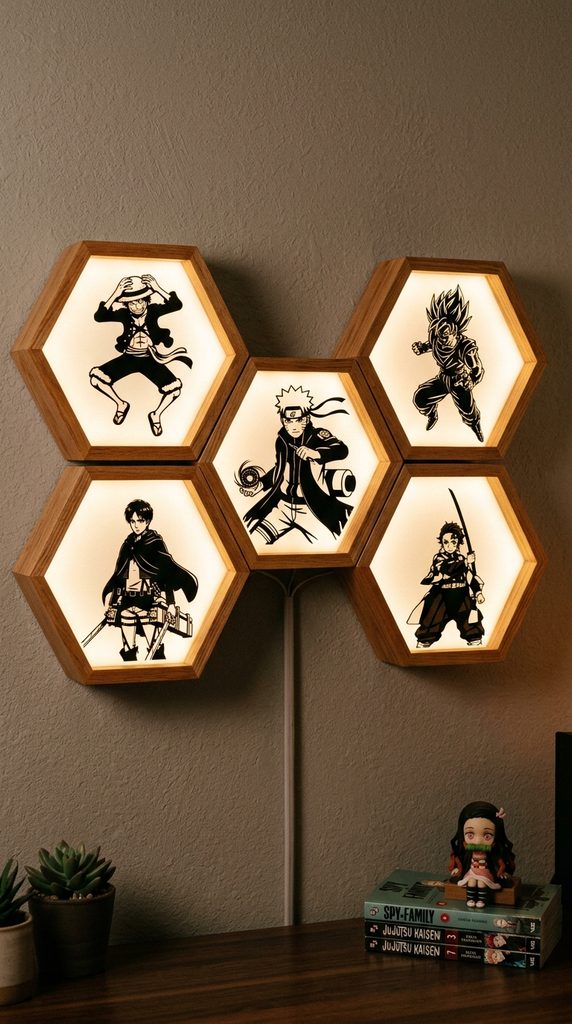
10. Modular Hexagon Lightbox Gallery Wall
Combining geometric wooden or 3D-printed hexagon boxes with backlit anime character silhouettes creates an interactive, expandable wall display.
Materials & Build Breakdown
- Materials Required: Wooden hexagon shelf boxes ($8\text{ to }10\text{ inches}$ wide), translucent white diffuser acrylic inserts, printed character vinyl decals, and battery-powered puck lights or modular LED strips.
- Build Workflow: Fit translucent acrylic plates inside the front openings of wooden hexagon boxes. Apply black vinyl character silhouette decals onto the front of each acrylic face. Mount puck lights inside each box.
- Layout Modular Expansion: Arrange five to nine hexagon boxes in an interlocking honeycomb pattern on the wall. Turn individual lights on or off to change the mood of the room.