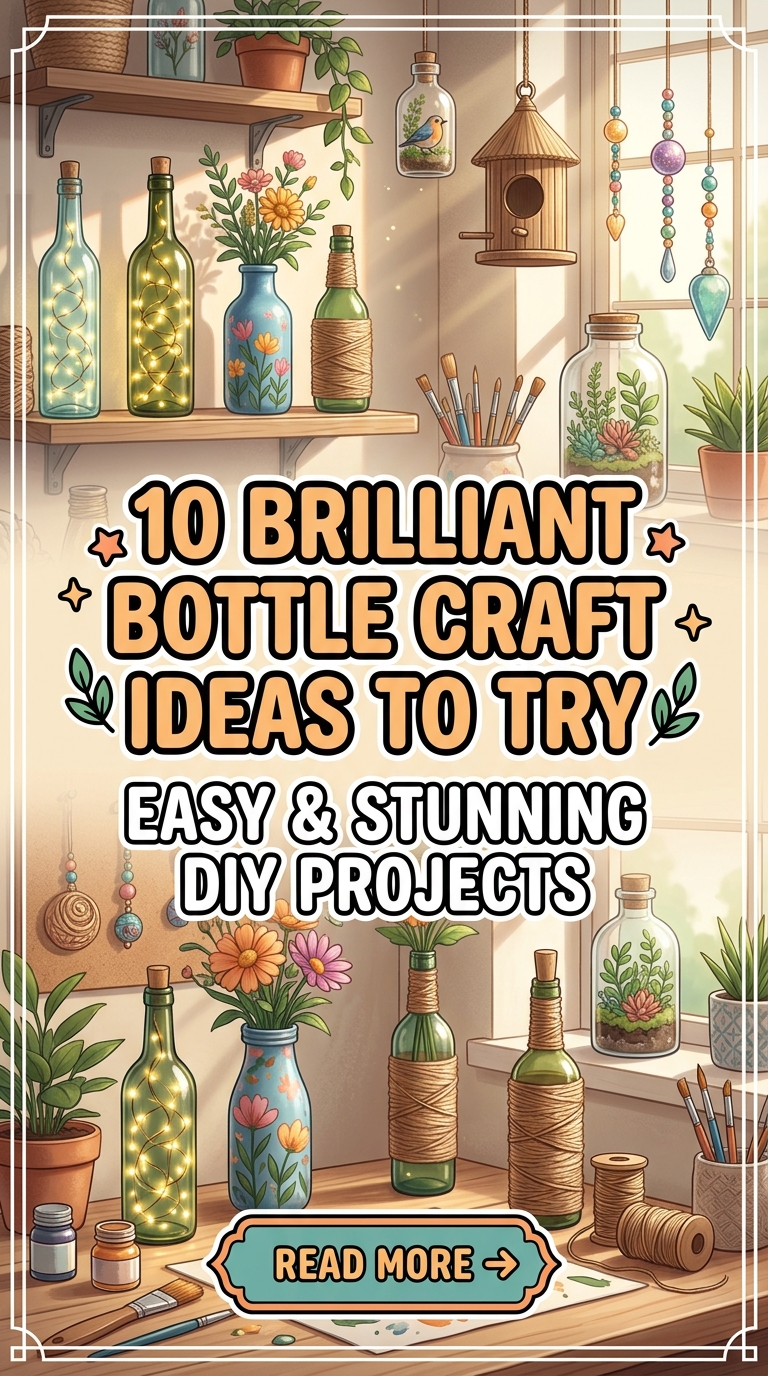
Glass bottles—whether saved from olive oils, wine, craft sodas, or vintage apothecary potions—possess timeless forms, high structural durability, and beautiful light-refracting qualities. Rather than tossing these versatile vessels into the recycling bin, upcycling them into bespoke household items allows you to blend eco-conscious living with chic interior design.
By using simple techniques like glass etching, glass cutting, jute wrapping, decoupage, and metallic gilding, discarded bottles can be transformed into high-end home decor, functional lighting, tabletop accents, and garden features.
Whether you are looking to refresh your living room, design table centerpiece displays for special events, or create handmade gifts, here is an in-depth guide to ten creative glass bottle craft ideas.
1. The Frosted Botanical Etched Bottle Vase
Etched glass delivers a soft, luminous matte finish that rivals high-end boutique glassware. By using chemical etching cream paired with vinyl botanical stencils, plain clear or green wine bottles can be turned into elegant, frosted flower vases.
Material Palette & Crafting Strategy
- Surface Preparation: Clean the glass bottle thoroughly in warm, soapy water to remove all paper labels and sticky adhesive residues. Wipe the outer glass surface with rubbing alcohol to ensure a completely grease-free base.
- Stencil Application: Apply adhesive vinyl stencils—such as fern fronds, monstera leaves, delicate wildflowers, or geometric line art—firmly onto the glass, pressing out any air bubbles along the edges.
- Etching Execution: Coat the exposed glass areas with a thick layer of glass etching cream using a synthetic brush. Allow the cream to react for 5 to 10 minutes according to package instructions before rinsing under warm running water and peeling off the stencils.
Styling Tip: Display a set of three etched bottle vases of varying heights together on a wooden mantelpiece, filling them with single stems of dried pampas grass, eucalyptus, or dried cotton bolls.

2. The Matte Black & Gold Leaf Apothecary Dispenser
Give your bathroom vanity or kitchen sink area a sleek, spa-like upgrade by converting leftover spirit or oil bottles into modern apothecary liquid soap dispensers.
Material Palette & Crafting Strategy
- Opaque Matte Coating: Spray-paint clean glass bottles with two light, even coats of chalky matte black or charcoal paint. Matte surfaces hide fingerprints while creating a high-contrast background for metallic accents.
- Gilding Accent: Apply gilding adhesive (size) randomly along the lower third or base of the bottle. Once tacky, press delicate sheets of imitation gold or copper leaf onto the glass, brushing away loose flakes with a soft fan brush for a distressed, luxury finish.
- Hardware Assembly: Insert a metal liquid pump nozzle—fitted with a rubber stopper—into the bottle opening. Fill with your favorite scented hand soap or dishwashing detergent.

3. The Macramé-Wrapped Boho Hanging Terrarium
Pairing the industrial clarity of glass with the warm, organic knots of cotton macramé creates an eye-catching hanging planter that adds vertical green space to sunrooms, windows, and outdoor covered patios.
Material Palette & Crafting Strategy
- Creating the Opening: Using a glass bottle cutter or the thermal shock string method, carefully cut off the top neck or carve out a side window opening in a wide-bodied glass bottle, smoothing the sharp edges with wet-dry sandpaper.
- Macramé Netting: Knot natural 3mm or 4mm twisted cotton cord into a basic square-knot net basket that snugly cradles the base and sides of the bottle.
- Planting & Drainage: Add a layer of small activated charcoal pebbles at the bottom for drainage, topped with potting soil and moisture-loving indoor plants like pothos, fittonia, or trailing ivy.

4. The Self-Watering Wine Bottle Herb Planter
For urban gardeners or anyone who struggles to keep indoor herbs hydrated, an upcycled self-watering wine bottle planter provides a clever, hands-off hydroponic-style growing environment.
Material Palette & Crafting Strategy
- Cutting the Bottle: Score a clean wine bottle roughly 4 inches below the neck using a glass bottle scoring tool, applying heat and ice water to snap the bottle cleanly into two pieces. Sand all cut edges thoroughly.
- Wicking System: Invert the top neck portion upside down so it sits like a funnel inside the lower reservoir base. Thread a strip of cotton rope or thick cotton yarn through the neck opening, letting it hang down into the reservoir.
- Herb Planting: Fill the inverted neck with potting soil and your chosen herb seedling (such as basil, mint, or parsley). Fill the bottom reservoir with water—the cotton cord will continuously wick water upward into the soil as needed.

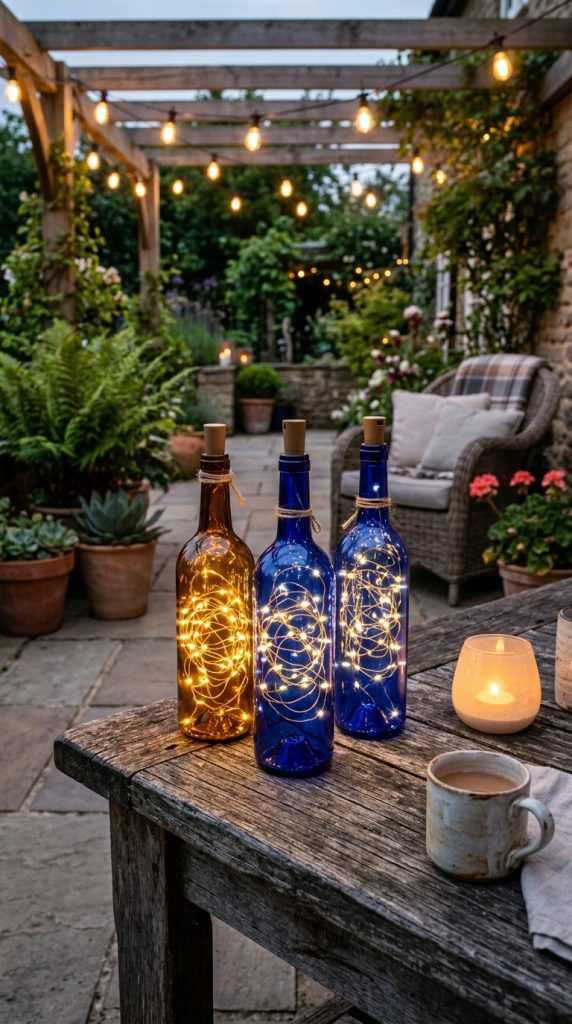
5. The Warm Copper Wire Fairy Light Lantern Set
Transforming discarded amber, cobalt blue, or clear olive oil bottles into enchanting tabletop lanterns is one of the quickest, most rewarding upcycling projects.
Material Palette & Crafting Strategy
- Light String Choice: Use battery-powered micro LED fairy light strings mounted on thin, pliable copper wire. Opt for warm white (2700K) LEDs for a cozy, golden glow.
- Clever Power Concealment: Choose light strings attached to faux plastic cork stoppers that house the tiny batteries. These fit directly into the top bottle neck, hiding the power source completely.
- Decorative Wraps: Wrap the exterior necks of the bottles with natural jute twine, hanging small brass charms or wooden tags around the collar for added texture.
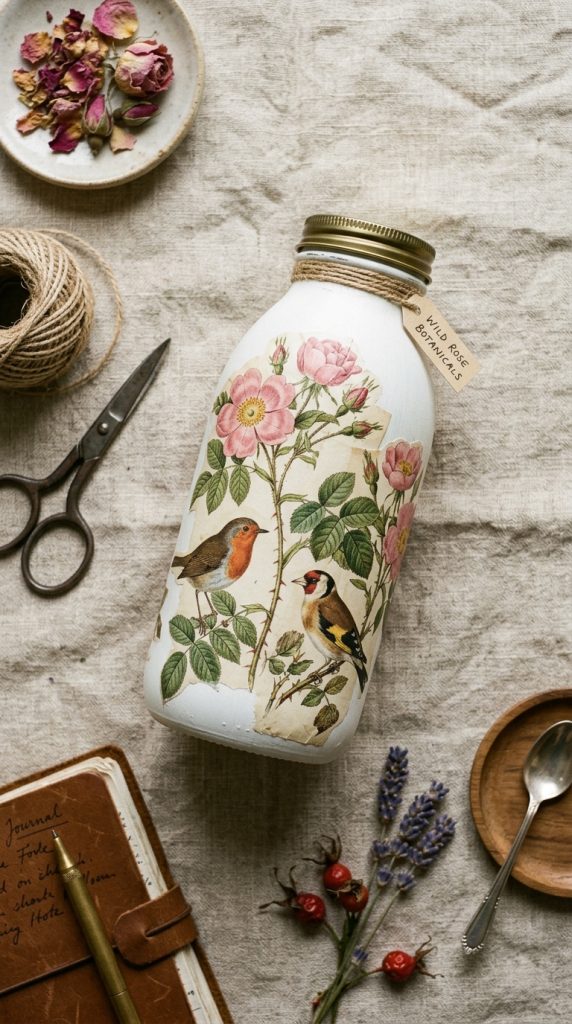
6. The Vintage Decoupage Floral Oil Carafe
Decoupage is an ancient art technique that allows you to apply delicate paper illustrations onto glass surfaces, creating the illusion of hand-painted porcelain or glazed ceramic art.
Material Palette & Crafting Strategy
- Paper Selection: Select delicate decorative paper napkins or thin rice paper featuring vintage botanical illustrations, birds, or delicate floral patterns. Separate the top printed ply of the napkin from the plain backing layers.
- Adhesive Application: Brush a thin layer of decoupage medium (like Mod Podge) onto a clear glass bottle painted in a soft ivory base. Gently lay the paper napkin over the surface, smoothing out wrinkles from the center outward using a soft sponge brush.
- Sealing & Protection: Once dry, seal the entire paper surface with two coats of clear water-based polyurethane sealer to protect against dust and light moisture.
7. The Rustic Jute & Sea Glass Textured Vase
Bring breezy coastal texture into your home by covering plain glass condiment or beverage bottles with wrapped natural jute cord and crushed sea glass embellishments.
Material Palette & Crafting Strategy
- Jute Wrapping: Starting from the base of the bottle, apply hot glue or strong craft adhesive in small sections, wrapping natural jute or hemp twine tightly around the body in continuous, snug coils.
- Sea Glass Accents: Leave a center band of glass exposed, or glue pieces of ocean-tumbled green, blue, and frosted white sea glass into geometric tile patterns directly onto the twine.
- Styling Options: Leave the top neck un-wrapped to showcase the original glass finish, filling the vase with dried sea oats or tall faux greenery stems.

8. The Architectural Cut-Glass Candle Hurricane
Cutting off the bottoms of colored wine or beer bottles allows you to create wind-proof hurricane covers for pillar candles and tealights, casting rich, tinted light across indoor and outdoor dining tables.
Material Palette & Crafting Strategy
- Precision Scoring: Score the lower inch off a green, amber, or cobalt blue wine bottle using a tabletop glass cutter.
- Thermal Shock Separation: Submerge the scored line alternately in boiling water and ice-cold water until the bottom cleanly snaps off along the line. Smooth the cut rim using coarse-to-fine wet silicone carbide sandpaper.
- Candle Display: Place a tealight or small pillar candle onto a wooden or ceramic coaster base, lighting it and sliding the bottomless glass bottle hurricane directly over the candle. The open neck allows heat and smoke to escape safely while protecting the flame from drafts.

9. The Dripped Colored Wax Melt Centerpiece
Embrace cozy, eclectic vintage charm by turning discarded Chianti-style or long-neck glass bottles into melting wax candle holders that grow more beautiful with every use.
Material Palette & Crafting Strategy
- Base Preparation: Select heavy glass bottles with interesting forms or textured embossing. Insert a standard taper candle securely into the neck opening.
- Layering Colors: Light various colored taper candles—such as burgundy, mustard yellow, forest green, and cream—and tilt them carefully over the bottle neck, letting molten wax drips cascade down the shoulders and sides of the glass.
- Building Strata: Over time, continuous wax layers build up into a sculptural, multi-colored pillar of hardened wax drips, creating a rustic centerpiece perfect for cozy dining spaces.

10. The Mosaic Stained-Glass Garden Border Spike
Transform shattered or crushed colored glass bottles into striking, light-catching mosaic garden stakes that add artistic color to outdoor flower beds and garden borders.
Material Palette & Crafting Strategy
- Glass Preparation: Safely crush colored glass bottles inside a heavy canvas sack using a mallet, sorting the smooth-edged pieces into amber, cobalt blue, and olive green tiles.
- Substrate Application: Coat an outdoor wooden stake, metal rod, or clear acrylic slab with heavy-duty waterproof silicone adhesive or tile mastic.
- Mosaic Placement: Arrange the crushed glass fragments into mosaic patterns, pressing them firmly into the adhesive. Once cured, apply outdoor tile grout over the surface, wiping away excess residue with a damp sponge to expose the sparkling glass facets.
Finishing & Safety Guidelines for Glass Upcycling
Working with glass requires proper safety protocols and careful execution to ensure beautiful, long-lasting finished projects:
1. Essential Glass Cutting Safety
- Eye & Hand Protection: Always wear impact-resistant safety goggles and heavy-duty cut-resistant gloves when scoring, breaking, or sanding glass bottles.
- Wet Sanding: Never sand glass dry. Always sand cut glass rims using wet sandpaper or submerge the glass edge in water while sanding to prevent microscopic glass dust from becoming airborne.
2. Paint Adhesion for Glass
Because glass is a smooth, non-porous surface, standard paints can peel or scratch off easily if applied incorrectly:
- Cleaning: Always clean the bottle surface thoroughly with isopropyl rubbing alcohol before painting to remove oils and dirt.
- Primer Base: Use a specialized bonding primer or glass chalk paint as your first coat to give topcoat paints maximum grip and durabilit