Machine embroidery bridges technical precision and creative textile design, letting makers produce professional-grade items with remarkable speed and consistency. Unlike hand stitching—which relies on manual tension and individual thread passes—machine embroidery uses computerized digitizing, stabilized hoop systems, and high-speed needle movements to execute intricate patterns flawlessly.
Whether you operate a single-needle home machine or a multi-needle commercial unit, choosing the right combination of stabilizers, thread weights, and hoop sizes is essential for high-quality results. From customized home decor and personalized gifts to upcycled apparel and in-the-hoop (ITH) creations, computerized embroidery opens up endless creative possibilities.
Here is an architectural, structural, and technical guide to 10 machine embroidery project ideas, complete with material specifications, stabilizer pairing rules, stitch density guidelines, and production workflows.
Technical Fundamentals, Stabilizers & Machine Embroidery Mechanics
Before loading your digitized file, establishing correct stabilization, thread choice, and hooping tension prevents fabric puckering, thread breaks, and misaligned outlines.
1. The Core Rules of Stabilization
- Cut-Away Stabilizer: Essential for knits, performance wear, and stretchy fabrics (T-shirts, hoodies). It provides permanent structural support throughout the lifespan of the garment.
- Tear-Away Stabilizer: Best suited for stable woven goods (towels, canvas, denim, cotton sheets). It tears cleanly away from the design edges after stitching.
- Water-Soluble Topping (Wash-Away): Placed over textured fabrics (terrycloth towels, velvet, faux fur, fleece) to prevent embroidery stitches from sinking into the fabric pile.
2. Thread & Needle Metrics
- Standard Thread Weight: Use 40 wt polyester or rayon embroidery thread for general stitching. Drop to 60 wt thread for micro-text or ultra-fine details.
- Needle Types: Use 75/11 or 90/14 Embroidery Needles featuring a specially shaped eye and scarf that reduce friction and heat buildup during high-speed stitching ($600\text{–}1000\text{ SPM}$).
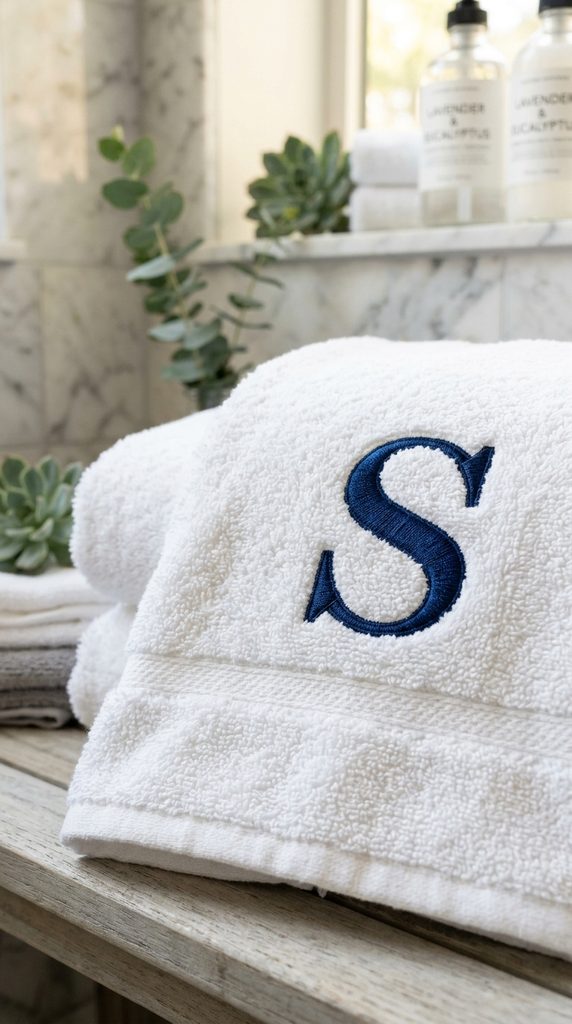
1. Personalized Plush Monogrammed Bath Towels
Elevating standard plush bath towels with bold monogrammed initials creates a classic spa-like aesthetic that works as a high-end housewarming or wedding gift.
Technical Specs & Digital Settings
- Stabilizer Combo: Medium-weight Tear-Away stabilizer on the bottom; clear Water-Soluble Film Topping on top to keep stitches elevated above the looped towel pile.
- Design Settings: Bold block or scripted monogram typography using satin stitch borders supported by a dense tatami fill base.
- Density Calibration: Maintain a minimum underlay setting (Edge Run plus Full Grid Underlay) to lock the fabric loops flat before executing top satin stitches.
2. In-The-Hoop (ITH) Quilted Leatherette Keychain Pouches
In-the-hoop (ITH) projects allow you to complete an entire functional item—including quilting, zipper insertion, and edge seam construction—directly inside the embroidery hoop with zero manual machine sewing.
Technical Specs & Digital Settings
- Material Palette: Soft synthetic leatherette, vinyl, or cork fabric backed with light tear-away stabilizer.
- Stitch Workflow: The machine stitches placement lines, secures the zipper coil, stitches decorative diamond quilting lines, attaches lining fabrics, and completes the outer seam.
- Needle Recommendation: Use a Microtex or Leather Needle (Size 80/12) to punch crisp, clean holes without tearing vinyl or synthetic leather.

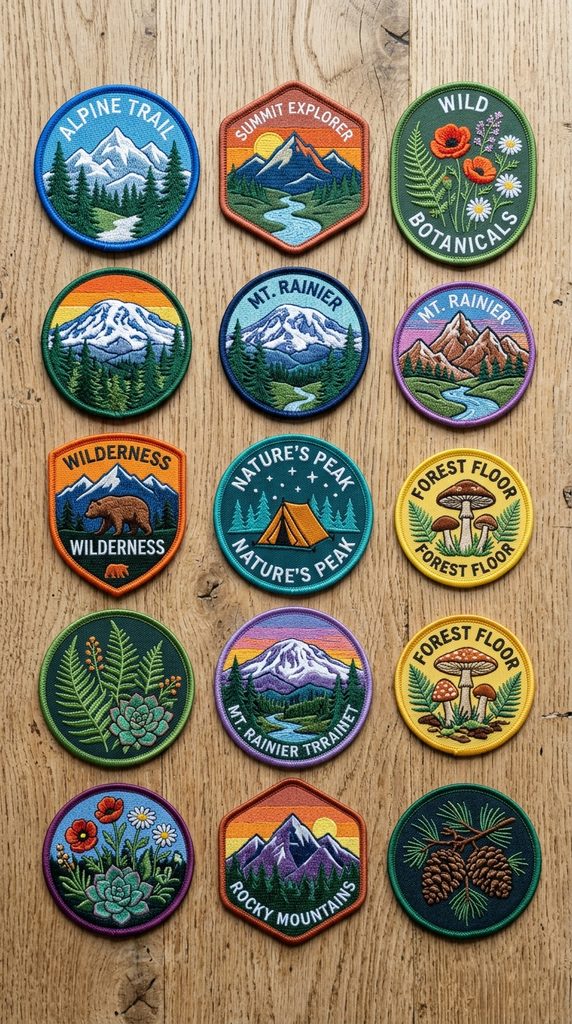
3. Custom Patch Creation with Heat-N-Bond Backing
Creating custom embroidered patches lets you stitch standalone badges, logos, or artistic crests that can be heat-sealed directly onto jackets, backpacks, and caps.
Technical Specs & Digital Settings
- Base Fabric: Heavy duty poly-twill fabric or dense badge felt hooped over a heavy water-soluble stabilizer or heavy cut-away backing.
- Border Construction: A thick Satin Merrowed Border (3.5 mm to 5.0 mm width) stitched at high density to completely encase outer raw fabric edges.
- Finishing Process: Apply a layer of iron-on double-sided adhesive film (Heat-N-Bond Ultrahold) to the reverse side, then cut close to the satin border using heat-cut tools or sharp appliqué scissors.
4. Intricate Lace Ornaments (Free-Standing Lace – FSL)
Free-standing lace (FSL) projects use specialized digitizing techniques that stitch thread directly onto water-soluble stabilizer. Once dissolved, you are left with delicate, freestanding lace structures.
Technical Specs & Digital Settings
- Stabilizer Protocol: Hoop two layers of heavy-duty fibrous water-soluble stabilizer (such as Vilene or Solvy) drum-tight in the hoop.
- Digitizing Logic: Requires extensive structural underlay lines where every thread path interconnects. Never alter or resize FSL digital files, as it disrupts essential thread junction locks.
- Thread Choice: Use identical 40 wt polyester thread in both the needle and bobbin so the finished lace ornament looks identical from both sides.

5. Embroidered Denim Jacket Back Panel Statement Art
Stitching large-format artwork across the back panel of a denim jacket creates a bold fashion statement, combining rugged denim texture with precise computerized fill stitches.
Technical Specs & Digital Settings
- Hoop Size: Requires a large embroidery field ($200\times300\text{ mm}$ or $200\times200\text{ mm}$ hoop).
- Stabilization: Heavy-weight Cut-Away stabilizer ($2.5\text{ oz to }3.0\text{ oz}$) floated or hooped securely behind the denim back panel.
- Stitch Density Strategy: Break up large fill areas using random pattern fills (Tatami/Ceiling fills) to prevent excessive stiffness or heavy fabric pull.

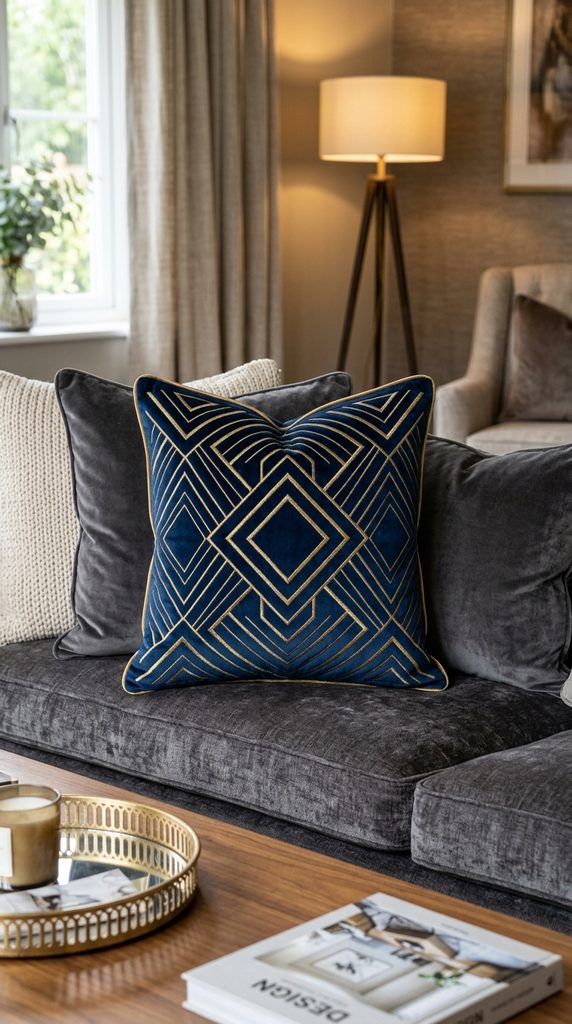
6. Decorative Quilted Pillow Shams with Metallic Accents
Computerized quilting combined with metallic thread embroidery adds subtle sheen, luxurious texture, and structured geometry to accent bed pillows and throw cushions.
Technical Specs & Digital Settings
- Layer Assembly: Sandwich quilt assembly consisting of top cotton fabric, thin low-loft polyester batting, and tear-away backing held with temporary fabric adhesive spray.
- Metallic Thread Setup: Use specialized 40 wt Metallic Embroidery Thread paired with a Metallic Needle (Size 90/14). Lower upper thread tension slightly and drop machine speed to 500–600 SPM to eliminate thread snaps.
- Motif Selection: Geometric mandala designs, continuous-line stippling, or intricate floral quilting motifs.
7. Appliqué Sweatshirts with Raw-Edge Fabric Inlays
Combine fabric swatches (such as flannel, floral cotton, or glitter vinyl) with machine embroidery to create bold, textured sweatshirt lettering without dense fill stitching.
Technical Specs & Digital Settings
- Stabilizer Setup: Medium Cut-Away stabilizer hooped beneath a cotton/poly fleece sweatshirt; spray lightly with temporary tack spray to prevent shift.
- Appliqué Sequence:
- Placement Stitch: Stitches outline directly on sweatshirt.
- Tack-down Stitch: Secures fabric swatch placed over outline.
- Satin/E-Stitch Finish: Covers raw fabric edges with a dense satin or blanket stitch outline after excess fabric is trimmed.
- Trimming Precision: Use duckbill appliqué scissors to trim away excess inlay fabric close to the tack-down line without cutting base garment fibers.

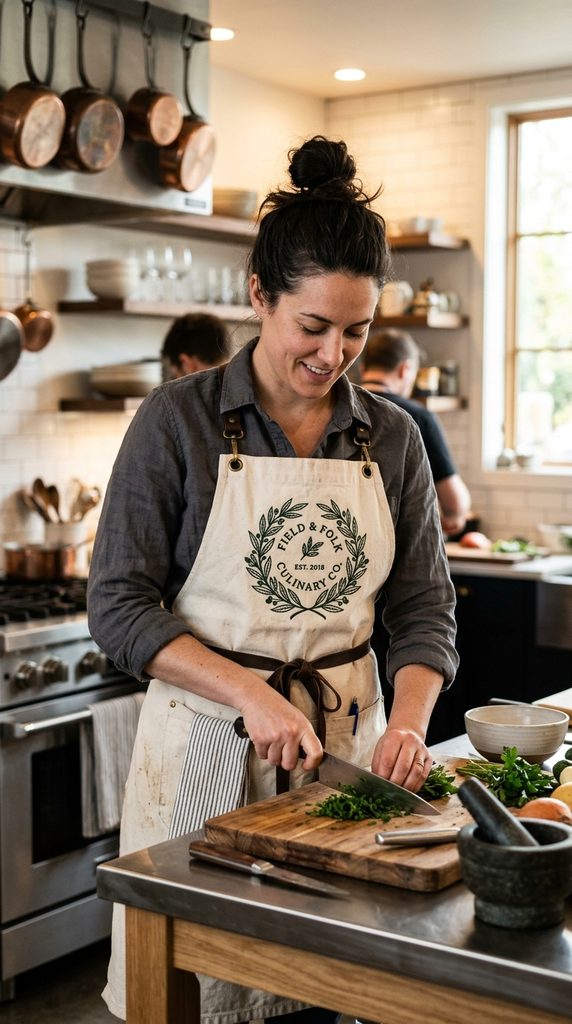
8. Personalized Canvas Kitchen Aprons & Utility Wear
Stitching custom chef titles, restaurant logos, or botanical line art onto heavy canvas aprons creates durable, professional kitchen wear built for daily utility.
Technical Specs & Digital Settings
- Fabric Prep: Heavy cotton canvas ($10\text{ oz to }12\text{ oz}$) handles high stitch counts easily without severe distortion.
- Stabilizer: Medium-weight Tear-Away stabilizer sprayed lightly with temporary adhesive spray.
- Placement Ergonomics: Position central chest designs 2.5 to 3 inches below the top bib edge, ensuring text sits flat across the chest area without bending along neck straps.
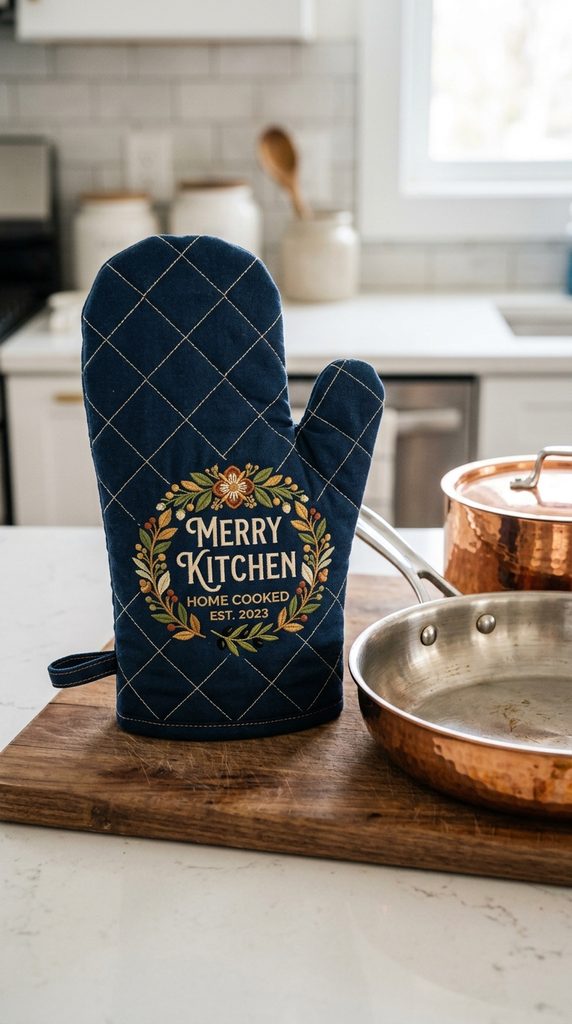
9. Quilted In-The-Hoop (ITH) Oven Mitts & Trivets
Stitching functional kitchen trivets and insulated oven mitts directly inside the hoop ensures precise grid quilting, layered thermal insulation, and clean bias tape edge finishes.
Technical Specs & Digital Settings
- Insulation Core: Layer heat-resistant batting (such as Insul-Bright) between cotton batting and exterior decorative cotton fabrics.
- Safety Construction: Ensure no metallic or foil-coated threads are used if the finished trivet or mitt will be used near microwaves or high-heat surfaces.
- Stitch Layers: The machine executes quilting lines, secures structural layers, attaches bias hanging loops, and outlines final seam lines for easy trim and turning.
10. Embroidered Linen Table Runners & Place Mats
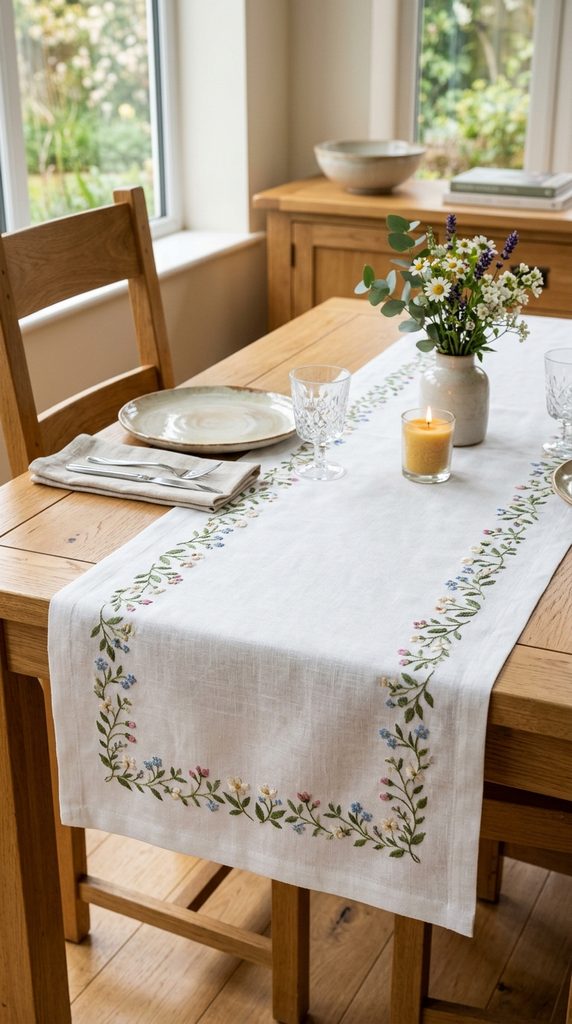
Delicate floral vines, holiday motifs, or modern geometric borders stitched along linen table runners bring artisanal charm and structure to dining table settings.
Technical Specs & Digital Settings
- Fabric Choice: $100\%$ pure linen or linen/cotton blend featuring crisp, even weaves.
- Stabilization: Water-soluble mesh stabilizer (wash-away mesh) or light tear-away stabilizer to prevent stiff stabilizer edges from showing on sheer or light linens.
- Re-Hooping Alignment: Use built-in machine camera alignment features, crosshair positioning markers, or physical hooping templates when stitching continuous border designs that require multiple hoopings.