Adding rhinestones to handmade projects brings instant glamour, tactile texture, and custom personality to everyday items. Rhinestone crafting—often called blinging or crystal embellishment—has evolved far beyond basic bedazzling. Modern crystal application combines precision placement tools, industrial-strength adhesives, and high-quality glass or resin stones to transform simple accessories, home decor, and clothing into stunning statement pieces.
Whether you are customizing festival apparel, elevating home decor accents, or crafting personalized gifts, mastering rhinestone application opens endless creative possibilities. Selecting the right stone cut, backing type, and adhesive technique ensures your shimmering creations remain durable, washable, and brilliantly reflective.
Here is a comprehensive material science, application technique, and step-by-step workflow guide to 10 creative rhinestone craft ideas, complete with adhesive selection, tool requirements, and embellishment tips.
Technical Fundamentals, Stone Types & Adhesive Mechanics
Before starting any rhinestone project, understanding stone sizing, backings, and glue compatibility guarantees your crystals stay securely attached through wear, washing, and daily handling.
1. Rhinestone Types & Sizing Standards
- Flatback No-Hotfix Stones: Feature a smooth foil or metallic backing. Require liquid adhesives (such as E6000, Gem-Tac, or specialized acrylic glues) for application onto hard surfaces, metal, glass, or leather.
- Hotfix Stones: Come pre-coated with heat-activated glue on the flat backing. Require a hotfix applicator tool or heat press to melt the glue into porous textile fibers.
- Sizing Chart (SS – Stone Size):
- $SS6 – SS10\text{ (}2\text{mm} – 2.8\text{mm}\text{)}:$ Ideal for fine outline work and tight detail areas.
- $SS16 – SS20\text{ (}4\text{mm} – 4.8\text{mm}\text{)}:$ The versatile standard size for filling medium surface areas.
- $SS30 – SS34\text{ (}6.5\text{mm} – 7\text{mm}\text{)}:$ Great for high-impact accent focal points.
2. Surface Preparation & Adhesive Curing
- Surface Cleaning: Always wipe non-porous surfaces (glass, plastic, metal) with isopropyl alcohol to remove skin oils and dust before applying glue. Lightly sand smooth plastics with 400-grit sandpaper to create a mechanical bond.
- Full Cure Time: While adhesives set within 1 to 2 hours, allow a full 72-hour cure time before washing embellished fabrics or heavily handling embellished glass objects.
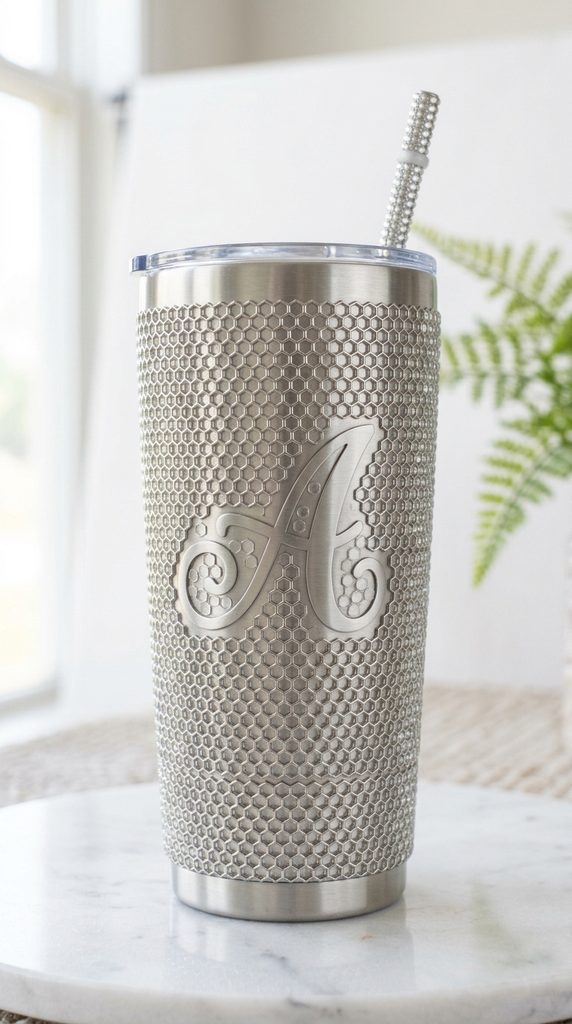
1. Custom Monogrammed Tumbler & Water Bottle
Transform plain stainless steel or acrylic drinkware into a dazzling personalized accessory covered in a seamless honeycomb pattern of shimmering crystals.
Technical Specs & Application Workflow
- Core Materials: Double-walled stainless steel tumbler, $SS16\text{ and }SS20$ flatback glass rhinestones, E6000 or Gem-Tac glue, wax picker pen.
- Application Technique: Use a honeycomb placement pattern (nesting each stone row into the gaps of the row above) to eliminate gaps between crystals.
- Care & Longevity: Hand wash only with mild soap and warm water. Never place embellished drinkware inside a dishwasher or microwave.
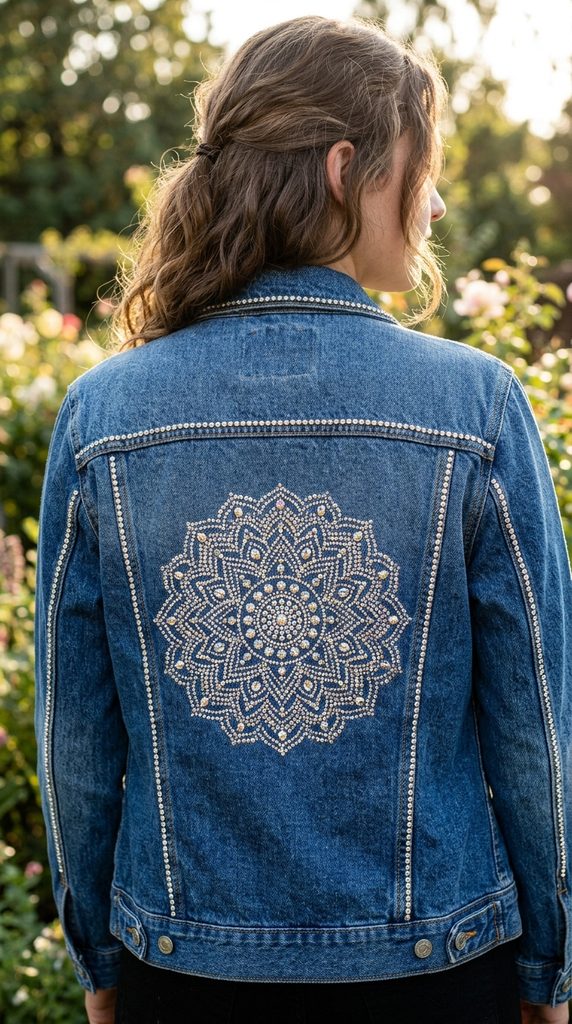
2. Embellished Denim Jacket Back Panel
Elevate a classic denim jacket by outlining back seam lines or filling the central back panel with a motif of brilliant hotfix or flatback stones.
Technical Specs & Application Workflow
- Core Materials: Heavyweight cotton denim jacket, hotfix stones or Gem-Tac adhesive, hotfix wand applicator or parchment paper and household iron.
- Application Technique: Place a piece of thick cardboard inside the jacket to keep glue from seeping through to the front panel. Apply heat for 10 to 15 seconds per section when using hotfix stones.
- Washing Instructions: Turn the jacket inside out, place it inside a delicate mesh laundry bag, and wash on a gentle cold cycle. Air dry completely.
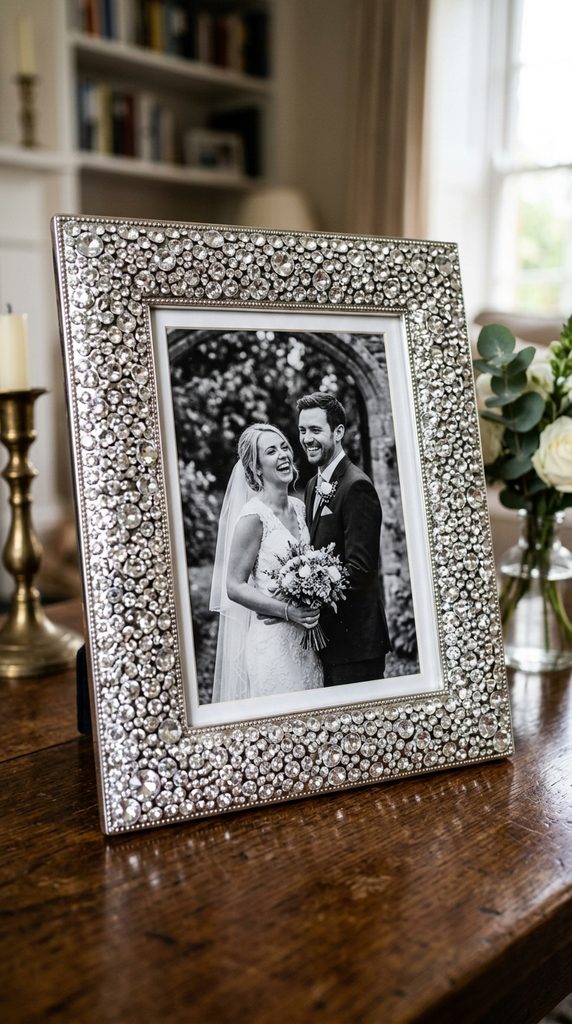
3. Glamorous Crystal-Accented Tabletop Picture Frame
Turn a plain wooden, metal, or plastic photo frame into an elegant home decor centerpiece that catches and reflects ambient room light.
Technical Specs & Application Workflow
- Core Materials: Flat-surface photo frame, mixed-size flatback rhinestones ($SS10\text{ to }SS30$), quick-setting jewelry glue or E6000.
- Design Layout: Utilize a scatter technique (mixing large, medium, and small stones randomly) to create a luxurious cluster effect across frame borders.
- Styling Best Practices: Display black-and-white family portraits or wedding photos inside crystal frames to complement the metallic shine.
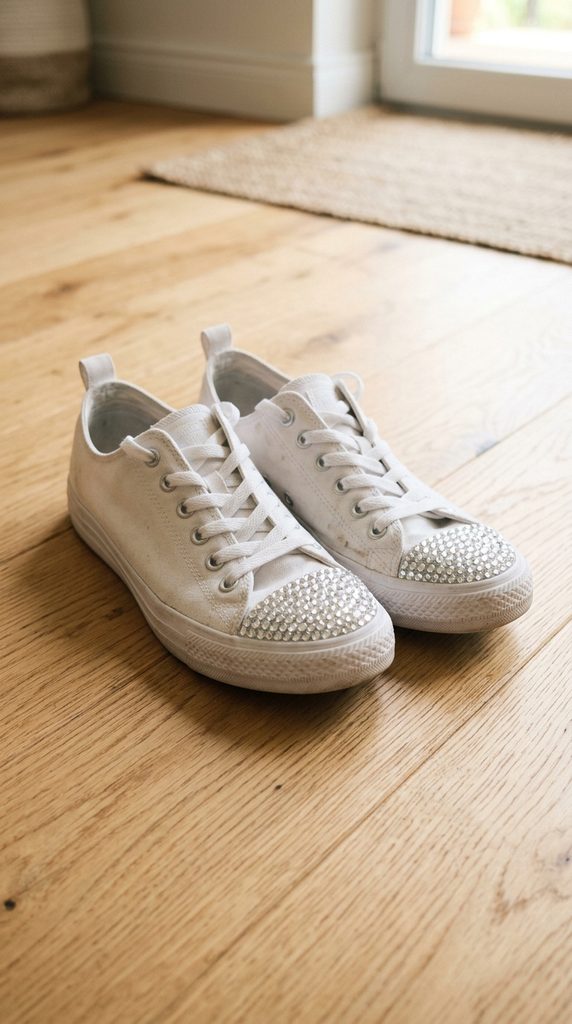
4. Blinged Canvas Sneakers & Shoe Toes
Customized canvas sneakers with rhinestone-covered toe caps, heel strips, or side logos offer a fun, sparkling twist on everyday street fashion.
Technical Specs & Application Workflow
- Core Materials: Canvas shoes, $SS12\text{ and }SS16$ flatback crystals, flexible fabric glue (Gem-Tac or Beacon 527), precision syringe dispenser.
- Prep & Masking: Stuff the shoe toes with paper towels to create a firm surface. Mask off rubber sole edges with painter’s tape to maintain clean lines.
- Placement Strategy: Start applying stones along the outer rim of the toe cap and work inward in concentric rings until the rubber cap is fully covered.
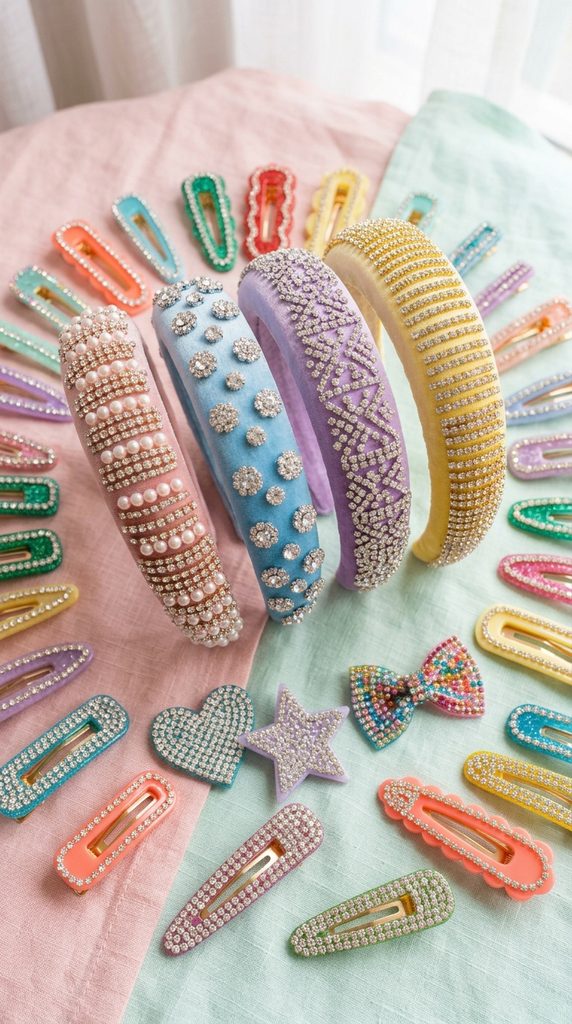
5. Sparkling Acrylic Hair Clips & Headbands
Craft high-fashion hair accessories by embellishing plain acrylic barrettes, padded velvet headbands, or snap clips with radiant rows of crystals.
Technical Specs & Application Workflow
- Core Materials: Blank acrylic barrettes or fabric headbands, $SS6\text{ to }SS16$ glass stones, quick-dry gel super glue or Gem-Tac.
- Design Ideas: Create neat single-line rows along thin clips or dense gradient color transitions (ombre effect) across wide padded headbands.
- Application Tip: Use a double-ended wax pickup tool to place small $SS6$ stones precisely along narrow clip edges without getting glue on your fingers.
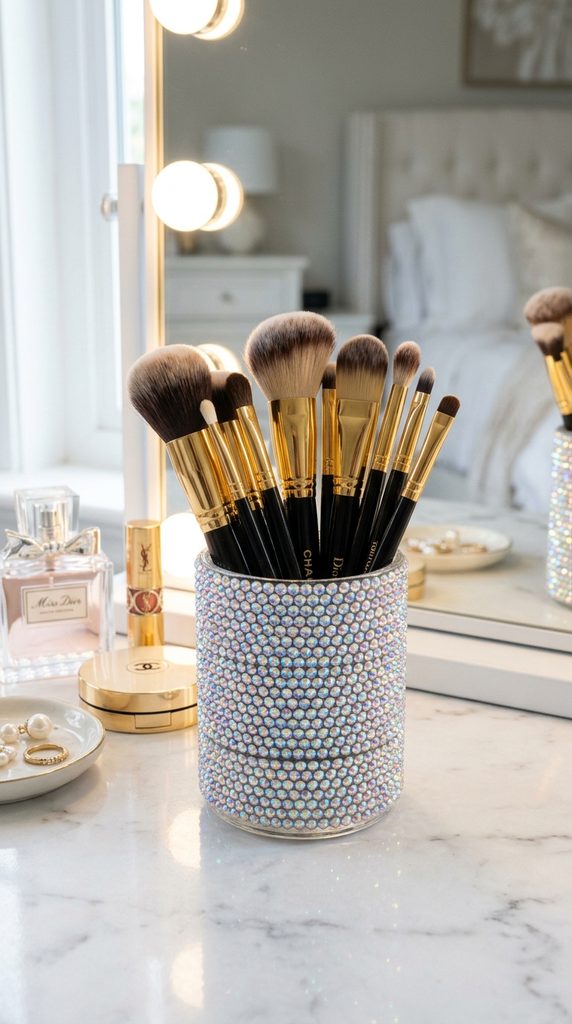
6. Crystal-Studded Makeup Brush Holder & Organizer
Upgrade your vanity desk by transforming a clear glass or acrylic cylinder cup into a sparkling holder for makeup brushes or pens.
Technical Specs & Application Workflow
- Core Materials: Cylindrical glass jar or acrylic container, $SS16$ AB (Aurora Borealis) flatback stones, clear silicone or acrylic adhesive.
- Design Style: AB-coated stones feature an iridescent rainbow finish that reflects pastels and pinks under vanity lighting.
- Organization Tip: Fill the bottom inch of the crystal cup with decorative pearl beads to keep makeup brush handles standing upright.
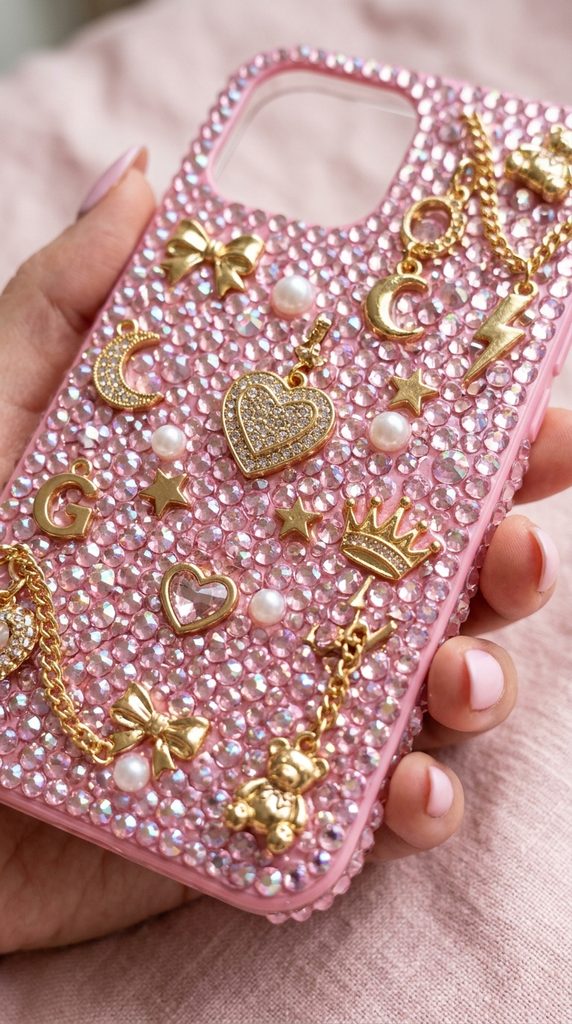
7. Custom Rhinestone Phone Case with Focal Charms
Design a personalized smartphone case combining flatback crystals, resin cabochons, and focal charms for a textured, high-shine protective cover.
Technical Specs & Application Workflow
- Core Materials: Hard PC plastic phone case, sandpaper, mixed SS size flatback stones, center focal charm, E6000 adhesive.
- Prep Mechanics: Scuff the smooth plastic case surface thoroughly with 400-grit sandpaper, then wipe clean with alcohol to ensure maximum glue adhesion.
- Assembly Workflow: Glue down large central charms first, then fill in surrounding areas with large stones, finishing with small $SS6$ stones to pack tight gaps.
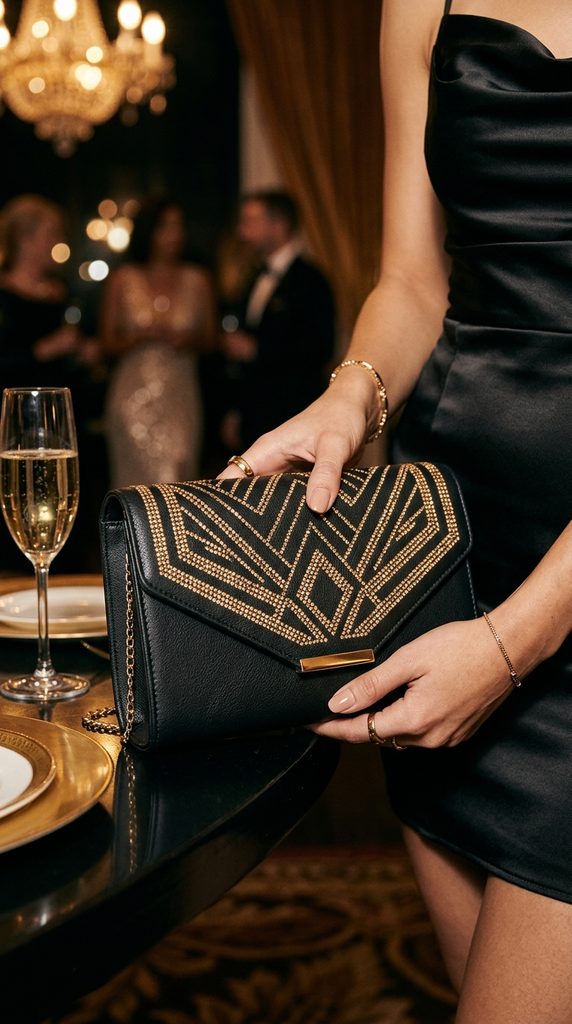
8. Dazzling Faux-Leather Handbag & Clutch Accents
Give a plain evening clutch or faux-leather crossbody bag an instant luxury upgrade by adding crystal borders, geometric patterns, or full-flap coverage.
Technical Specs & Application Workflow
- Core Materials: Faux-leather or suede clutch, $SS16\text{ and }SS20$ flatback stones, flexible leather adhesive (Barge cement or Gem-Tac).
- Design Strategy: Map out geometric lines or mandala patterns onto the handbag flap using a erasable tailor’s chalk pencil before gluing.
- Flexibility Notice: Ensure you use a flexible-curing glue so the embellished leather can bend and flex as the bag opens without popping off stones.
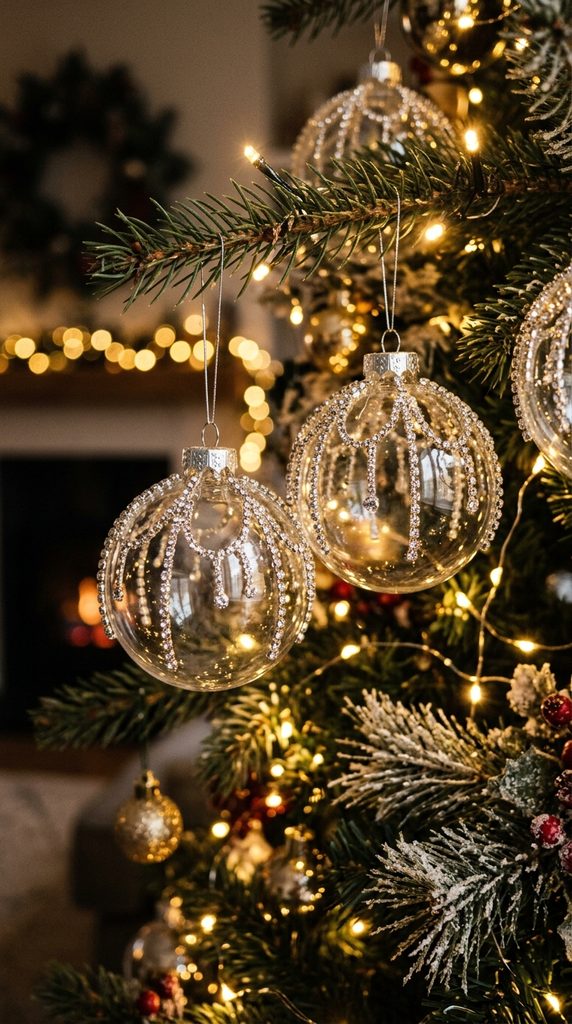
9. Festive Crystal Christmas Tree Ornaments
Create heirloom-quality holiday decor by covering clear glass or velvet ornament spheres in intricate crystal patterns and dripping rhinestone strands.
Technical Specs & Application Workflow
- Core Materials: Clear glass or velvet ornament globes, mixed-size hotfix or flatback stones, ribbon, craft glue or hotfix tool.
- Pattern Ideas: Create dripping icicle lines from the top ornament cap downward, or cover velvet spheres in a dense diamond lattice grid.
- Display Tip: Hang completed ornaments near warm holiday tree lights so the glass facets cast sparkling reflections across the room.
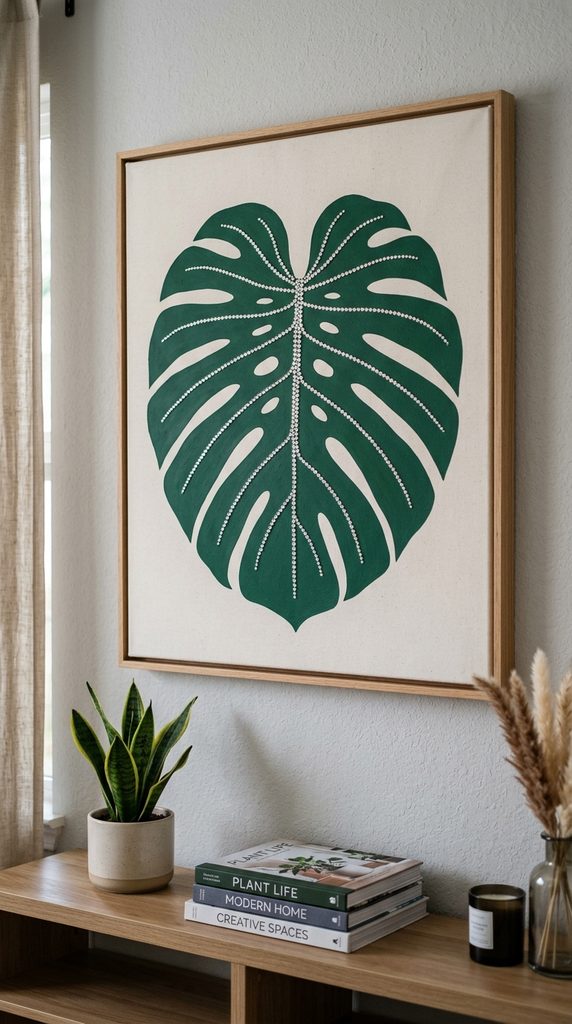
10. Shimmering Wall Art Canvas & Botanical Silhouettes
Combine fine art painting with crystal embellishments by painting a minimalist botanical canvas and accenting leaf tips or flower centers with sparkling stones.
Technical Specs & Application Workflow
- Core Materials: Stretched artist canvas, acrylic paints, $SS10 – SS30$ flatback crystals, clear craft glue.
- Execution Workflow: Paint a botanical silhouette (like palm fronds, monstera leaves, or floral bouquets) using acrylics. Once dry, glue crystals along leaf veins and flower petals.
- Visual Impact: The contrast between matte acrylic background paint and three-dimensional glass crystals creates striking modern wall art.