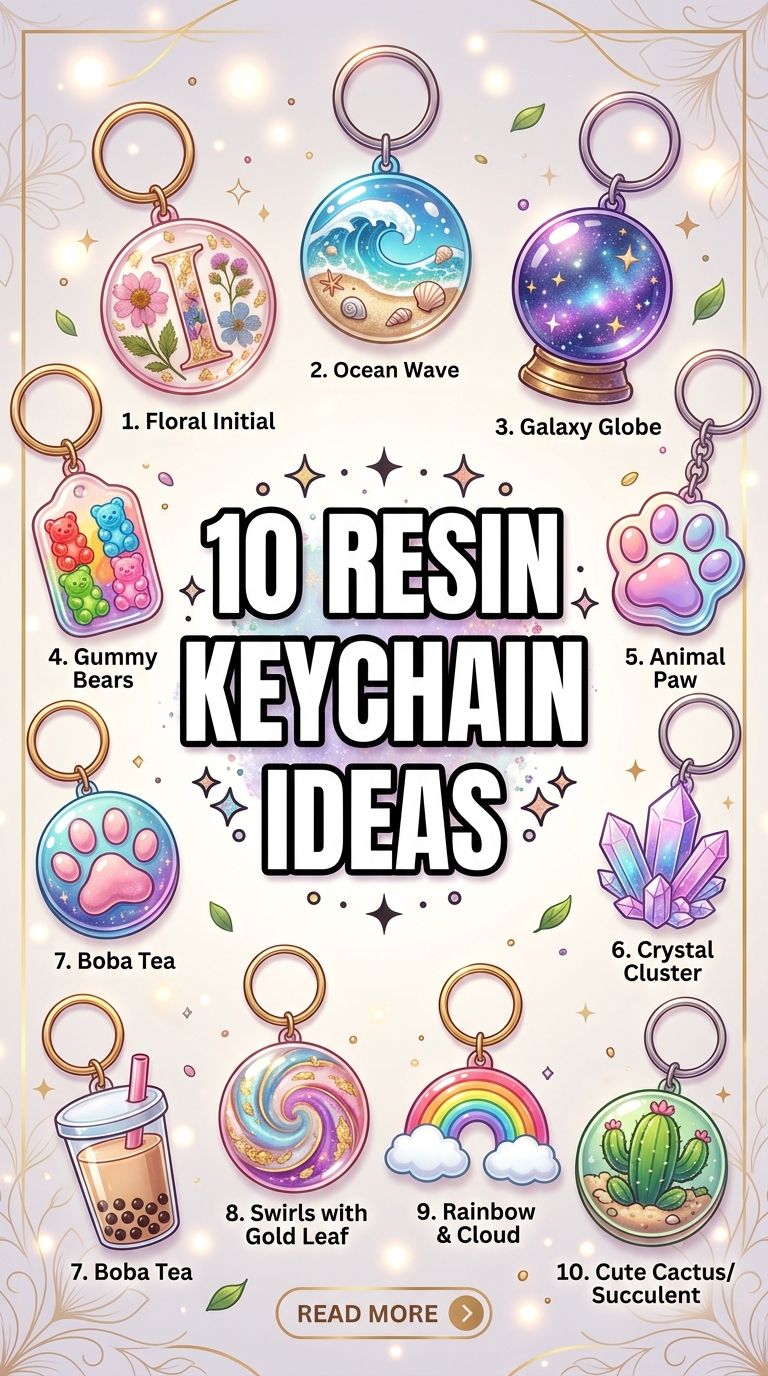
In the modern landscape of everyday carry (EDC) design, keychains have evolved from mere functional ring-holders into highly personal, miniature works of art. Among the materials driving this creative renaissance, crystal-clear epoxy resin stands supreme. Acting as a liquid glass window, resin encapsulates delicate botanicals, shimmering metallic flecks, and complex pigments, transforming fleeting moments and tiny treasures into durable, glossy keepsakes.
However, creating an elegant, professional-grade resin keychain requires moving past basic glitter fills and standard letter molds. To craft a piece that feels like a boutique accessory rather than a school craft project, one must understand color theory, curing chemistry, and the integration of mixed media.
Whether you are an aspiring maker launching an artisanal accessories brand or a dedicated crafter seeking to elevate your projects, this comprehensive guide explores ten sophisticated resin keychain ideas. Complete with step-by-step blueprints, material secrets, and expert finishing tips, these concepts are designed to look polished, intentional, and entirely luxurious.
Mastering the Medium: Chemistry and Techniques for Flawless Resin Accessories
To achieve a glass-like, bubble-free finish that resists yellowing over time, upgrading your techniques and chemistry is vital. Consider these essential principles before pouring your first mold:
- Choose the Right Formula: For small, shallow items like keychains, opt for a high-quality casting resin or a premium UV resin for quick, small-scale builds. Casting resin has a lower viscosity, allowing micro-bubbles to rise and pop naturally before curing.
- The Bubble-Busting Ritual: Mix your resin and hardener slowly in a gentle, sweeping motion rather than whipping it. After pouring, pass a mini butane torch or a heat gun briefly over the surface of the mold to burst any stubborn bubbles instantly.
- Preventing Yellowing: Ensure your resin formula contains a strong HALS (Hindered Amine Light Stabilizer) and an UV stabilizer. This prevents the clear portions of your keychains from turning amber when exposed to daily sunlight.
- Elevating the Hardware: Ditch the cheap, flimsy split rings. Elevate your keychains by pairing them with robust, high-quality hardware like lobster clasps, key hooks, and thick jump rings in brushed gold, matte black, or antique bronze finishes.
1. The Pressed Botanical Herbarium
Capture the delicate, fleeting beauty of nature in a pocket-sized frame. This design places real pressed florals and ferns inside a crystal-clear resin mold, mimicking traditional botanical glass specimens.
Aesthetic Blueprint
- Mold Shape: Oval, teardrop, or elongated rectangle.
- Key Materials: Real pressed baby’s breath, mini daisies, fern fronds, tweezers, and clear casting resin.
- Vibe: Romantic, vintage, and organic.
Step-by-Step Guide
- Prep the Florals: Ensure your flowers are completely dry and pressed flat. Any residual moisture inside the plant will cause the resin to turn cloudy or brown over time.
- Pour the Base Layer: Pour a thin, clear layer of resin (about $1/3$ of the mold’s depth) and let it cure slightly until it reaches a tacky, gel-like consistency.
- Arrange the Bouquet: Using tweezers, gently press the flat florals face-down onto the tacky resin layer. Placing them face-down ensures that the front of the finished keychain will display the best side of the flower.
- Seal and Cast: Pour a second, clear layer of resin to fill the mold entirely, covering the flowers completely. Run a heat tool over the top to clear any trapped bubbles beneath the petals.
- Cure and Assemble: Once cured, pop the keychain out of the mold, sand any rough back edges, and attach a brushed gold lobster clasp.
Styling Tip
Hang this botanical piece from a canvas tote bag or a linen backpack to add a soft, organic touch to your daily bag setup.

2. The Celestial Midnight Galaxy Cylinder
This deep, multi-layered design encapsulates the magic of a starry night. By mixing dark, shimmering pigments with metallic flakes at different depths, you create a mesmerizing 3D galaxy effect.
Aesthetic Blueprint
- Mold Shape: Deep cylinder, hexagon prism, or faceted crystal point.
- Key Materials: Navy blue alcohol ink, black mica powder, fine holographic glitter, and gold leaf flakes.
- Vibe: Cosmic, mysterious, and luxurious.
Step-by-Step Guide
- The Nebula Layer: Mix a small amount of resin with navy blue and black pigments, adding a pinch of black mica powder for a subtle, pearlescent shimmer. Fill the mold halfway with this dark mixture.
- Create the Swirls: Drop one or two drops of white alcohol ink into the dark layer, using a toothpick to swirl it gently to mimic interstellar dust clouds. Let this layer cure until semi-solid.
- Add the Stars: In a second batch of clear resin, mix fine holographic micro-glitter and tiny pieces of torn gold leaf. Pour this layer directly over the cured dark base. The gold leaf represents distant, sparkling stars.
- De-mold and Polish: Once completely cured, remove the prism from the mold. Hand-sand the flat facets using high-grit wet-dry sandpaper to make the crystalline angles catch the light brilliantly.
Styling Tip
Pair this celestial prism with dark leather key wraps or matte black hardware for a sleek, modern, and mysterious look.

3. The Beachside Terrazzo Slab
Terrazzo is a classic Italian design aesthetic characterized by scattered, colorful stone chips embedded in concrete. This project translates that gorgeous, structural look into resin using recycled plastic or cured resin chips.
Aesthetic Blueprint
- Mold Shape: Flat arch, circle, or rounded square.
- Key Materials: Pre-cured matte resin chips (in pastel tones), opaque white epoxy, and matte clear sealant.
- Vibe: Mid-century modern, playful, and architectural.
Step-by-Step Guide
- Prepare the Terrazzo Chips: Cure thin sheets of colorful resin (e.g., sage green, terracotta, and soft peach) beforehand. Once cured, chop them into irregular, angular, tiny fragments using scissors.
- The Laying Process: Place the colorful chips flat into the bottom of your keychain mold, spacing them randomly to create an authentic terrazzo pattern.
- Pour the Opaque Binder: Mix your casting resin with a high-pigment white liquid colorant until it is completely opaque. Pour this white mixture over the colorful chips, filling the mold.
- Sanding is Key: After curing, de-mold the piece. The chips will be slightly coated in white. Use wet-dry sandpaper to sand down the front surface until the clean, colorful faces of the embedded chips are fully exposed.
- Finish to Matte: Spray the finished sanded slab with a matte clear coat to give it a stone-like, tactile texture instead of a high-gloss finish.
Styling Tip
Pair this chic, architectural slab with a natural wood ring and a simple brass jump ring to lean into its organic, mid-century modern aesthetic.

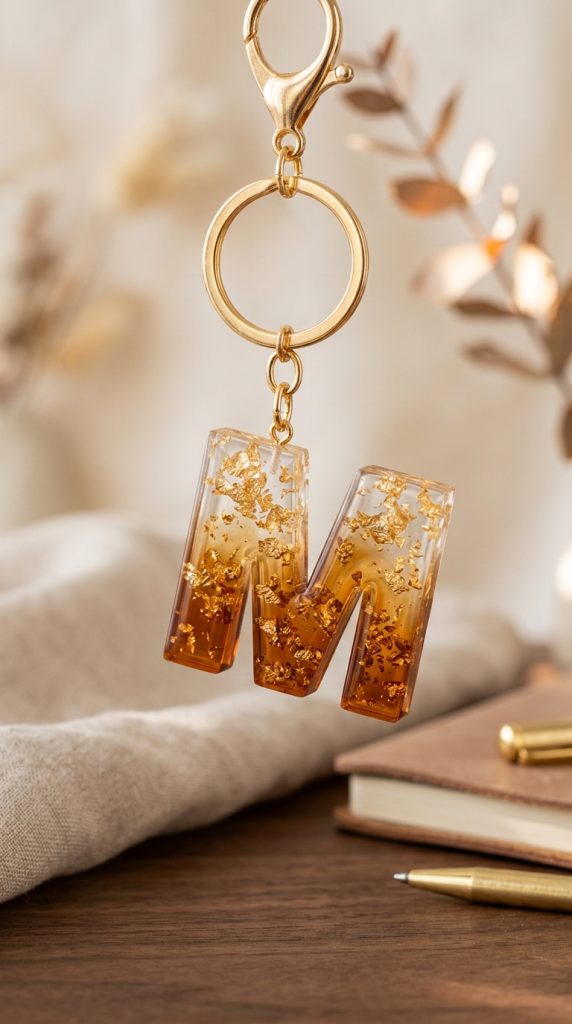
4. The Golden Ochre Flaked Initial
Monogram keychains are classic personalized gifts. This design elevates the simple letter mold by utilizing a sophisticated, warm color palette, combining translucent amber tones with brilliant metallic gold leaf.
Aesthetic Blueprint
- Mold Shape: Bold block alphabet letters.
- Key Materials: Gold leaf flakes, amber or honey-toned alcohol ink, and ultra-clear resin.
- Vibe: Personalized, sophisticated, and warm.
Step-by-Step Guide
- Position the Gold: Tear metallic gold leaf sheets into irregular, varying sizes. Place these flakes at the top curve of the letter mold using a dry paintbrush.
- The Amber Gradient: Mix your resin. Divide it into two cups. Leave one cup completely clear. Mix the second cup with a single drop of amber/ochre alcohol ink to create a translucent, honey-like tint.
- The Pour: Pour the clear resin over the gold leaf at the top of the letter mold. Then, pour the amber-tinted resin into the bottom half of the letter, letting the two layers bleed and blend naturally in the middle to form a gorgeous, warm gradient.
- Clean the Edges: Since alphabet molds often have sharp back edges, run a piece of fine sandpaper along the bottom perimeter of the letter after de-molding to ensure a comfortable grip.
Styling Tip
Hang this personalized letter alongside a matching silk tassel in a cream or ochre hue to create a high-end, boutique-style accessory.
5. The Speckled Concrete & Resin Horizon
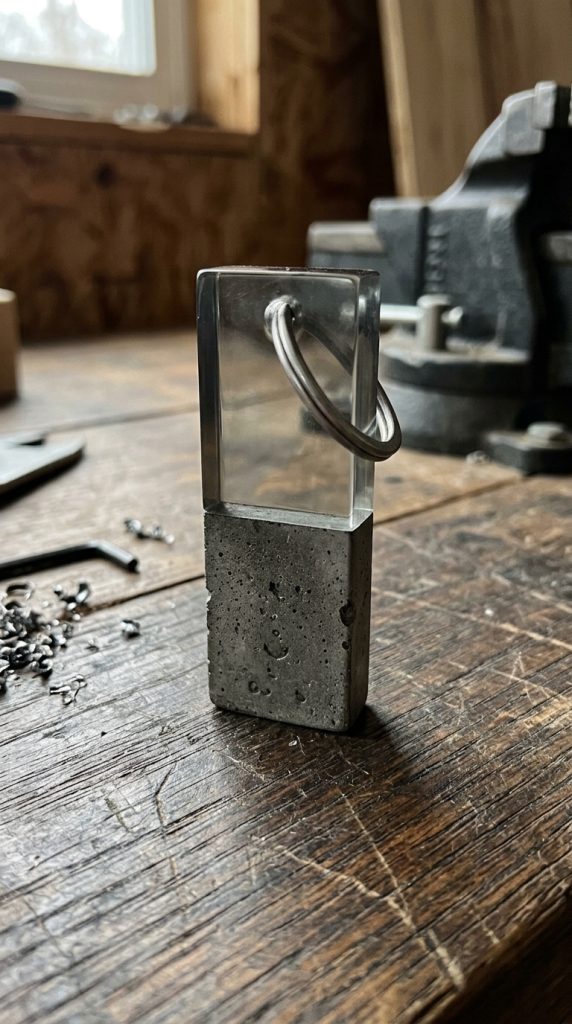
This minimalist, structural design embraces a half-and-half aesthetic. By combining raw, textured, speckled concrete with a smooth, translucent resin top, you create a striking contrast of industrial and organic elements.
Aesthetic Blueprint
- Mold Shape: Rectangle, split circle, or long bar.
- Key Materials: Fine casting cement, black sand or charcoal powder, clear resin, and a toothpick.
- Vibe: Industrial, minimalist, and contemporary.
Step-by-Step Guide
- Cast the Concrete Half: Mix a small batch of fine casting cement. Add a pinch of charcoal powder or black sand to give it a speckled, granite-like look. Pour this mixture into only the bottom half of your mold, leaving the top half empty. Let it dry and cure completely for 24 hours.
- Seal the Barrier: Once the concrete is dry, apply a thin layer of clear sealant to the interior edge where the concrete meets the empty space. This prevents the concrete from absorbing the resin and turning dark or blotchy.
- Pour the Resin Top: Fill the remaining top half of the mold with crystal-clear resin. You can leave it clear, or tint it with a single drop of smoky grey alcohol ink for a moody, architectural look.
- De-mold and Sand: Once cured, pull the dual-material keychain out. Sand the transition seam thoroughly with a fine sanding block to ensure the wood-like concrete and glassy resin sit perfectly flush.
Styling Tip
This highly tactile, industrial piece looks exceptionally striking when paired with sleek stainless steel keys and a minimalist leather lanyard.
6. The Minimalist Smokey Quartz Facet
Inspired by raw geological specimens, this faceted crystal keychain replicates the mysterious, moody depth of smoky quartz or obsidian, catching the light beautifully at every angle.
Aesthetic Blueprint
- Mold Shape: Faceted crystal point or raw gemstone cluster.
- Key Materials: Charcoal grey mica powder, black alcohol ink, clear resin, and fine silver micro-shimmer.
- Vibe: Geological, moody, and masculine-chic.
Step-by-Step Guide
- The Translucent Mix: Mix your resin and add a tiny, microscopic speck of charcoal grey mica powder and one small drop of black alcohol ink. The goal is to keep the resin translucent, allowing light to pass through the crystal facets.
- Add the Spark: Stir in a tiny pinch of silver micro-shimmer. Avoid large glitters; the shimmer should look like natural mineral inclusions inside a real gemstone.
- Fill and Tap: Pour the mixture slowly into the faceted mold. Tap the sides of the silicone mold vigorously to dislodge any air bubbles that love to hide in the pointed, angular tips of crystal molds.
- Dome the Base: After curing, if the flat back of the crystal is slightly concave, apply a tiny drop of clear resin (a process called doming) and cure it under a UV light to create a smooth, rounded, comfortable finish.
Styling Tip
This geometric, smoky crystal keychain is perfect for car keys, adding an understated, masculine-leaning sophistication to your daily carry.

7. The Nostalgic Pressed Shell & Sand Souvenir
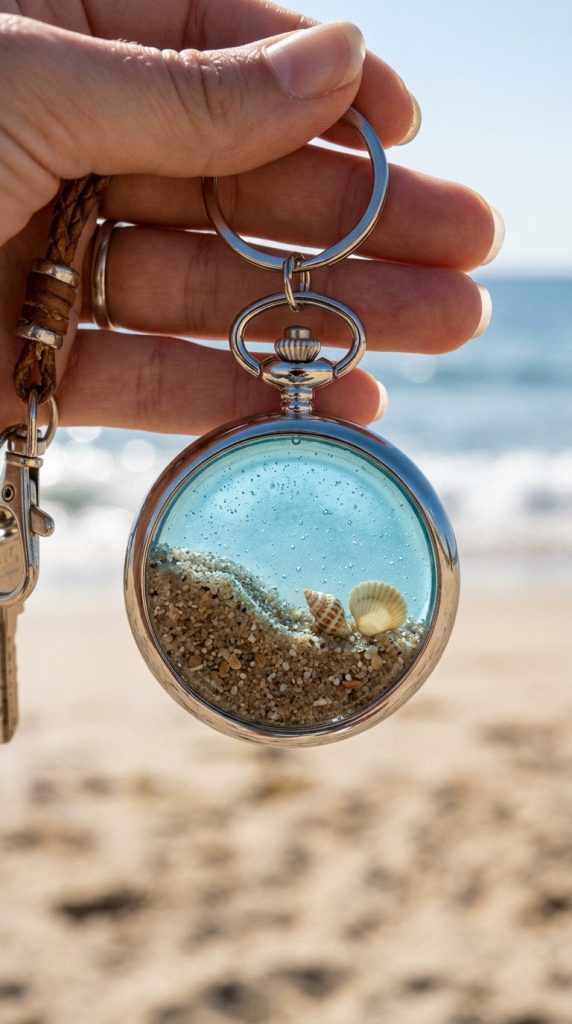
Preserve the memories of a coastal getaway or a seaside honeymoon. This design suspends a tiny pinch of real beach sand and delicate miniature seashells inside a round, clear frame, capturing a pocketful of summer.
Aesthetic Blueprint
- Mold Shape: Flat circular disk or pocket watch frame.
- Key Materials: Real beach sand, miniature beach shells (1-5mm in size), clear resin, and light blue alcohol ink.
- Vibe: Nostalgic, coastal, and sentimental.
Step-by-Step Guide
- The Sandy Foundation: Mix a small amount of sand with a few drops of clear resin to form a thick paste. Press this sandy paste into the lower third of the mold to represent the shoreline.
- The Ocean Tide: In a separate cup, mix clear resin with a microscopic speck of light blue alcohol ink to create a transparent, sea-glass blue. Pour this blue resin over the top two-thirds of the mold, letting it overlap slightly with the sandy shoreline.
- Nestle the Shells: Use tweezers to place two or three tiny, real seashells onto the sand-resin border, pressing them down gently so they sit half-submerged in the “water.”
- The Final Pour: Once the first layer is set, pour a final, clear, glossy coat over the entire piece to create a smooth, domed window that seals and protects the textured elements inside.
Styling Tip
This sentimental coastal keepsake makes a beautiful, thoughtful wedding favor or travel memento, especially when paired with a weathered brass key ring.
8. The Modern Abstract Line Art Disk
Line art and minimalist illustrations are major pillars of contemporary home and apparel design. This project uses clear resin disks to frame a delicate, hand-painted or printed line-art face or leaf silhouette.
Aesthetic Blueprint
- Mold Shape: Thin circular flat coin or coin-edged disk.
- Key Materials: White vinyl sticker sheet (or fine black ink pen), clear resin, and matte beige backing paint.
- Vibe: Artistic, modern, and high-fashion.
Step-by-Step Guide
- Cast the Front Window: Pour a thin, perfectly clear circular disk of resin (about $2mm$ thick) and let it cure completely.
- Apply the Illustration: Once cured, use a cutting machine to cut a minimalist face or leaf line-art icon from black vinyl and adhere it directly to the center of the disk. Alternatively, hand-paint the illustration using a fine-tipped black acrylic paint pen.
- The Contrast Backing: Mix a small amount of resin with a solid, matte beige, terracotta, or cream pigment. Pour this opaque, earthy mixture directly over the back of the illustrated layer. This solid background makes the black line-art stand out with absolute clarity.
- Cure and Trim: After curing, trim away any tiny resin overflows along the circular edge to keep the lines perfectly crisp and geometric.
Styling Tip
Hang this artistic, gallery-style disk from a structural leather handbag or a minimal camera strap to showcase your creative eye.

9. The Wabi-Sabi Gold-Kintsugi Fragment
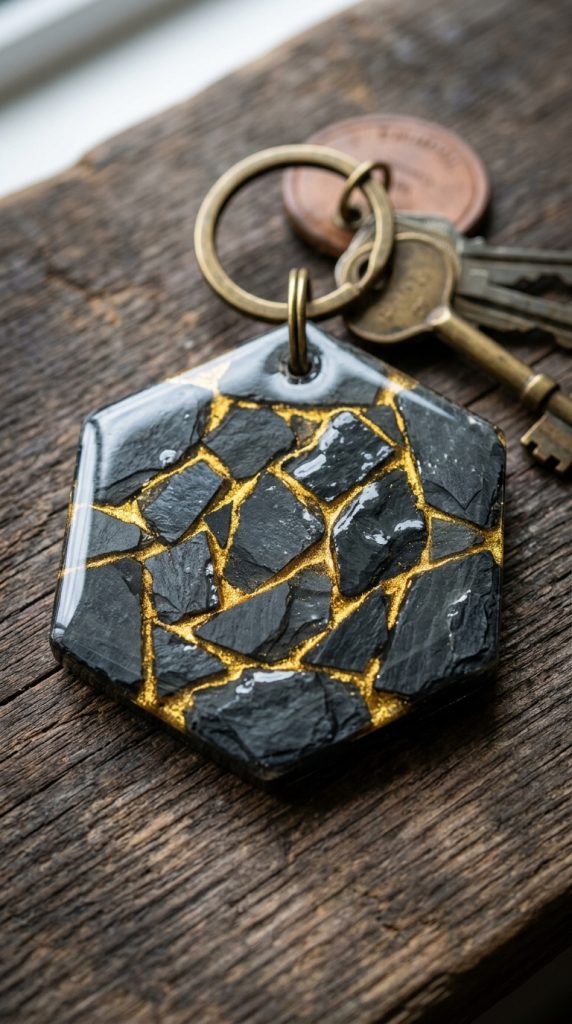
Kintsugi is the traditional Japanese art of repairing broken pottery with gold lacquer, celebrating the beauty of imperfection. This keychain utilizes broken pieces of natural slate, stone, or ceramic, fused back together inside a resin mold with brilliant gold lines.
Aesthetic Blueprint
- Mold Shape: Irregular organic shape, hexagon, or rough rectangle.
- Key Materials: Flat shards of dark slate stone or white ceramic, gold mica powder, and clear casting resin.
- Vibe: Philosophical, rustic-chic, and deeply textured.
Step-by-Step Guide
- Arrange the Shards: Place two or three broken shards of natural slate or ceramic flat into the bottom of your mold, leaving a distinct, irregular gap (about $1-2mm$ wide) between the broken edges.
- The Clear Fusion: Pour clear casting resin over the shards to fill the mold, ensuring they are completely submerged and locked in place. Let this layer cure.
- The Gold Leaf Infill: Once cured, mix a tiny batch of resin with a heavy concentration of rich gold mica powder to create a thick, metallic gold paint. Use a fine-tipped brush or a toothpick to carefully fill in the deep channels and gaps between the stone shards with this brilliant gold mixture.
- Seal and Level: Pour a final, clear self-leveling coat over the top of the entire piece to create a smooth, comfortable surface that locks the textured, gilded cracks beneath a glass-like barrier.
Styling Tip
This deep, textured, and philosophically grounded piece pairs beautifully with high-quality leather goods and vintage brass accents.
10. The Ethereal Smoky Ink Swirl
This design relies on the organic, unpredictable movement of liquid pigment. By dropping alcohol ink directly into wet resin, you create delicate, cloud-like plumes of color that appear frozen in motion.
Aesthetic Blueprint
- Mold Shape: Teardrop, clean square, or crescent moon.
- Key Materials: White alcohol ink, colored alcohol ink (such as amethyst, forest green, or amber), and clear casting resin.
- Vibe: Dreamy, watercolor-like, and ethereal.
Step-by-Step Guide
- Fill with Clear: Fill your mold completely with fresh, clear, bubble-free casting resin. Let it sit for about 10 minutes to allow any micro-bubbles to escape.
- The Ink Drop: Drop a single drop of your colored alcohol ink (e.g., amethyst purple) directly onto the surface of the clear resin.
- The White Catalyst: Immediately drop a single drop of white alcohol ink directly on top of the colored drop. Because white ink is heavier than colored ink, it will push the color downward into the resin, creating delicate, blooming, mushroom-like plumes and smoky trails.
- Do Not Stir: Let the ink move naturally. Resist the urge to stir or mix, as this will muddy the colors. The beauty of this design lies in its organic, unforced movement.
- Cure in Place: Place a dust cover over the mold and let it cure undisturbed for 24 hours. Each piece will turn out completely unique and unrepeatable.
Styling Tip
Hang this watercolor-like, dreamy piece from your car keys or a minimalist brass keyring, letting the light filter through the translucent smoky trails as you move.