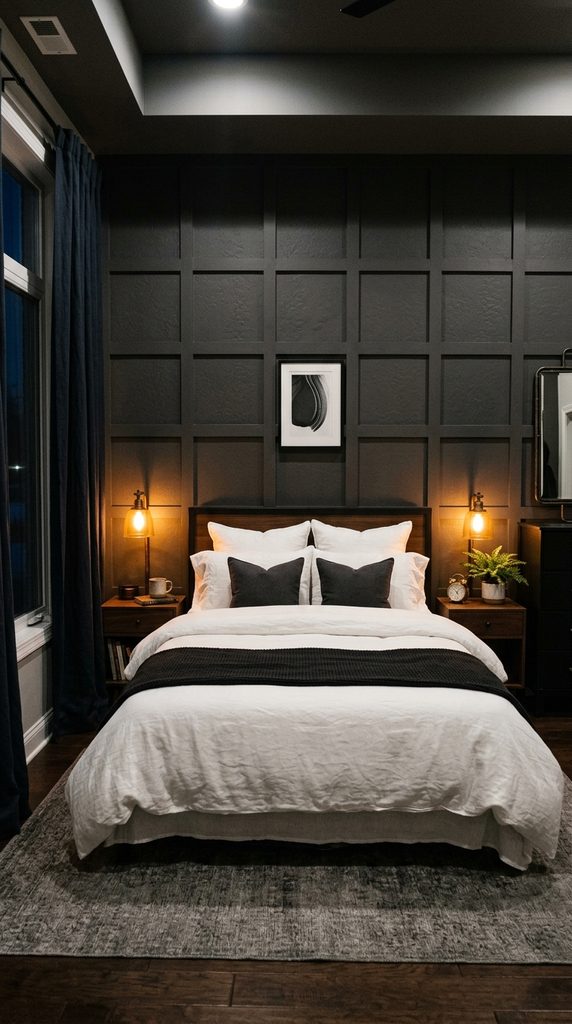
A bedroom serves as a personal sanctuary—a space dedicated to rest, recharge, and reflection. Transforming your sleeping quarters into a refined, cozy retreat does not require an extravagant budget or complete structural renovations. With intentional design choices, tactile layering, strategic lighting, and creative handiwork, you can elevate a plain room into an architecturally interesting space.
Creating high-end handmade decor requires balancing aesthetics with structural integrity. Focusing on elevated materials, cohesive color palettes, and polished techniques ensures your projects look intentional and professionally crafted.
Here is a comprehensive design, material, and step-by-step installation guide to 10 DIY bedroom decor ideas, complete with technical execution plans, material science, and styling workflows.
Technical Fundamentals, Wall Prep & Material Selection
Before applying paint, hanging heavy installations, or assembling fixtures, proper wall preparation and material testing guarantee a long-lasting, safe transformation.
          [ Step 1: Surface Cleaning & Wall Prep ]
                             │
          [ Step 2: Structural Measuring & Anchoring ]
                             │
          [ Step 3: Material Assembly & Sealing ]
                             │
          [ Step 4: Styling & Ambient Integration ]
1. Wall Anchor Mechanics & Structural Load
- Drywall Anchors: Standard plastic expansion anchors hold lightweight decorative frames ($5\text{ to }10\text{ lbs}$). For heavy wooden headboards or floating shelving units exceeding $25\text{ lbs}$, utilize metal toggle bolts anchored directly into wall studs.
- Adhesive Strips: Removable adhesive strips work well on smooth, non-porous painted walls for lightweight canvases. Avoid using them on textured plaster or raw wood surfaces.
2. Paint Chemistry & Surface Preparation
- Finishes for Bedrooms: Matte and flat finishes soften wall imperfections and absorb excess light, creating a soothing atmosphere. Eggshell or satin finishes offer durability and easy cleaning for accent walls or wood trim.
- Primer Application: Always coat raw timber, dark paint, or patched drywall with a stain-blocking acrylic primer before applying your final coat.

1. Modern Architectural Wooden Slat Accent Wall
Instantly add depth, height, and warmth behind your bed by crafting a floor-to-ceiling vertical wooden slat wall.
[ Prep Wall with Dark Paint ] ── Mount Furring Strips ── [ Secure Sliced Pine Slats ] ── Apply Satin Sealant
Technical Specs & Assembly Workflow
- Core Materials: Select $1\text{in } \times 2\text{in}$ pine or oak boards, matte dark charcoal or terracotta wall paint, construction adhesive, a brad nailer, and a spirit level.
- Execution Process: Paint the wall in a deep, matte tone to create depth behind the slats. Measure and cut wood strips to exact floor-to-ceiling height. Use a $0.75\text{-inch}$ wood spacer block between each vertical board to ensure consistent gaps, securing each slat with construction adhesive and brad nails driven into wall studs.
- Finishing Detail: Seal raw timber with a clear matte polyurethane or dark walnut stain to highlight natural grain patterns.

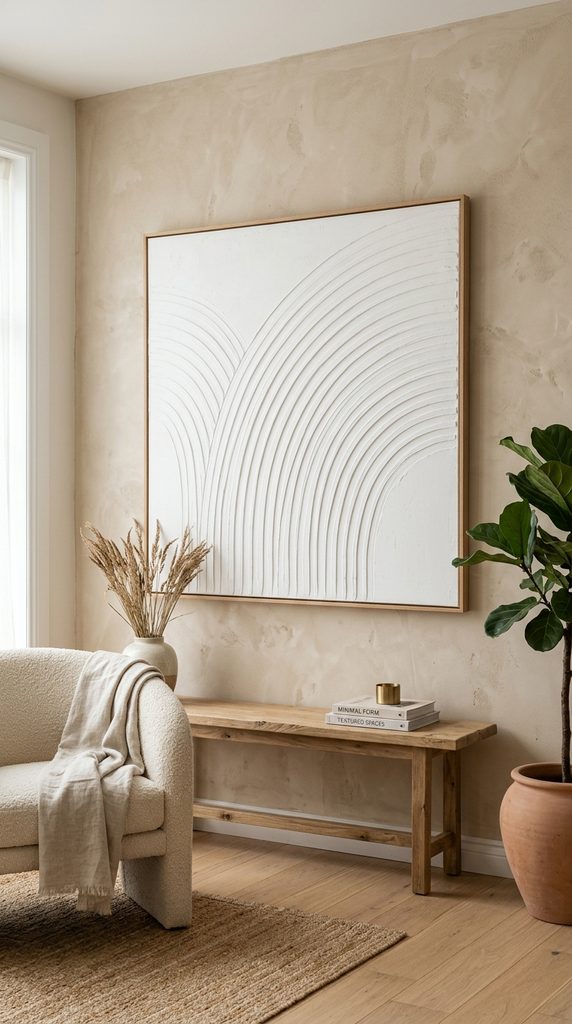
2. Textural Canvas Spackle Wall Art
Bring gallery-style modern art into your space using joint compound to build three-dimensional, sculptural canvas art.
Technical Specs & Assembly Workflow
- Core Materials: Stretched cotton canvases ($36\text{in } \times 48\text{in}$ or larger), premixed drywall joint compound or spackle, notched tiling trowels, wide putty knives, and acoustic wall paint.
- Execution Process: Scoop joint compound onto the blank canvas and spread it out $0.25\text{ inches}$ thick. Drag a notched trowel across the wet compound in arching, wave-like, or geometric patterns.
- Drying & Painting: Allow the compound to dry for 24 hours until fully hard. Lightly sand harsh peaks before sealing the entire canvas with two coats of warm beige or plaster-white matte paint.
3. Oversized Arch Painted Headboard Accent
Define your sleeping zone without investing in traditional bulky furniture by painting a sweeping architectural arch behind your bed frame.
Technical Specs & Assembly Workflow
- Core Materials: Low-VOC interior paint in a warm accent shade (terracotta, dusty sage, or warm ochre), painter’s tape, a string, a pencil, and a small nail.
- Execution Process: Find the exact center point of your bed frame on the wall. Tack a small nail at the base level, tie a string equal to your desired arch radius, and attach a pencil to draw a perfect semi-circle arch. Tape along the straight vertical sides.
- Paint Application: Outline the curved arch line using an angled sash brush, then fill the inner body with a medium-nap roller across two even coats.

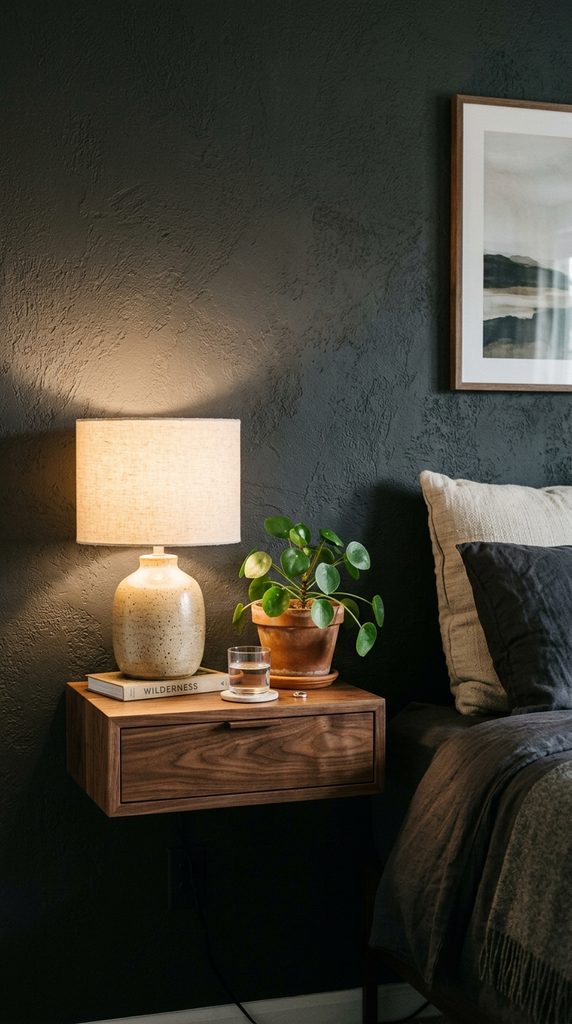
4. Floating Minimalist Bedside Shelves with Hidden Brackets
Eliminate bulky nightstands and maximize floor space using minimalist floating wooden shelves with concealed steel brackets.
Technical Specs & Assembly Workflow
- Core Materials: Thick solid hardwood blocks (walnut, oak, or butcher block), heavy-duty blind floating shelf brackets, a power drill, a spade bit, and a digital stud finder.
- Execution Process: Locate wall studs using a stud finder and anchor steel bracket rods directly into timber framing. Drill deep, precise holes into the back edge of your wooden block using a spade bit, then slide the shelf onto the steel rods until flush with the wall.
- Styling Integration: Display a small ceramic lamp, a favorite ceramic mug, and a trailing pothos plant on top.
5. Bohemian Macrame Hanging Wall Tapestry
Add soft, acoustic-softening texture above a dresser or bed by knotting a large woven tapestry using cotton cord.
Technical Specs & Assembly Workflow
- Core Materials: $4\text{mm}$ twisted natural cotton cord, a $36\text{-inch}$ smooth wooden dowel or natural drift branch, sharp fabric scissors, and a measuring tape.
- Execution Process: Mount your dowel horizontally at eye level. Cut 20 to 30 cord lengths (approx. 12 feet each) and attach them across the dowel using lark’s head knots. Build repeating diamond patterns across the weave using square knots and half-hitch knots.
- Finishing Touches: Trim the bottom cord ends into a sharp V-shape or sweeping curve, then comb the fringe loose using a fine-toothed pet comb.

6. Organic Clay and Terracotta Table Lamp Base
Transform a plain glass or thrifted lamp base into an artisanal ceramic piece using baking soda paint and air-dry clay.
Technical Specs & Assembly Workflow
- Core Materials: Upcycled bottle or lamp base, matte acrylic paint (creme, sand, or terracotta), baking soda, air-dry terracotta clay, and a coarse sponge.
- Execution Process: Wrap air-dry clay around smooth lamp sections to build organic, hand-thrown ridges or handles. Allow the clay to dry fully for 24 hours.
- Paint Mix & Texture: Mix 1 part baking soda into 4 parts matte paint to create a grainy, thick texture. Dab the mixture onto the lamp base with a coarse sponge in light layers to mimic hand-thrown stoneware.

7. Floating Cloud Canopy with Warm String Lights
Create a cozy, ethereal atmosphere by layering sheer linen canopy fabric with soft-toned ambient lighting over your sleeping area.
Technical Specs & Assembly Workflow
- Core Materials: Sheer linen or chiffon fabric yards, brass ceiling hooks, lightweight curtain rods or bamboo hoops, and warm-toned LED fairy lights.
- Execution Process: Anchor four small brass ceiling hooks securely into the ceiling directly above the four corners of your bed. Drape long panels of lightweight sheer fabric across mounted curtain rods, letting the fabric dip gracefully in the center.
- Lighting Layering: Intertwine micro-LED fairy lights along the inner folds of the fabric canopy to cast a diffused, warm glow downwards.

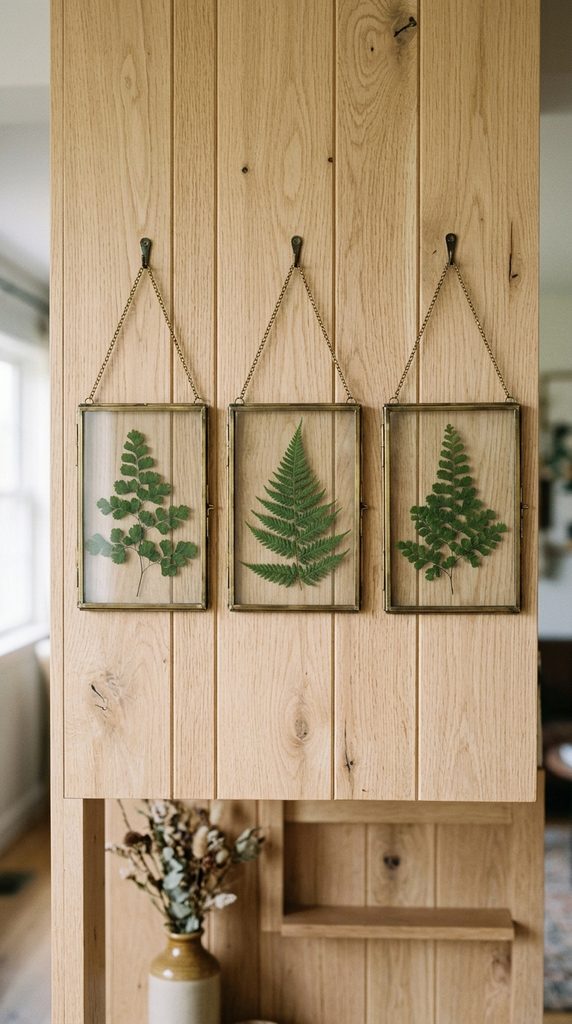
8. Framed Botanicals with Floating Glass Panes
Bring subtle natural elements indoors by displaying pressed garden leaves and fern fronds inside double-glass floating frames.
Technical Specs & Assembly Workflow
- Core Materials: Double-glass floating picture frames, heavy books, parchment paper, fresh fern fronds or wild leaves, tweezers, and UV-resistant craft glue.
- Execution Process: Place fresh botanical leaves between sheets of parchment paper inside heavy books for two to three weeks until completely dry and flat.
- Framing Process: Position the pressed botanicals carefully onto the inner glass pane using tweezers. Add a tiny dot of clear UV glue on the back of each leaf stem before securing the top glass sheet.
9. Cozy Woven Rope Storage Baskets with Leather Handles
Keep extra throw blankets and pillows organized with handmade coil-sewn or glued cotton rope baskets finished with leather details.
Technical Specs & Assembly Workflow
- Core Materials: $0.5\text{-inch}$ thick natural cotton piping cord, heavy-duty hot glue or a zig-zag sewing machine, leather strip remnants, and brass rivets.
- Execution Process: Coil the cotton rope into a tight, flat circle to form the basket base, securing each spiral ring with adhesive or wide zig-zag stitches. Once the base reaches an $8\text{ to }12\text{-inch}$ diameter, angle the rope upwards to build vertical basket walls.
- Handle Attachment: Punch holes into thick leather strips and rivet them onto opposing sides of the basket rim.

10. Moody Faux Board and Batten Feature Wall
Add classic architectural depth to a plain bedroom wall by building a modern board and batten grid finished in a rich, dramatic hue.
Technical Specs & Assembly Workflow
- Core Materials: $1\text{in } \times 3\text{in}$ MDF trim boards, caulk, wood filler, painter’s tape, a miter saw, and deep-toned satin interior paint (emerald green, charcoal, or deep navy).
- Execution Process: Install a top horizontal header rail and a bottom baseboard along your wall. Calculate equal spacing for vertical battens (typically $12\text{ to }18\text{ inches}$ apart) and cut vertical MDF strips to fit tightly between rails.
- Seamless Finishing: Nail battens in place, fill nail holes with wood filler, sand smooth, and seal all interior corners with painter’s caulk before painting the wall and trim in one cohesive color.