Giving a handmade gift communicates deep care, intentionality, and creative effort. Unlike mass-produced store items, a carefully crafted gift carries personal warmth and timeless aesthetic appeal. The key to creating handmade gifts that feel luxurious—rather than cluttered or cheap—lies in elevated material choices, clean technique execution, neutral or cohesive color palettes, and professional-grade packaging.
Whether you are crafting for holidays, birthdays, anniversaries, or housewarming celebrations, elevated handmade items blend functionality with high-end aesthetic design.
Here is a design, structural, and crafting guide to 10 handmade gift ideas, complete with material breakdowns, step-by-step creation workflows, finish evaluations, and presentation styling.
Technical Fundamentals, Surface Prep & Material Selection
Before starting any crafting project, mastering material pairing, bonding mechanisms, and sealing techniques ensures your handmade items look refined and last for years.
          [ Step 1: Material Selection & Surface Preparation ]
                                   │
          [ Step 2: Precision Shaping, Pouring, or Assembly ]
                                   │
          [ Step 3: Curing, Sanding & Protective Sealing ]
                                   │
          [ Step 4: High-End Packaging & Tag Personalization ]
1. Material Mechanics & Bonding Selection
- Wax Mechanics: When crafting candles, soy wax provides a clean, slow burn with excellent scent throw, while beeswax adds natural firmness and air-purifying qualities.
- Adhesive Integrity: Use high-clarity epoxy resins for structural casting, wood-specific PVA glue for timber joins, and non-yellowing decoupage sealers for paper-to-wood applications.
2. Finishing & Sealing Science
- Sanding Grits: Progress from 120-grit up to 400-grit for wooden pieces to ensure ultra-smooth surfaces before applying organic oils or food-safe beeswax finishes.
- Curing Times: Allow botanical resin casts and poured soy candles a full 48 to 72 hours of undisturbed curing time in a dust-free environment to reach maximum hardness and stability.
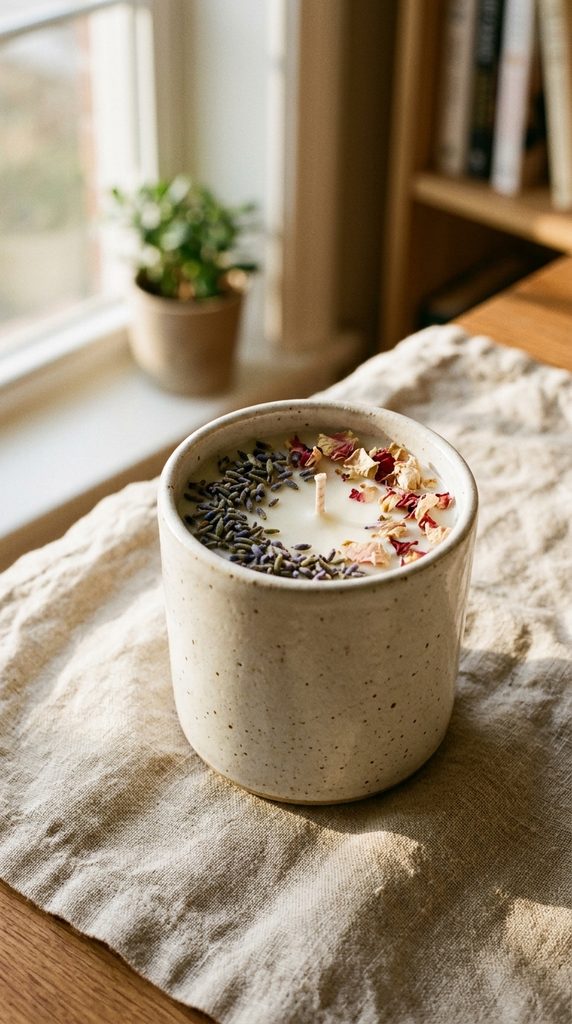
1. Hand-Poured Soy Wax Botanical Candles in Stoneware Vessels
Combine aromatic essential oils with dried botanical accents poured into minimalist stoneware or ceramic tumblers.
[ Ceramic Stoneware Vessel ] ── Secure Cotton Wick ── [ Pour Fragrant Soy Wax ] ── Top with Dried Botanicals
Technical Specs & Crafting Workflow
- Core Materials: 100% natural soy wax flakes, cotton wicks, ceramic/stoneware tumblers, essential oils (lavender, amber, cedarwood), dried rose petals or lavender buds.
- Assembly Process: Melt soy wax in a double boiler to $185^\circ\text{F}$. Stir in essential oils at $135^\circ\text{F}$ for optimal scent binding. Secure the wick base to the bottom of the ceramic vessel, pour the wax smoothly, and scatter dried botanicals around the top rim as the wax begins to skim over.
- Presentation Styling: Tie raw-edge linen ribbon around the vessel neck with a handwritten wax-sealed scent label.
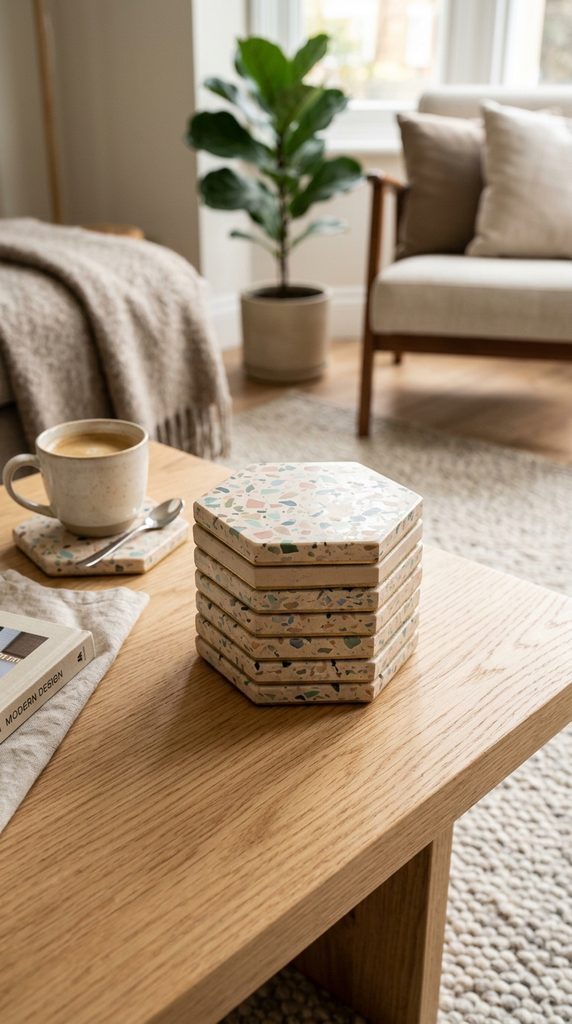
2. Sculptural Terrazzo-Style Resin Coasters
Craft modern, architectural coaster sets featuring colorful stone-like chips embedded in smooth composite resin.
Technical Specs & Crafting Workflow
- Core Materials: Jesmonite or eco-resin composite liquid and powder, liquid pigment pastes, silicone coaster molds, sandpaper (220 to 1000 grit), acrylic sealer.
- Assembly Process: Mix small batches of colored resin, pour them thin, allow them to cure, and crush them into irregular terrazzo flakes. Mix a main white or beige resin batch, stir in the crushed flakes, and pour into silicone molds.
- Finishing Detail: Once cured, wet-sand the coasters with progressively finer sandpaper to expose the vibrant inner chips, then apply a water-repellent sealer.
3. Artisanal Cold-Process Herbal Soap Bars
Formulate nourishing, natural soap bars infused with skin-soothing clays, dried herbs, and moisturizing plant oils.
Technical Specs & Crafting Workflow
- Core Materials: Olive oil, coconut oil, shea butter, sodium hydroxide (lye), distilled water, French pink clay, dried chamomile flowers.
- Assembly Process: Carefully mix lye solution into melt oils until reaching a thick “trace” consistency. Swirl in French pink clay for natural color and gentle exfoliation. Pour into a wooden loaf mold, sprinkle dried chamomile on top, and insulate for 24 hours.
- Curing & Packaging: Slice into thick bars after 48 hours and allow them to cure in a dry space for 4 to 6 weeks. Wrap in parchment paper bound with twine.

4. Custom Hand-Carved Wooden Butter Knives & Spreader Set
Turn simple hardwood blanks into smooth, ergonomic butter spreaders perfect for charcuterie lovers.
Technical Specs & Crafting Workflow
- Core Materials: Walnut, maple, or cherry hardwood blanks, carving knives/rasps, sandpaper grades, food-grade mineral oil and beeswax paste.
- Assembly Process: Trace a minimalist ergonomic blade profile onto the wood blank. Use a carving knife and rasps to shape the handle contour and taper the blade edge.
- Finishing: Sand until glass-smooth, then submerge the wooden spreaders in food-grade mineral oil for 20 minutes before buffing with natural beeswax paste.

5. Luxury Chunky Hand-Knit Chenille Throw Blanket
Craft a soft, plush lap blanket using extreme arm-knitting or hand-knitting techniques without needing traditional needles.
Technical Specs & Crafting Workflow
- Core Materials: 6 to 8 skeins of thick jumbo chenille or roving yarn in neutral tones (oatmeal, cream, charcoal).
- Assembly Process: Cast on 24 to 30 loose loops on a flat table using your hands. Weave the working yarn through the loops, maintaining consistent loop heights ($2\text{ to }3\text{ inches}$) across every row.
- Finishing: Bind off the final row neatly and weave the loose yarn tails securely into the edge loops. Tie with a wide satin bow.

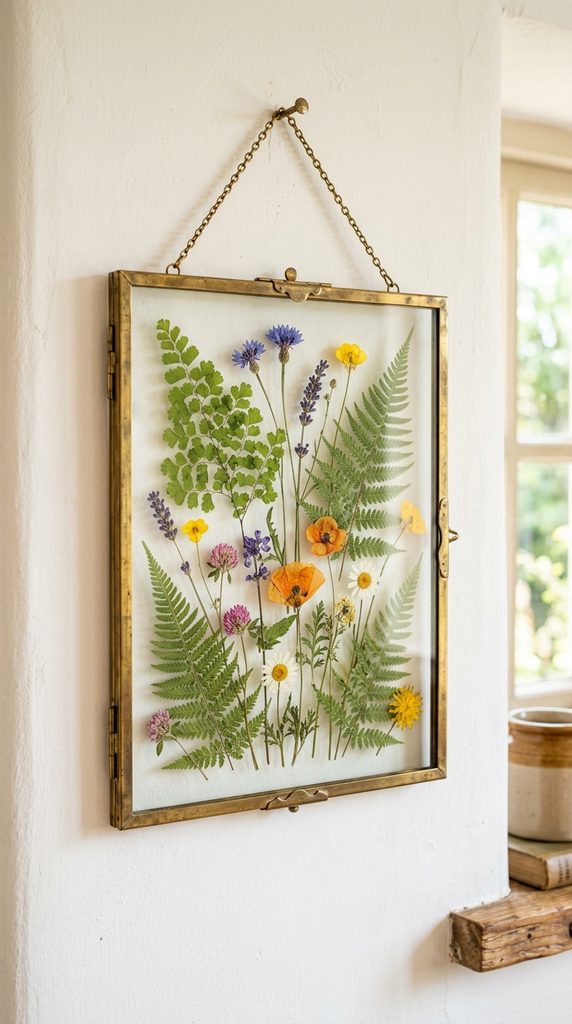
6. Pressed Botanical Herbarium Glass Frames
Preserve seasonal garden flowers, ferns, and autumn leaves suspended between floating glass frames.
Technical Specs & Crafting Workflow
- Core Materials: Double-glass brass or wood floating frames, wooden flower press or heavy books, parchment paper, tweezers, clear UV-resistant craft adhesive.
- Assembly Process: Press fresh botanical specimens flat between parchment sheets inside heavy press books for 2 to 3 weeks until fully dehydrated.
- Composition: Arrange pressed ferns and wildflowers onto the glass pane using tweezers. Secure each piece with a microscopic dot of clear adhesive before sealing the top glass cover.
7. Hand-Poured Concrete Geometric Planters
Create industrial-chic tabletop planters for succulents and air plants using cast concrete.
Technical Specs & Crafting Workflow
- Core Materials: Fine fast-setting concrete mix, water, geometric silicone molds, cooking spray (as mold release), adhesive felt pads.
- Assembly Process: Mix concrete to a smooth batter consistency and pour into silicone planter molds. Tap the sides vigorously to dislodge air bubbles.
- Finishing: Unmold after 24 hours, cure fully, and attach soft felt furniture pads to the bottom base to protect tabletop surfaces from scratches.

8. Custom Monogrammed Leather Key Fobs and Cardholders
Craft durable, personal leather goods using vegetable-tanned leather, brass hardware, and personalized letter stamps.
Technical Specs & Crafting Workflow
- Core Materials: 3–4 oz vegetable-tanned leather strips, solid brass key rings and rivets, leather hole punch, metal letter stamping set, edge slicker, gum tragacanth.
- Assembly Process: Cut precise leather strips, dampen the surface lightly, and stamp personalized initials using a mallet and metal stamps.
- Edge Finishing: Fold the leather through the brass ring, punch a hole, and secure with a brass rivet. Burnish the raw leather edges smooth using gum tragacanth and a wooden slicker.

9. Gourmet Infused Cooking Oils and Vinegars Trio
Assemble an elevated culinary gift set featuring aromatic herbs, garlic, and spices infused into premium olive oils.
Technical Specs & Crafting Workflow
- Core Materials: Extra virgin olive oil, clear glass swing-top bottles, dehydrated rosemary sprigs, dried chili flakes, garlic cloves, dried peppercorns.
- Preparation: Ensure all botanical ingredients are fully dehydrated to prevent moisture contamination. Combine dried chili, garlic, and rosemary inside sanitized glass bottles.
- Infusion & Labeling: Pour high-grade extra virgin olive oil over the spices, seal tightly, and attach handwritten kraft tags detailing pairing ideas.

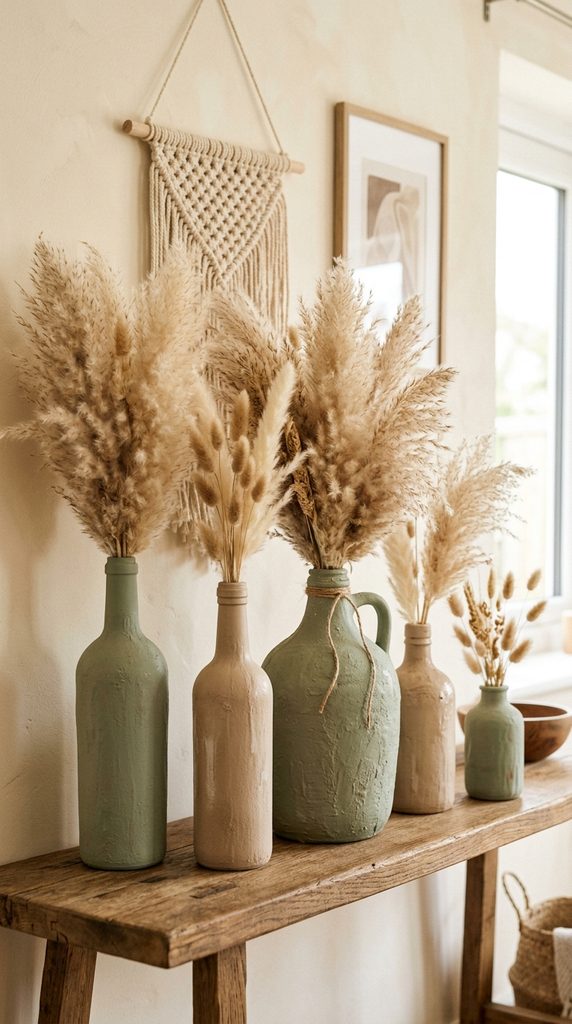
10. Textured Ceramic-Look Painted Clay Vases
Elevate plain thrifted glass bottles or plain pottery into textured, terracotta-style art vases using baking soda paint techniques.
Technical Specs & Crafting Workflow
- Core Materials: Glass vases or upcycled jars, matte acrylic paint (linen, terracotta, or sage green), baking soda, stiff bristle paintbrush.
- Assembly Process: Mix 1 part baking soda into 4 parts matte acrylic paint until a thick, grainy paste forms.
- Application: Brush the textured paint onto the vessel in broad horizontal strokes to mimic hand-thrown earthenware pottery. Apply two full coats, allowing dry time between layers.