Paper lanterns hold a unique place in ambient decor. Combining delicate translucency with warm illumination, these versatile light fixtures transform ordinary spaces into magical, atmospheric sanctuaries. From intimate outdoor dinners and romantic garden weddings to cozy bedroom corners and festive seasonal gatherings, paper lanterns offer an accessible yet sophisticated way to elevate indoor and outdoor spaces.
Crafting or styling elevated paper lighting requires balancing visual charm with structural durability and safety. By focusing on quality translucent papers, proper frame geometry, heat-safe light sources, and cohesive design themes, paper lanterns can look like high-end boutique installations.
Here is a comprehensive design, material, and installation guide to 10 paper lantern ideas, complete with paper science, lighting mechanics, safety protocols, and styling workflows.
Technical Fundamentals, Paper Science & Safety Guidelines
Before assembling paper lanterns or mounting overhead installations, understanding paper density, translucent light diffusion, frame mechanics, and fire safety ensures your lighting features are both breathtaking and completely secure.
          [ Step 1: Paper Selection (Vellum, Tissue, Rice, or Cardstock) ]
                                      │
          [ Step 2: Frame Mechanics & Structural Wiring ]
                                      │
          [ Step 3: Heat-Safe LED / Flameless Light Integration ]
                                      │
          [ Step 4: Suspension & Overhead Rigging ]
1. Paper Density & Light Diffusion Metrics
- Translucent Rice / Mulberry Paper ($30\text{ to }50\text{ gsm}$): Extremely lightweight with visible organic fibers. Offers soft, cloud-like light diffusion, making it the premier choice for traditional spherical and accordion lantern designs.
- Vellum Paper ($90\text{ to }115\text{ gsm}$): Smooth, semi-translucent paper that holds crisp geometric folds and scores perfectly. Excellent for architectural, star-shaped, and pleated lanterns.
- Patterned Cardstock ($150\text{ to }220\text{ gsm}$): Opaque and structural. Best used for pierced, starburst, or silhouette lanterns where light escapes through cutouts rather than diffusing through the paper wall.
2. Light Source Safety & Heat Protocol
- Strict LED Protocol: Never use traditional incandescent or halogen bulbs inside paper lanterns due to high heat generation, which poses a severe fire hazard.
- Recommended Light Sources: Utilize cool-touch LED bulb sockets, battery-operated LED puck lights, or low-voltage micro-fairy light strings.
- Bulb Wattage Equivalents: Stick to $4\text{W to }8\text{W}$ LED bulbs (equivalent to $40\text{W to }60\text{W}$ incandescent output), emitting a warm temperature of $2200\text{K to }2700\text{K}$ for a golden, welcoming glow.
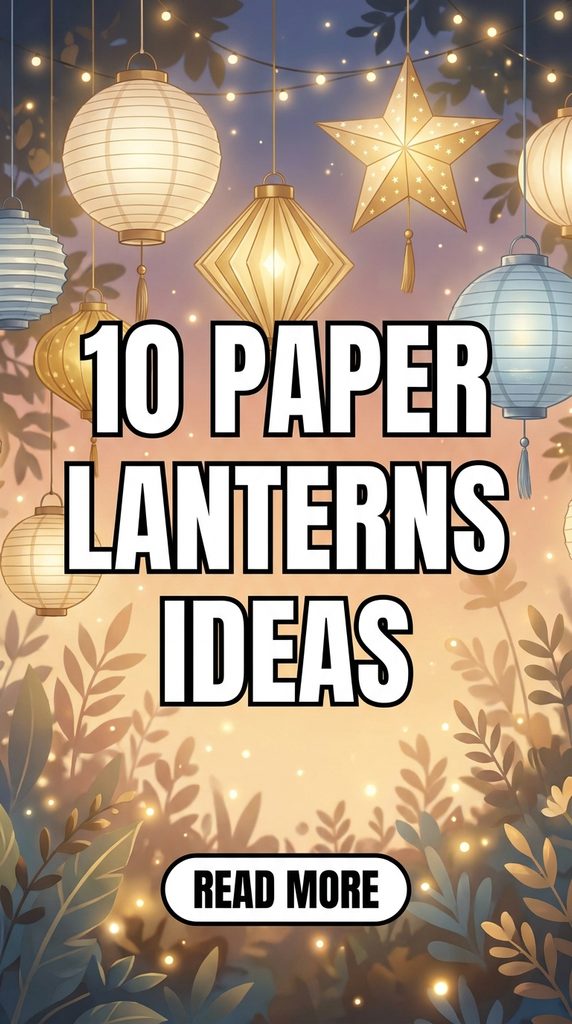
1. Whimsical Floating Cloud Paper Lanterns
Transform standard round paper globes into ethereal, floating cloud lamps that cast a soft, dreamlike glow across bedrooms, nurseries, or event venues.
[ Expand White Globe Lantern ] ── Apply Adhesive ── [ Layer Fluffy Polyester Fiberfill ] ── Insert Warm LED Puck
Technical Specs & Assembly Workflow
- Core Materials: Round white accordion paper lanterns ($12\text{in to }18\text{in}$ diameter), flame-retardant polyester fiberfill (pillow stuffing), low-temp hot glue gun, and battery-operated remote-controlled LED puck lights.
- Assembly Process: Expand the wire frame inside the white paper globe. Apply small dabs of low-temp hot glue to the paper surface and press handfuls of fiberfill onto the globe, pulling and fluffing the fibers outward to create organic cloud contours.
- Lighting & Rigging: Suspend a warm-white LED puck light inside the central wire hook. Hang multiple cloud lanterns at varying heights using clear monofilament fishing line to simulate a floating sky installation.

2. Intricate Moravian 3D Paper Star Lanterns
A classic architectural lighting accent, the Moravian star features numerous geometric points folding outward to cast dramatic, starburst light patterns on surrounding walls.
Technical Specs & Assembly Workflow
- Core Materials: Heavyweight translucent vellum or metallic cardstock ($110\text{ lb}$ cover stock), scoring board, bone folder, quick-dry paper adhesive, and an LED socket cord set.
- Execution Process: Cut 18 to 26 individual square-pyramid point templates from your chosen cardstock. Score along all folding tabs using a bone folder to ensure crisp, sharp edges.
- Assembly & Joinery: Fold and glue each paper point into a tight pyramid. Join the bases of the pyramids together in a symmetrical spherical pattern, leaving one point removable or hinged for easy access to the internal LED bulb cord.

3. Pressed Botanical Mulberry Paper Lanterns
Incorporate natural elements into your decor by adhering real pressed flowers, ferns, and autumn leaves onto organic mulberry paper lanterns.
Technical Specs & Assembly Workflow
- Core Materials: White or cream cylindrical paper lanterns, real pressed flowers/ferns, matte decoupage sealer or water-diluted PVA glue, soft bristle brush, and an LED light fixture.
- Execution Process: Expand the paper lantern over its wire frame. Arrange pressed botanical specimens across the paper surface using tweezers to find a balanced composition.
- Sealing: Lightly brush a thin layer of matte decoupage sealer under and over each flower petal, working from the center outward to smooth out air bubbles. Allow to dry completely for 4 hours before turning on the interior light.

4. Architectural Folded Origami Accordion Lanterns
Exuding clean Scandinavian and Japanese minimalist aesthetics, folded origami lanterns rely on precise geometric pleats to create elegant sculptural lampshades.
Technical Specs & Assembly Workflow
- Core Materials: Heavyweight paper or translucent vellum sheets ($12\text{in } \times 30\text{in}$ or joined sheets), metal ruler, scoring tool, double-sided tape, and a hanging corded LED bulb socket.
- Execution Process: Score a series of parallel vertical lines every $1\text{ inch}$ across the entire length of the sheet. Score diagonal cross-hatch lines across the vertical grid to establish accordion diamond pleats.
- Folding & Shaping: Mountain-fold and valley-fold along the scored lines until the paper collapses naturally into a flexible, pleated cylinder. Join the short ends with double-sided tape and cinch the top neck around an LED cord using a drawstring or wire loop.

5. Romantic Bohemian Macrame & Fringe Paper Lanterns
Combine structured paper globes with cascading cotton tassels and fringe to create a tactile, bohemian lighting centerpiece perfect for outdoor dinners or cozy reading nooks.
Technical Specs & Assembly Workflow
- Core Materials: Cream or pastel paper globe lantern ($14\text{in}$), brushable cotton yarn or fringe trim, wooden beads, fabric glue or hot glue, and warm micro-fairy lights.
- Execution Process: Measure and cut lengths of cotton fringe trim. Apply glue along the bottom horizontal wire rings of the paper lantern, layering the fringe in tier rows starting from the bottom equator and moving upward.
- Detailing: Attach handmade cotton tassels accented with wooden beads to the bottom rim of the lantern. Thread a strand of warm micro-fairy lights inside the globe to illuminate both the paper and the cascading fringe.

6. Rustic Pierced Cardstock Lantern Clusters
Utilize punched cardstock patterns to project thousands of tiny pinpricks of warm light onto ceilings and walls, mimicking a starlit night sky.
Technical Specs & Assembly Workflow
- Core Materials: Dark navy, black, or terracotta cardstock ($100\text{ lb}$ cover stock), paper piercer or leather hole punch set, double-sided tape, metal hoop bases, and flameless LED pillar candles.
- Execution Process: Measure and cut cardstock sheets into tall rectangular panels. Draw geometric, constellation, or mandala patterns onto the reverse side of the paper. Use a paper piercer to punch holes along the pattern lines in varying sizes.
- Assembly: Roll the pierced cardstock into a vertical cylinder, overlap the side edges, and secure with strong double-sided tape. Place the open cylinder over a tall flameless LED pillar candle set on a wooden tray.

7. Vibrant Layered Tissue Paper Fish Scale / Dragon Lanterns
Bring playful color, texture, and festive energy to celebrations by coating simple paper globes with scalloped, overlapping tissue paper scales.
Technical Specs & Assembly Workflow
- Core Materials: White paper globe lantern ($12\text{in}$), tissue paper sheets in coordinating ombre colors (e.g., blush, coral, terracotta, and gold), 2-inch circle craft punch, stick glue, and an LED light fixture.
- Execution Process: Punch hundreds of 2-inch tissue paper circles using a circle punch. Fold the top quarter of each circle flat to create a clean gluing tab.
- Application Workflow: Starting at the bottom opening of the expanded paper globe, apply a line of glue and adhere the tissue circles in an overlapping, scalloped scale pattern. Work upward row by row, shifting color tones to build a striking ombre effect.

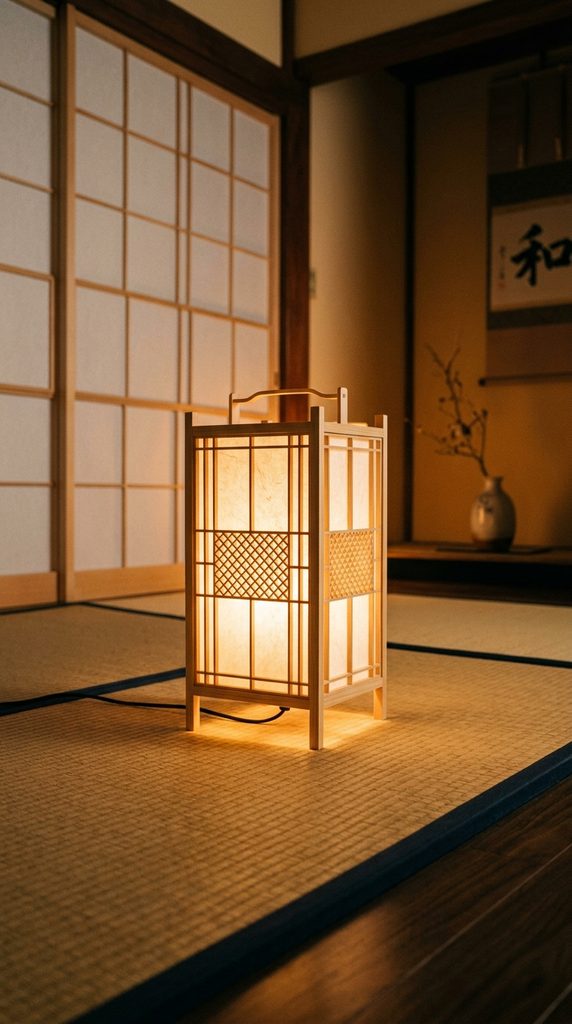
8. Minimalist Japanese Shoji-Inspired Table Lanterns
Embrace traditional Japanese architectural aesthetics by constructing clean timber frames paneled with delicate, light-diffusing Shoji paper.
Technical Specs & Assembly Workflow
- Core Materials: Balsa wood or pine square dowels ($0.25\text{in} \times 0.25\text{in}$), wood glue, miter shears, Shoji or translucent rice paper, double-sided tape, and a battery-operated LED base light.
- Execution Process: Cut and assemble four identical rectangular wooden window-frame panels using wood glue. Glue thin horizontal and vertical wood strips inside each frame to create traditional grid latticework.
- Paneling & Final Joinery: Stretch and adhere Shoji paper to the inside face of each wooden grid using double-sided tape. Join the four panels together at $90\text{-degree}$ angles to form a hollow rectangular box lantern, setting it over a warm LED light source.
9. Festive Honeycomb Paper Globe Lanterns
Denser and more sculptural than flat-walled globes, honeycomb lanterns collapse flat for storage and expand into intricate, tissue-cell spheres when opened.
Technical Specs & Assembly Workflow
- Core Materials: Stacked tissue paper sheets, template cardstock, glue stick, double-sided tape, small magnets or paper clips, and hanging string.
- Execution Process: Create a honeycomb gluing template with alternating vertical glue lines spaced $1\text{ inch}$ apart. Stack 40 to 50 sheets of tissue paper, applying glue lines along alternating template tracks between every layer.
- Cutting & Opening: Cut the glued tissue paper stack into a semi-circle shape. Glue cardstock covers to the top and bottom of the stack. Pull the covers around $360\text{ degrees}$ to open the cell structure, securing the ends with hidden magnets for easy flattening later.

10. Whimsical Hanging Jellyfish Lanterns
Perfect for coastal celebrations, whimsical party decor, or imaginative children’s rooms, these lanterns feature translucent paper domes trailing flowing ribbons and lace.
Technical Specs & Assembly Workflow
- Core Materials: Half-round paper lanterns or dome-shaped paper shades, sheer organza fabric strips, lace trims, iridescent ribbon, bubble wrap strips, hot glue, and string lights.
- Execution Process: Expand the dome lantern. Adhere wavy organza fabric, crinkled ribbon, and lace trims along the inner bottom rim of the paper dome, allowing the materials to trail downward at varying lengths ($2\text{ft to }4\text{ft}$).
- Textural Enhancements: Twirl light-catching iridescent ribbons and clear crinkled cellophane strips into the center tendrils to mimic glowing ocean tentacles illuminated by a central hanging LED puck light