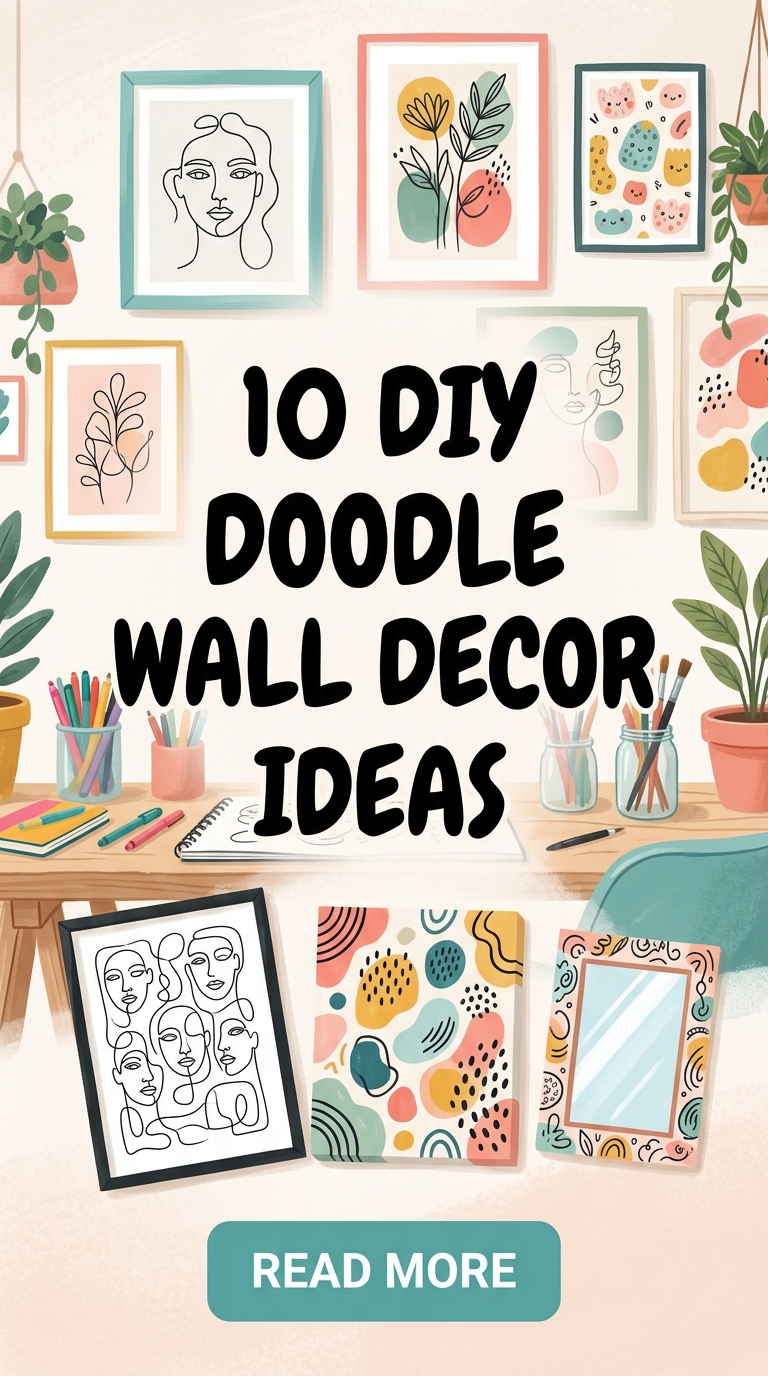
Wall decor serves as the artistic soul of any interior space. While conventional framed prints and manufactured wall hanging panels offer polished looks, DIY doodle wall art introduces an unmatched layer of personality, texture, and creative energy. Doodling is no longer just a passive notebook habit; it has evolved into a recognized visual art movement that transforms plain drywall into captivating focal points.
Whether you are looking to revamp a living room accent wall, personalize a home office, or create a statement piece for a bedroom, handmade doodle wall decor provides an accessible, budget-friendly canvas. From bold black-and-white continuous line murals to glowing UV-reactive artwork, doodling allows total customization of scale, color, and design themes.
Here is an extensive guide to ten DIY doodle wall decor concepts, complete with material lists, surface preparation protocols, execution techniques, and spatial styling strategies.
Surface Preparation & Material Selection Foundations
Before picking up paint markers or ink pens, mastering proper surface preparation and tool selection ensures long-lasting, smudge-free artwork
1. Essential Tools & Pigments
- Acrylic Paint Pens: Water-based acrylic markers (such as Posca or Sharpie Creative) work exceptionally well on painted walls, wood panels, canvas, and glass without smudging.
- Fineline Archival Ink Pens: Essential for small-scale framed paper or canvas doodle art requiring precise line variation.
- Matte Acrylic Sealer: A spray or brush-on clear sealant protects finished wall art from humidity, UV fading, and finger oils.
2. Surface Prep Rule
Always ensure the wall or canvas surface is wiped clean of dust and primed with a low-sheen matte or eggshell base paint. Glossy base paints can cause acrylic ink to bead up or slip during application.
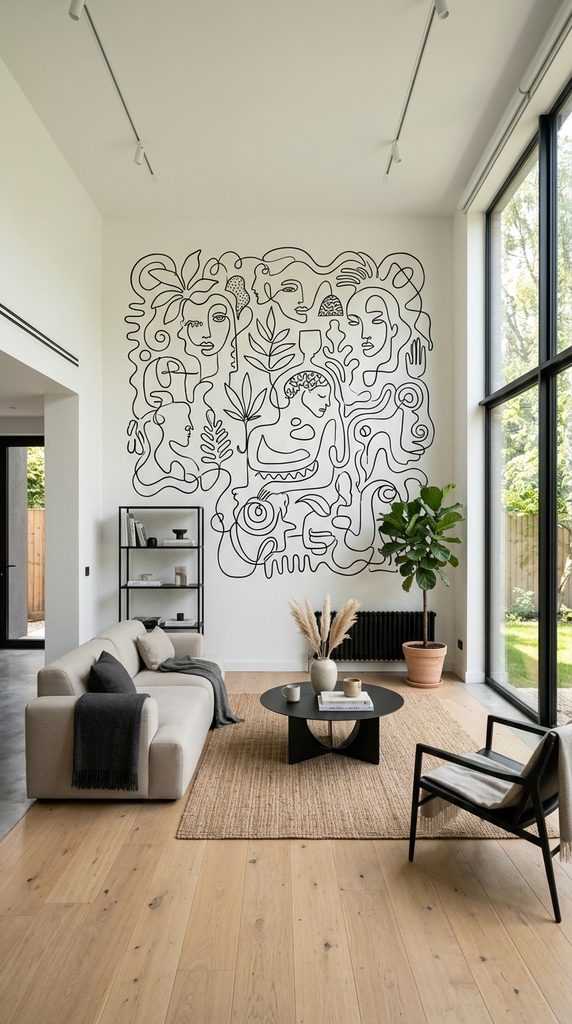
1. The Monochromatic Continuous Line Wall Mural
A continuous line mural features a single uninterrupted line that winds across a wall to form faces, botanical silhouettes, or abstract geometric forms.
Material Specifications & Step-by-Step Execution
- Materials Needed: Matte white base wall paint, $15\text{mm}$ chisel-tip black acrylic paint markers, standard graphite pencil, eraser.
- Execution Strategy: Start by lightly sketching the continuous line layout across the wall using a graphite pencil. Once satisfied with the spatial balance, trace over the line continuously using a wide-tip black acrylic marker. Keep hand speed consistent to maintain uniform line thickness.
- Best Spatial Placement: Perfect as a headboard alternative behind a bed or along a main hallway wall.
Design Tip: Maintain a consistent margin around the perimeter of the wall to frame the continuous line design naturally, keeping the space uncluttered.
2. Framed Grid Canvas Doodle Art Series
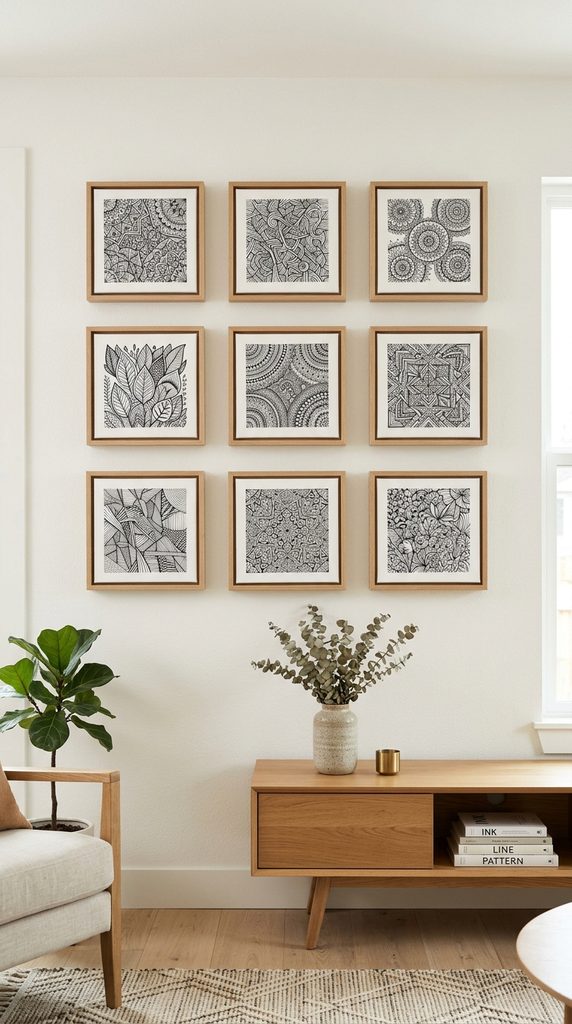
Creating a uniform multi-panel gallery wall using small square canvases offers a structured way to display intricate doodle art without committing directly to drywall paint.
Material Specifications & Step-by-Step Execution
- Materials Needed: Nine $12\times12\text{-inch}$ stretched white cotton canvases, black fineline paint pens, wooden floating frames.
- Execution Strategy: Divide each canvas mentally into distinct themes (e.g., geometric maze, floral mandalas, abstract lines, city skylines). Fill each canvas edge-to-edge with high-density black line doodles. Frame each panel identically and hang them in a tight $3\times3$ symmetrical grid pattern with $2\text{-inch}$ spacing between frames.
- Best Spatial Placement: Excellent above a living room sofa or along a formal dining room wall.
3. The Botanical Floral Accent Arch
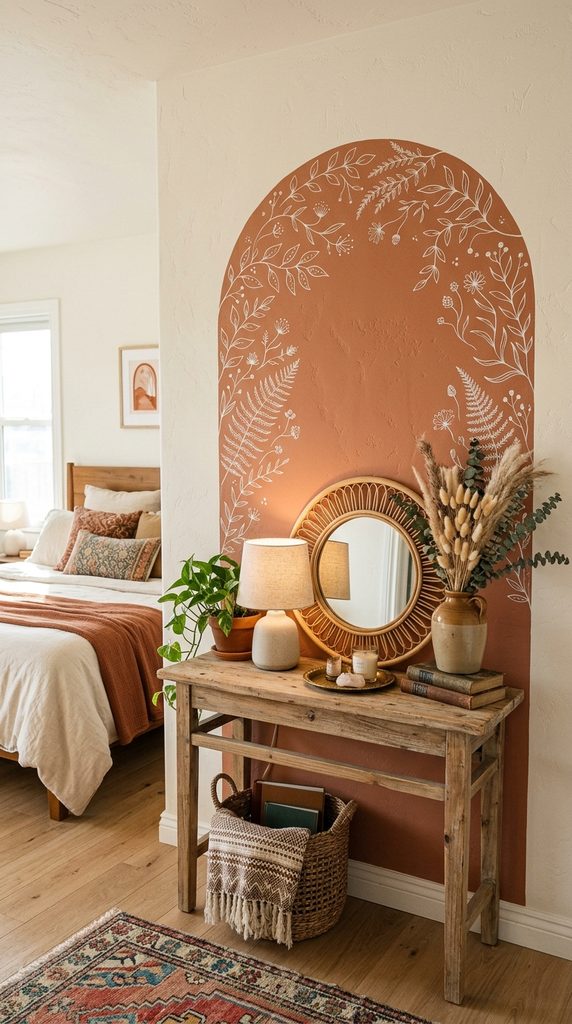
Painted wall arches combined with delicate hand-drawn botanical doodles bring an organic, breezy atmosphere to home entries and study corners.
Material Specifications & Step-by-Step Execution
- Materials Needed: Terracotta or sage green sample wall paint, painter’s tape, string and pencil (for tracing the arch curve), white paint pens.
- Execution Strategy: Paint a solid terracotta or sage green semi-circle arch directly onto the wall. Once completely dry, use fine-tip white paint pens to draw hand-doodled monstera leaves, eucalyptus sprigs, and wildflower outlines overlapping the painted arch background.
- Best Spatial Placement: Framing an entry console table, desk nook, or vanity setup.
4. Chalkboard Wall Doodle Calendar & Organizer
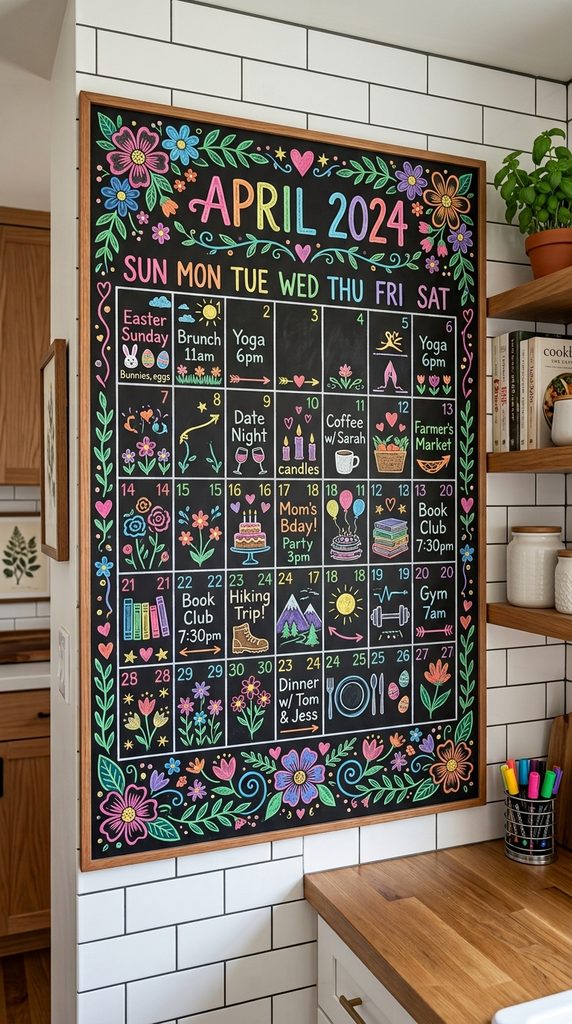
Functional and artistic, a dedicated chalkboard doodle wall combines daily scheduling needs with interactive, changeable hand-lettered doodle art.
Material Specifications & Step-by-Step Execution
- Materials Needed: Black chalkboard wall paint, painter’s tape, liquid chalk markers in various colors, ruler.
- Execution Strategy: Apply two coats of chalkboard paint to a designated section of wall. Season the dry surface by rubbing regular chalk over it and wiping it clean. Use liquid chalk markers to draw a permanent monthly calendar grid surrounded by seasonal doodle borders, motivational quotes, and banner sketches.
- Best Spatial Placement: Ideal for home office walls, kitchen alcoves, or mudrooms.
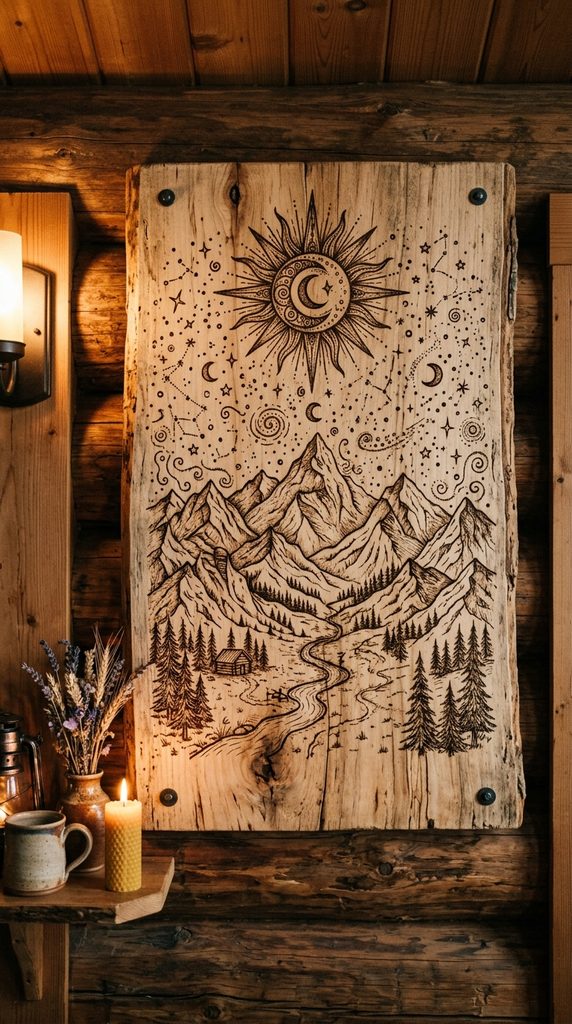
5. Vintage Wood Plank Pyrography Doodles
Pyrography (wood burning) turns reclaimed timber or birch wood panels into textured, rustic wall art featuring burned line doodles.
Material Specifications & Step-by-Step Execution
- Materials Needed: Birch plywood wall panel ($24\times36\text{ inches}$), wood-burning tool kit with variable tips, graphite transfer paper, clear polyurethane varnish.
- Execution Strategy: Sand the birch panel until completely smooth. Draft your doodle composition—such as mountain landscapes or celestial sun and moon motifs—on paper, then transfer it onto the wood panel using graphite paper. Trace the lines slowly with the wood-burning pen tip to create deep, dark burned grooves.
- Best Spatial Placement: Complements rustic, bohemian, or modern farmhouse interior living rooms.
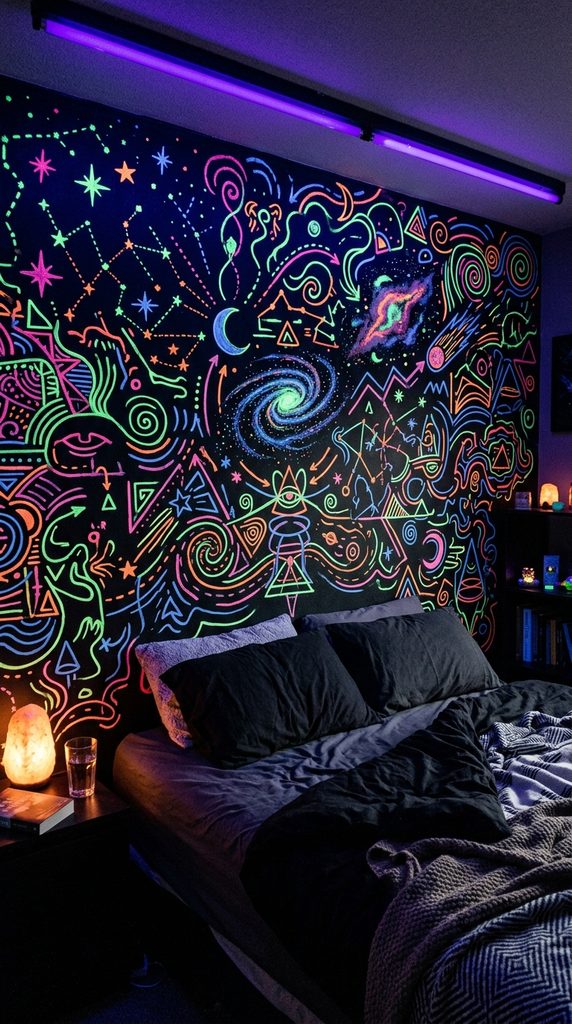
6. Glow-in-the-Dark & UV Reactive Neon Mural
Incorporating blacklight-reactive or phosphorescent pigments transforms a daytime doodle mural into an interactive glowing visual presentation at night.
Material Specifications & Step-by-Step Execution
- Materials Needed: Matte charcoal wall paint, UV-reactive fluorescent acrylic paint markers, small plug-in UV blacklight bar.
- Execution Strategy: Paint the wall in a deep charcoal gray or matte black tone. Use fluorescent pink, electric green, blue, and yellow acrylic paint markers to draw cosmic patterns, galaxy constellations, or abstract doodle shapes. Mount a subtle UV blacklight fixture nearby to illuminate the fluorescent ink when ambient lights are dimmed.
- Best Spatial Placement: Perfect for media rooms, teen bedrooms, or creative home studio spaces.
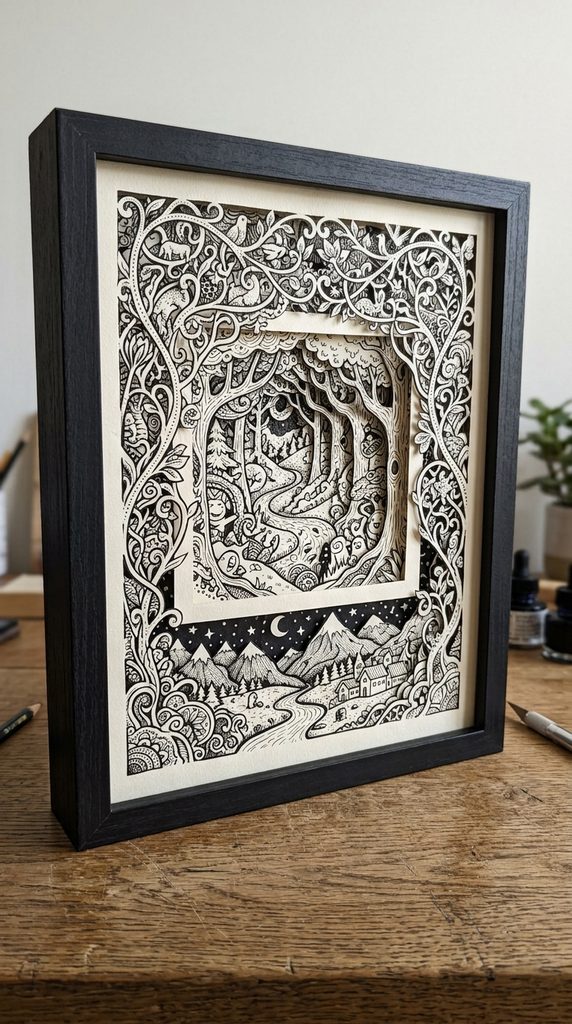
7. Shadowbox Paper-Cut Layered Doodle Art
Adding a three-dimensional element to doodle art, this concept layers cut-out doodle drawings inside deep shadowbox frames to create realistic depth and shadows.
Material Specifications & Step-by-Step Execution
- Materials Needed: Heavyweight $300\text{ GSM}$ watercolor paper, black archival ink pens, craft precision knife, foam spacer tape, $11\times14\text{-inch}$ deep shadowbox frame.
- Execution Strategy: Draw detailed doodle motifs on three separate sheets of heavy paper. Carefully cut out sections of the second and third sheets using a craft knife. Layer the sheets inside the shadowbox frame, separating each layer with small pieces of foam spacer tape. As light hits the frame, cast shadows create a distinct 3D visual effect.
- Best Spatial Placement: Great for gallery display shelves, hallway consoles, or library nooks.
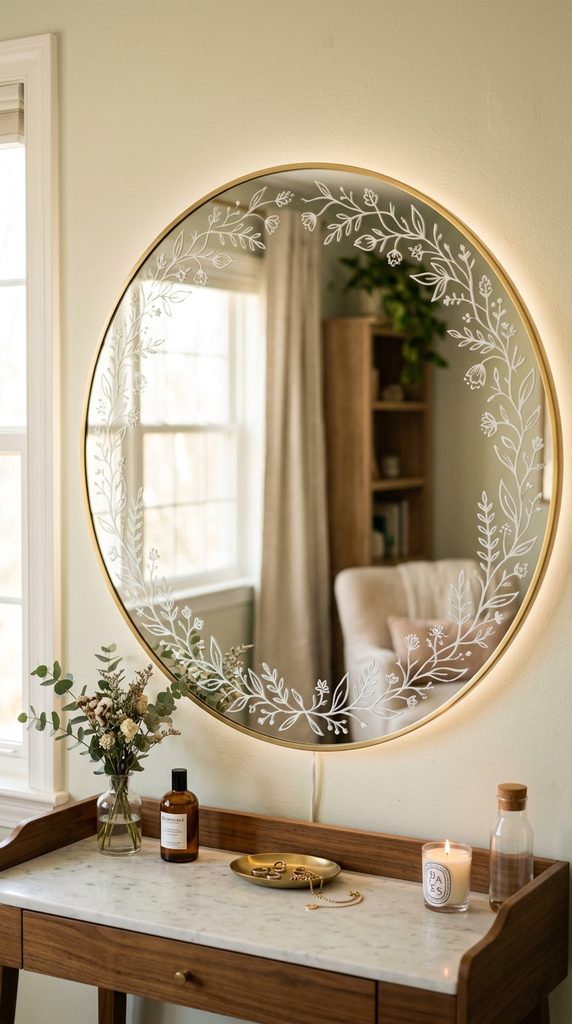
8. Mirror Frame Line Art Accents
Extending doodle art onto functional mirrors adds personal flare to vanity areas while bouncing light around the room.
Material Specifications & Step-by-Step Execution
- Materials Needed: Large frameless wall mirror or broad-framed floor mirror, oil-based paint markers (white or gold), glass cleaner, microfiber cloth.
- Execution Strategy: Thoroughly clean the mirror surface with glass cleaner. Use oil-based paint pens to doodle intricate floral vines, geometric corners, or encouraging handwritten phrases directly along the outer edges of the mirror glass, leaving the central viewing area completely clear.
- Best Spatial Placement: Bedroom vanity walls, hallway entryways, or dressing areas.
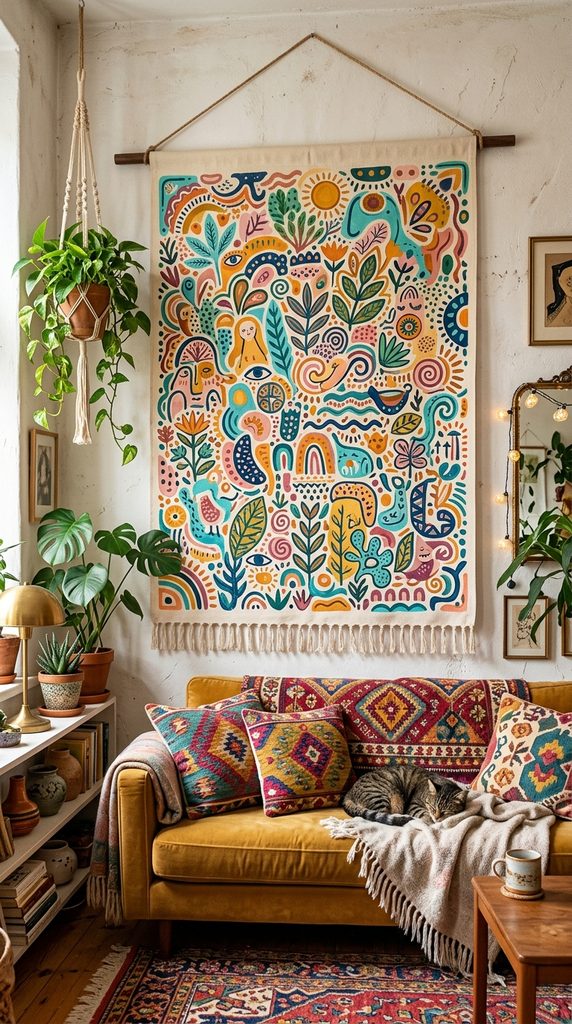
9. Colorful Doodle Tapestry on Raw Unbleached Canvas
Doodling on large hanging canvas fabric produces a soft, textural wall tapestry that is easy to move, store, or transport without altering wall structures.
Material Specifications & Step-by-Step Execution
- Materials Needed: Unbleached heavy cotton drop-cloth canvas ($4\times5\text{ feet}$), fabric paint markers in multiple colors, wooden hanging dowels, leather hanging cord.
- Execution Strategy: Hem the edges of the raw canvas piece and fold a top sleeve for the wooden dowel. Lay the canvas flat on a work surface and draw vibrant, colorful abstract doodle patterns—combining geometric shapes, squiggles, and floral patterns—across the entire surface using fabric markers. Slide the wooden dowel through the top sleeve and hang with a leather cord.
- Best Spatial Placement: Living room feature walls, nursery spaces, or apartment bedrooms.
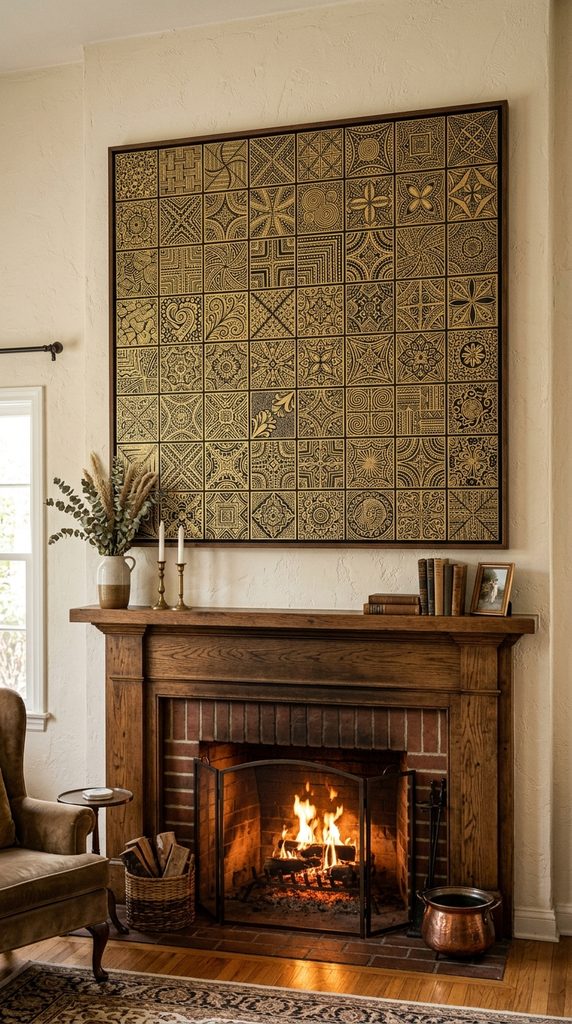
10. Abstract Mosaic Patchwork Doodle Canvas
Creating a large patchwork grid where every square features a completely different doodle texture produces a rich visual tapestry that commands attention.
Material Specifications & Step-by-Step Execution
- Materials Needed: Large $36\times48\text{-inch}$ stretched canvas, painter’s tape, black fine and broad-tip paint markers, metallic gold paint pen accents.
- Execution Strategy: Use painter’s tape to divide the large canvas into an irregular geometric grid of 20 to 30 smaller blocks. Fill each block with a unique dense doodle pattern—such as polka dots, herringbone lines, checkerboard grids, waves, or scales. Remove the painter’s tape to reveal crisp white separation lines between each pattern block, then highlight select details with metallic gold ink.
- Best Spatial Placement: Anchor piece above a fireplace mantel or dining room sideboard.