Lighting is the secret ingredient of interior design. While ambient ceiling lights and lamps perform functional roles, nothing compares to the intimate, kinetic warmth of candle flame. Candles bring a sense of tranquility, romance, and grounding comfort to a room. However, displaying them in plain, store-bought holders often misses an opportunity to inject personal style and architectural interest into your space.
Creating your own bespoke candle holders allows you to tailor textures, dimensions, and color schemes to match your decor perfectly. From raw industrial concrete to organic botanicals and upcycled glassware, handmade candle displays elevate your styling while keeping costs remarkably low.
This comprehensive guide explores ten creative, high-end DIY candle holder ideas. We will delve into their material profiles, structural assembly techniques, and styling strategies so you can transform simple candlelight into captivating interior features.

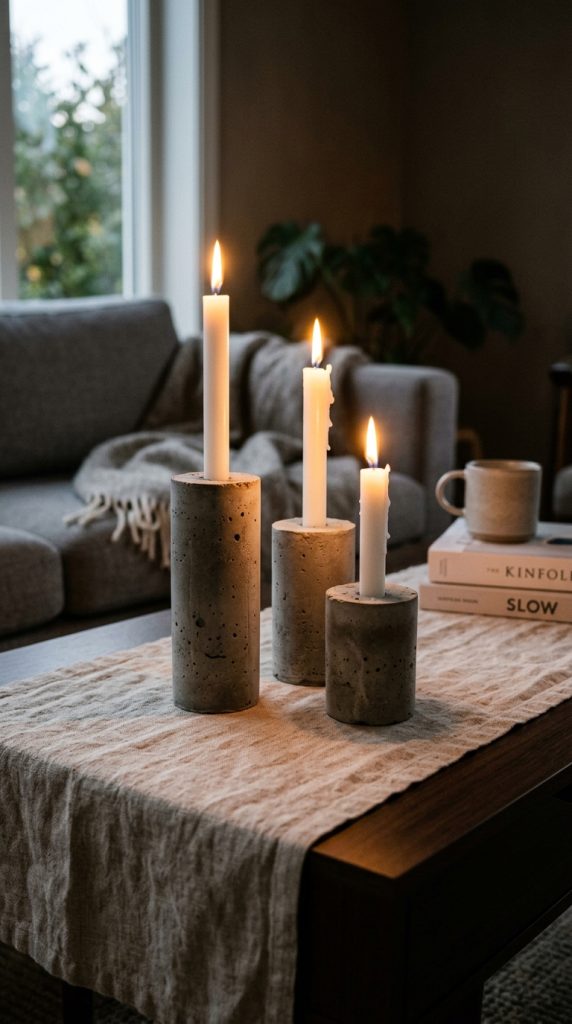
1. The Sculptural Raw Concrete Pillar Block
Concrete has moved far beyond industrial construction to become a beloved material in modern interior design. A raw concrete pillar block offers a heavy, minimalist aesthetic that grounds floating candle flames, bringing a tactile, museum-worthy feel to coffee tables and entryways.
Project Materials and Build Strategy
- Core Mold: Upcycled milk cartons, plastic drink bottles, or flexible silicone baking molds serve as excellent casting containers.
- Concrete Mix: Fine-grain quick-setting cement or casting plaster mixed to a smooth, pourable consistency.
- Candle Impression: Press a taper candle or metal tea light cup wrapped in plastic wrap into the wet concrete to form a perfectly sized well before the mix hardens.
Design Tip: Once the concrete cures completely, sand the outer surfaces slightly to reveal fine air bubbles and aggregate textures. Apply a coat of matte sealant to prevent dust and wax staining.
2. The Floating Botanical Glass Cylinder
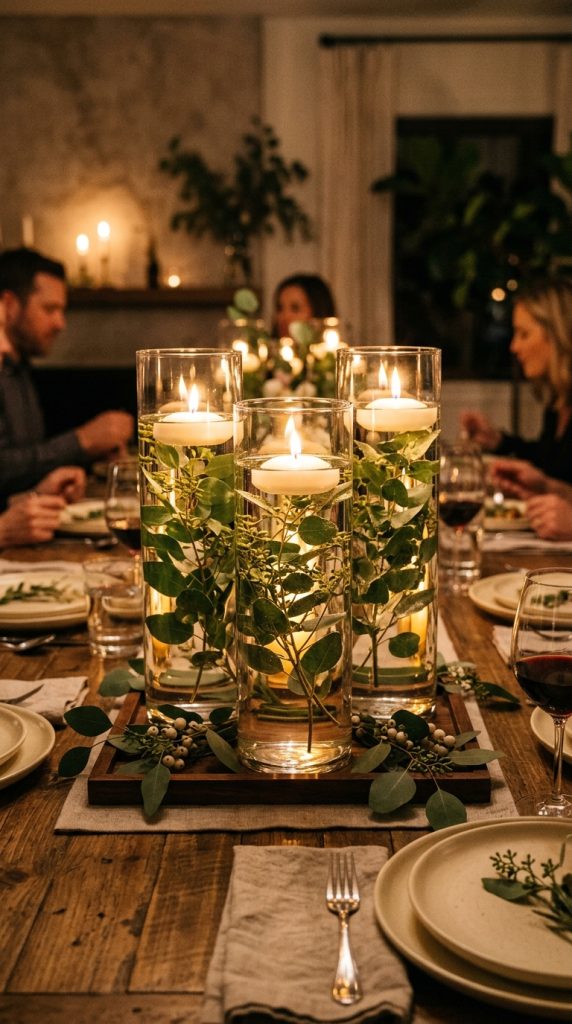
Bringing nature indoors creates a serene, spa-like atmosphere. The floating botanical glass cylinder combines clear water, natural foliage, and floating candles to create an ethereal, light-refracting centerpiece perfect for dining tables and mantlepieces.
Project Materials and Build Strategy
- Glassware: Tall, clear glass cylinder vases of varying heights grouped in odd numbers (threes or fives).
- Botanical Fillers: Submerged faux or real sturdy greenery—such as eucalyptus branches, monstera leaves, fern fronds, or long-stemmed roses.
- Weighting Mechanism: Small clear glass pebbles or polished river stones at the base to anchor the plant stems underwater.
Fill the cylinder with distilled water leaving two inches at the top, then gently place a wide floating candle on the surface. The water acts as a magnifying glass, illuminating every vein of the submerged leaves.
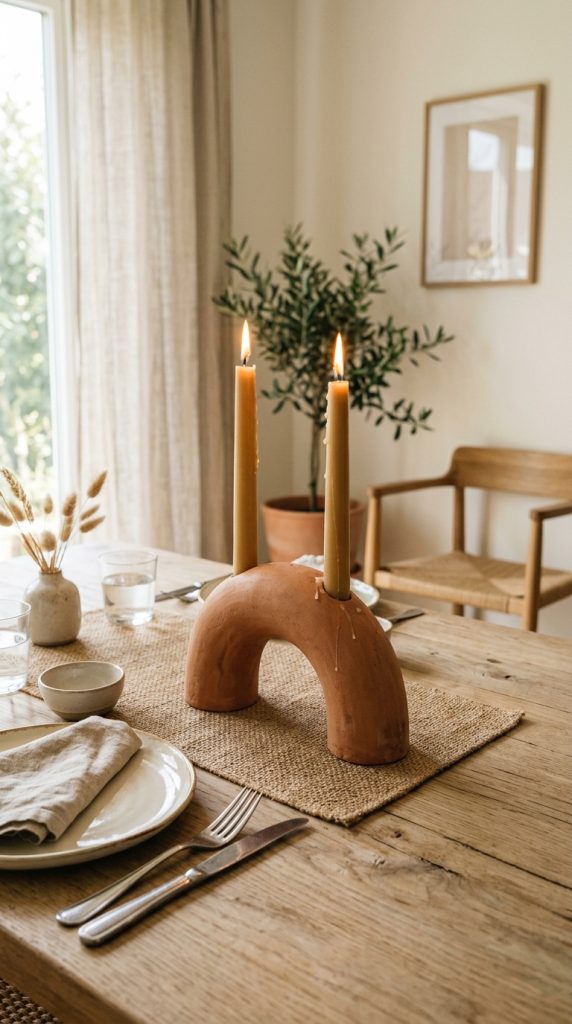
3. The Terracotta Clay Ring Candle Holder
Inspired by Mediterranean ceramics and modern Scandinavian forms, the terracotta clay ring brings warm, earthy tones and soft geometric curves to your decor. Using air-dry clay makes this project accessible without requiring a ceramic kiln.
Project Materials and Build Strategy
- Clay Type: Terracotta-colored air-dry clay or polymer clay.
- Forming the Structure: Roll the clay into long, even snakes, then loop them into interlocking rings, arches, or a continuous circular coil base.
- Securing the Sockets: Model thick clay cups along the top ridge, pressing a taper candle into each cup to ensure a snug fit before drying.
Smooth out cracks with a damp sponge and allow the piece to cure for 48 hours. Leave it unpainted for a raw matte clay look, or seal it with a satin clear coat.
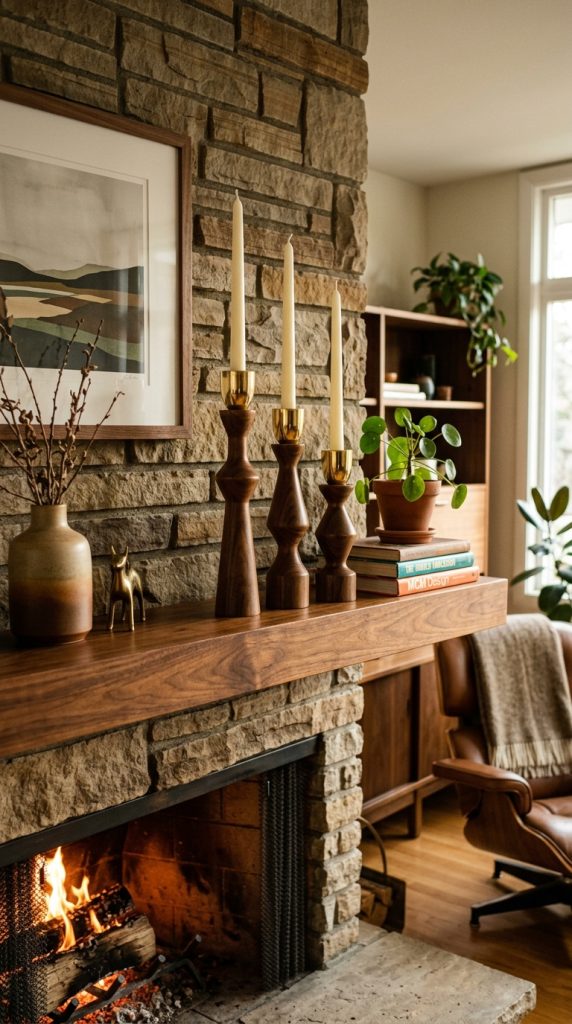
4. The Upcycled Brass and Turned-Wood Taper Stand
Combining warm timber with metallic accents creates a classic, mid-century look that feels expensive and timeless. The turned-wood taper stand breathes new life into secondhand wooden candlesticks or thrifted wooden bowls.
Project Materials and Build Strategy
- Wooden Base: Thrifted wooden candlesticks, wooden geometric blocks, or wooden napkin rings stacked vertically on a threaded metal rod.
- Metallic Accent: Small brass plumbing couplings, brass copper caps, or metal washers inserted into the top opening to serve as a drip tray and candle socket.
- Surface Refinement: Strip off old varnish, sand the wood back to its natural grain, and nourish it with dark walnut stain or natural beeswax.
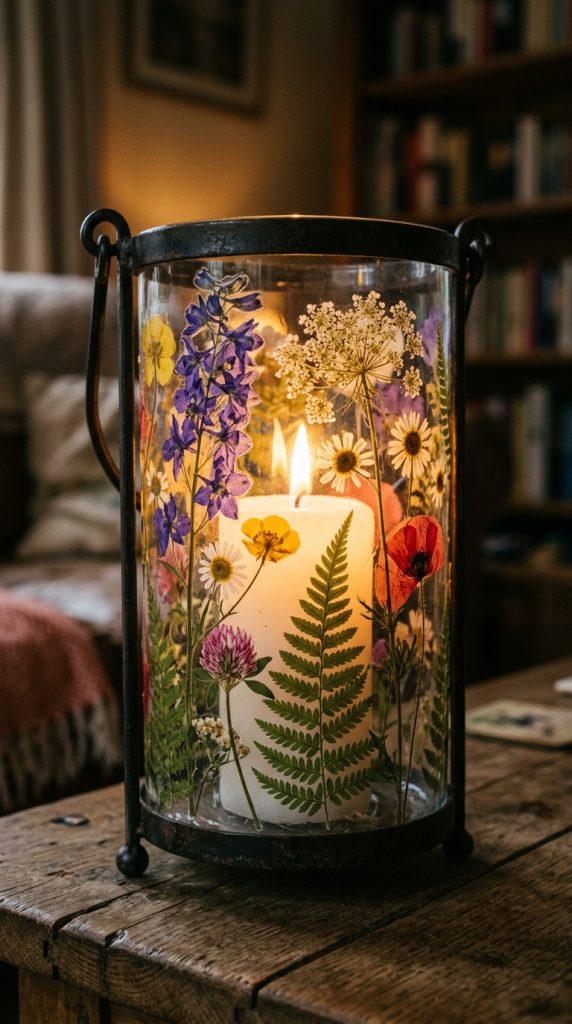
5. The Pressed Dried Flower Glass Lantern
Capture the fleeting beauty of spring by embedding real pressed flora onto glass. The pressed flower glass lantern casts soft, botanical shadows across your walls when lit from within by a pillar candle or votive.
Project Materials and Build Strategy
- Glass Container: Wide-mouthed glass jars, straight-sided tumblers, or hurricane lamps.
- Botanical Selection: Delicately pressed wildflowers, pansies, ferns, and lace-like leaves that have been thoroughly dried flat.
- Adhesive Application: Apply a thin layer of matte Mod Podge or decoupaging medium to the glass, position the flowers using tweezers, and seal with a top layer of the adhesive.
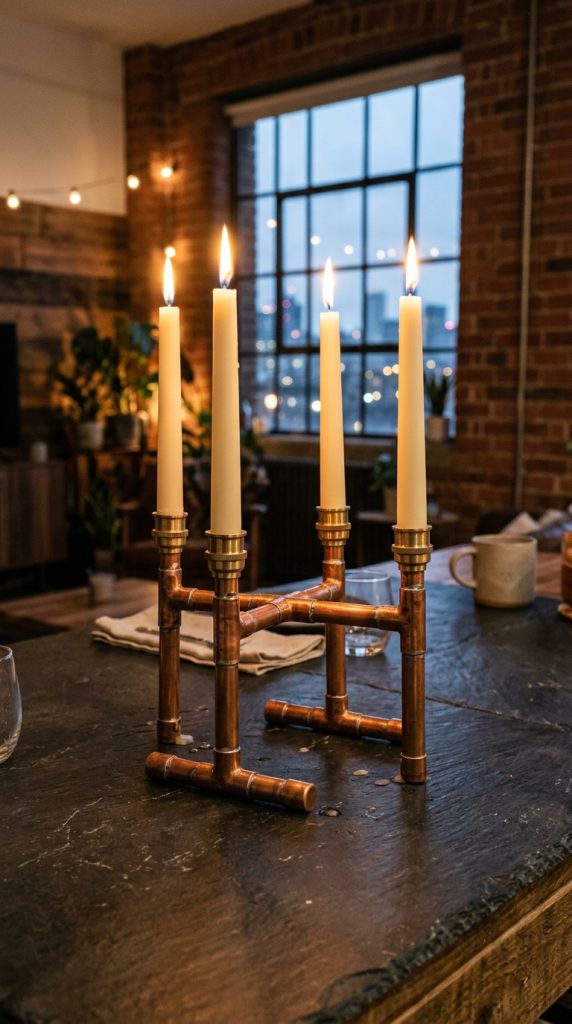
6. The Industrial Copper Pipe Multi-Taper Candelabra
For an edge that feels sleek, graphic, and contemporary, an industrial copper pipe candelabra turns basic plumbing fittings into an eye-catching metal sculpture. Copper’s warm tone bounces candlelight beautifully.
Project Materials and Build Strategy
- Material Components: $1/2\text{-inch}$ copper pipes, elbow joints, T-connectors, and end caps purchased from any hardware store.
- Assembly Process: Connect the pipes in an asymmetrical or sprawling geometric layout using strong epoxy adhesive or soldering techniques for a permanent hold.
- Sizing: The standard $1/2\text{-inch}$ copper fittings naturally hold standard taper candles with incredible precision.
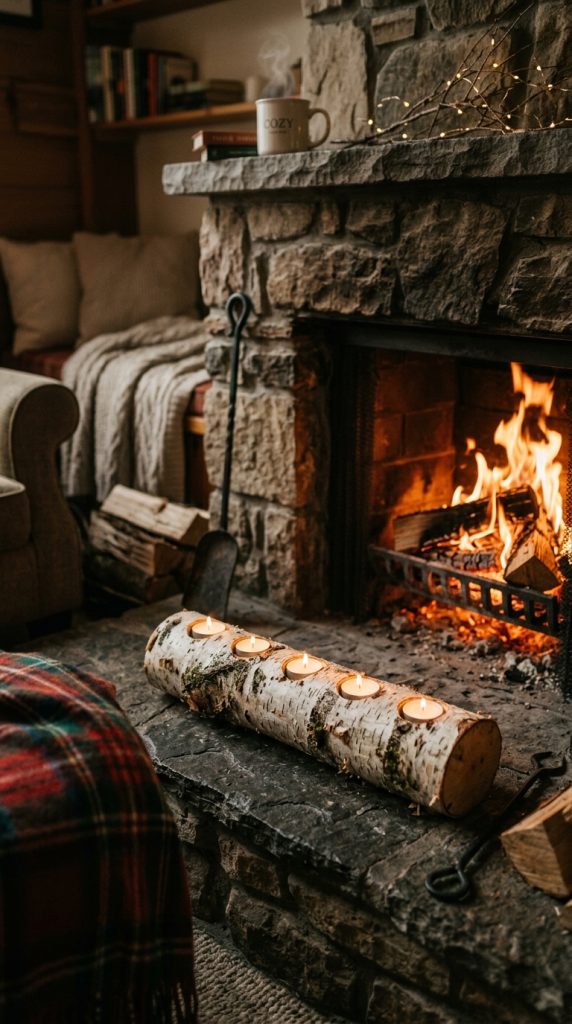
7. The Rustic Birch Log Hearth Tray
If your aesthetic leans toward rustic farmhouse or Scandinavian forest retreat, a birch log hearth tray introduces natural timber bark and organic textures into your fireplace mantel or dining area.
Project Materials and Build Strategy
- Timber Base: A clean, dry branch or log of white birch (or oak) with the bark intact, flattened slightly on the bottom so it sits securely without rolling.
- Drilling Wells: Use a spade drill bit matching the exact diameter of tea lights or votive cups to drill shallow, evenly spaced holes along the top length of the log.
- Safety Feature: Insert metal tea light cups into the wood wells before adding candles to ensure the bare wood never comes into direct contact with open flames or hot wax.
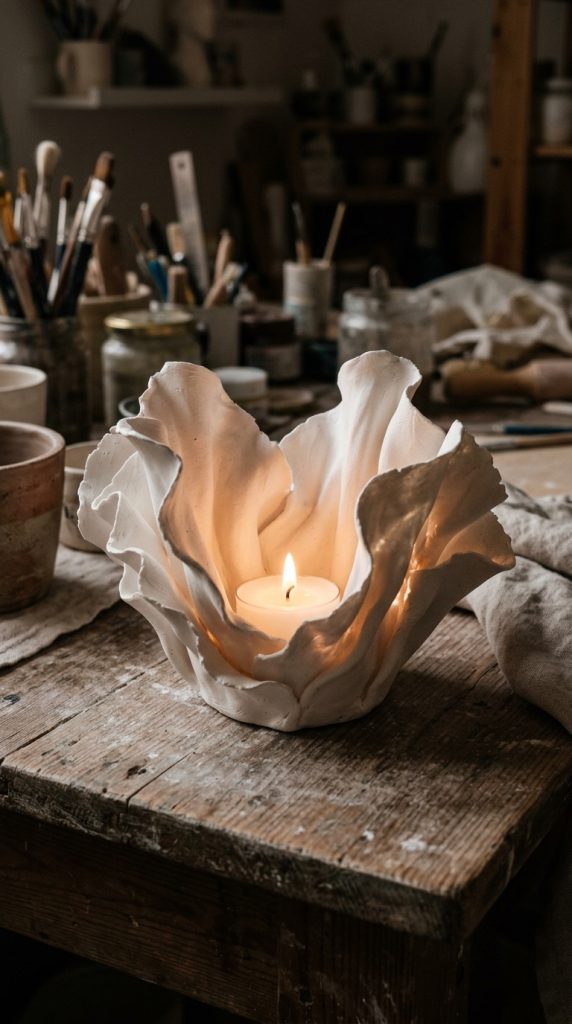
8. The Minimalist Plaster-Draped Fabric Votive
Textile arts meet sculpture in the plaster-draped fabric votive. By soaking delicate fabric in liquid plaster and draping it over containers to set, you create fluid, frozen-in-motion fabric folds that look like fine porcelain art.
Project Materials and Build Strategy
- Fabric Selection: Cheesecloth, open-weave linen, or scrap cotton cut into small squares.
- Plaster Slurry: Plaster of Paris mixed with water according to instructions.
- Draping Technique: Dip the fabric squares thoroughly into the plaster, then drape them over an upside-down glass jar wrapped in plastic wrap. Let the corners flare outward naturally like flower petals as it dries hard.
Once fully hardened (12–24 hours), pop the molded fabric off the glass form. The thin plaster wall allows a warm, diffused glow to pass through the textile weave.
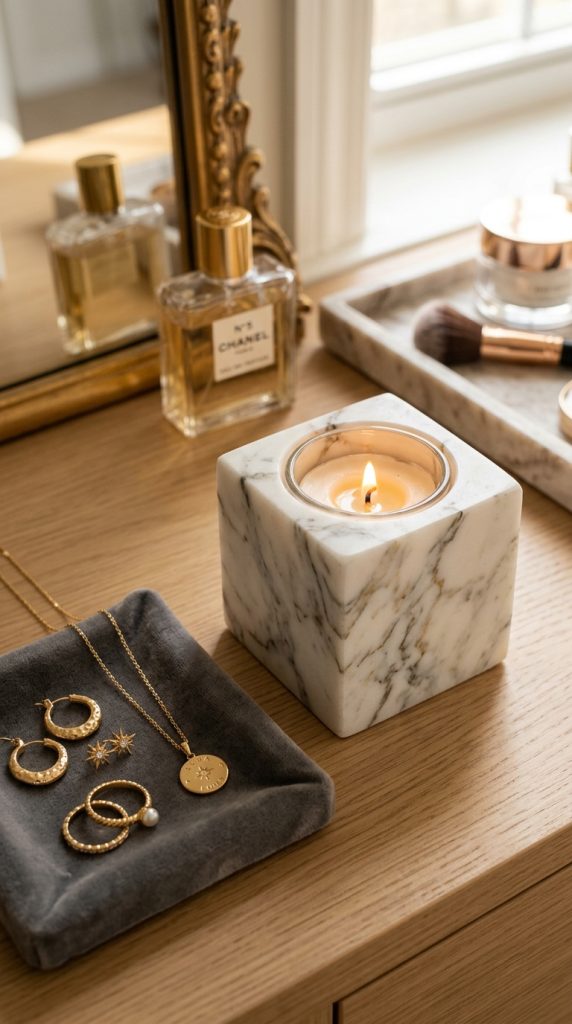
9. The Modern Faux Marble Resin Votive
Real marble is heavy and costly to carve, but you can achieve the rich, veined appearance of polished stone using casting resin. A faux marble resin votive adds high-end glamor to nightstands and vanity trays.
Project Materials and Build Strategy
- Casting Agent: Two-part clear epoxy resin or eco-resin (Jesmonite).
- Pigmentation: Opaque white base pigment paired with fine swirls of black, charcoal, or metallic gold liquid pigment.
- Technique: Pour the white resin into a silicone votive mold, then drop small amounts of dark pigment inside, using a toothpick to draw delicate, marble-like veins before the resin sets.
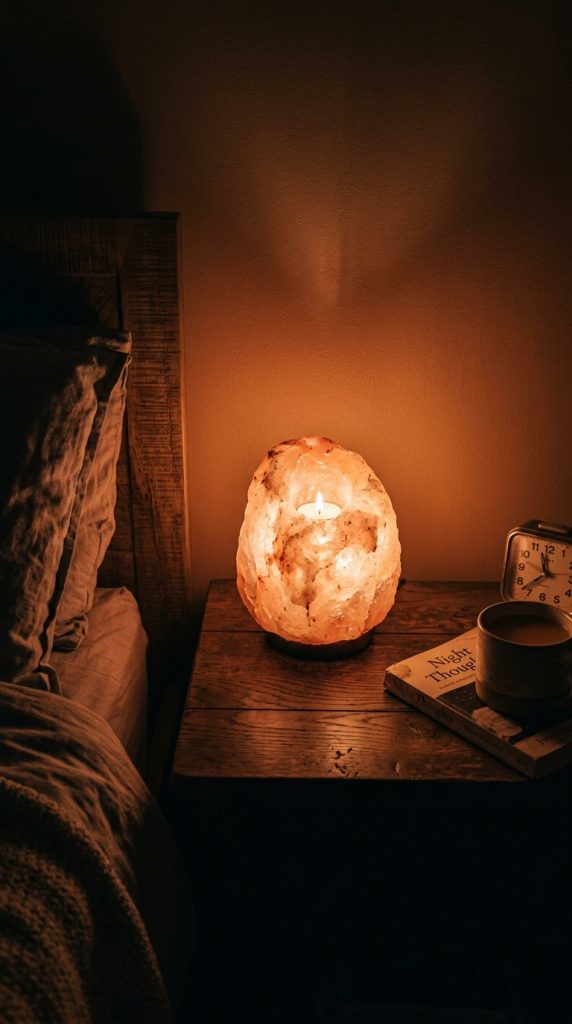
10. The Himalayan Salt Rock Tealight Cluster
Known for its soothing amber glow and natural mineral beauty, Himalayan pink salt brings a warm, grounding atmosphere to any room. Creating a salt rock tealight cluster turns raw salt chunks into glowing ambient lighting.
Project Materials and Build Strategy
- Raw Material: Large, raw chunks of Himalayan pink salt rock.
- Carving the Cavity: Using a masonry drill bit, carefully drill a shallow well into the top flat surface of the salt rock, working slowly to prevent the mineral layers from splitting.
- Finishing: Dust off salt powder and insert a tea light. When lit, the heat from the flame warms the salt, casting a deep, rich peach-orange glow throughout the space.
Essential Safety & Construction Guidelines for Candle DIYs
When crafting projects involving open flames, functional safety should always be your top priority. Adhere to these essential rules to keep your home safe and your creations durable:
1. Maintain Flame Clearance & Heat Resistance
- Non-Flammable Baselines: Always line flammable materials (such as raw wood, paper, or fabric) with metal cups or glass insert liners.
- Wick Heights: Ensure the flame sits at least 2 to 3 inches away from any surrounding decorative elements like dried botanicals or plastic resins.
2. Leveling & Stability
- A top-heavy candle holder is a tipping hazard. Ensure the base of your project is wider than the top height, or add weight (like sand or concrete) to the base.
- Always check that taper candle sockets hold candles perfectly upright. If a candle leans, melting wax will drip rapidly and create an uneven flame.
3. Wax Stain Prevention
- Untreated porous surfaces like concrete, plaster, and raw clay absorb melted wax instantly, leaving permanent grease marks. Always coat raw materials with a water-based matte acrylic sealer or satin varnish before use.